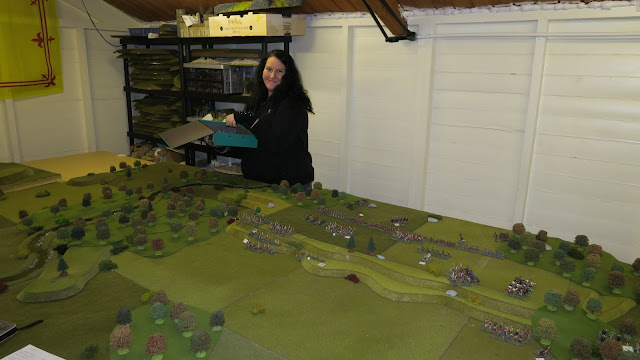
Over the weekend Postie put on a classic encounter between a disciplined Roman army and a bunch of very angry Britons lead by queen Boudica herself. My youngest daughter, the Padawan herself, had asked for this game specifically. She's effectively a fully fledged member of the Rejects now, having been to several games over the last few years. It's getting increasingly hard to tear her away from her tech, but on Sunday she exited the digital realm to get 'old skool' with her Pa. Her only stipulation, she had to be Boudica...and given the determined look on her face, I couldn't argue with her!
The Setting
We played a fictional battle but one that could have been easily replicated during this period. The Romans are vastly outnumbered but have a strong position on top of a hill, with plenty of bolt throwers and archers to weaken the advancing British.
Order of Battle
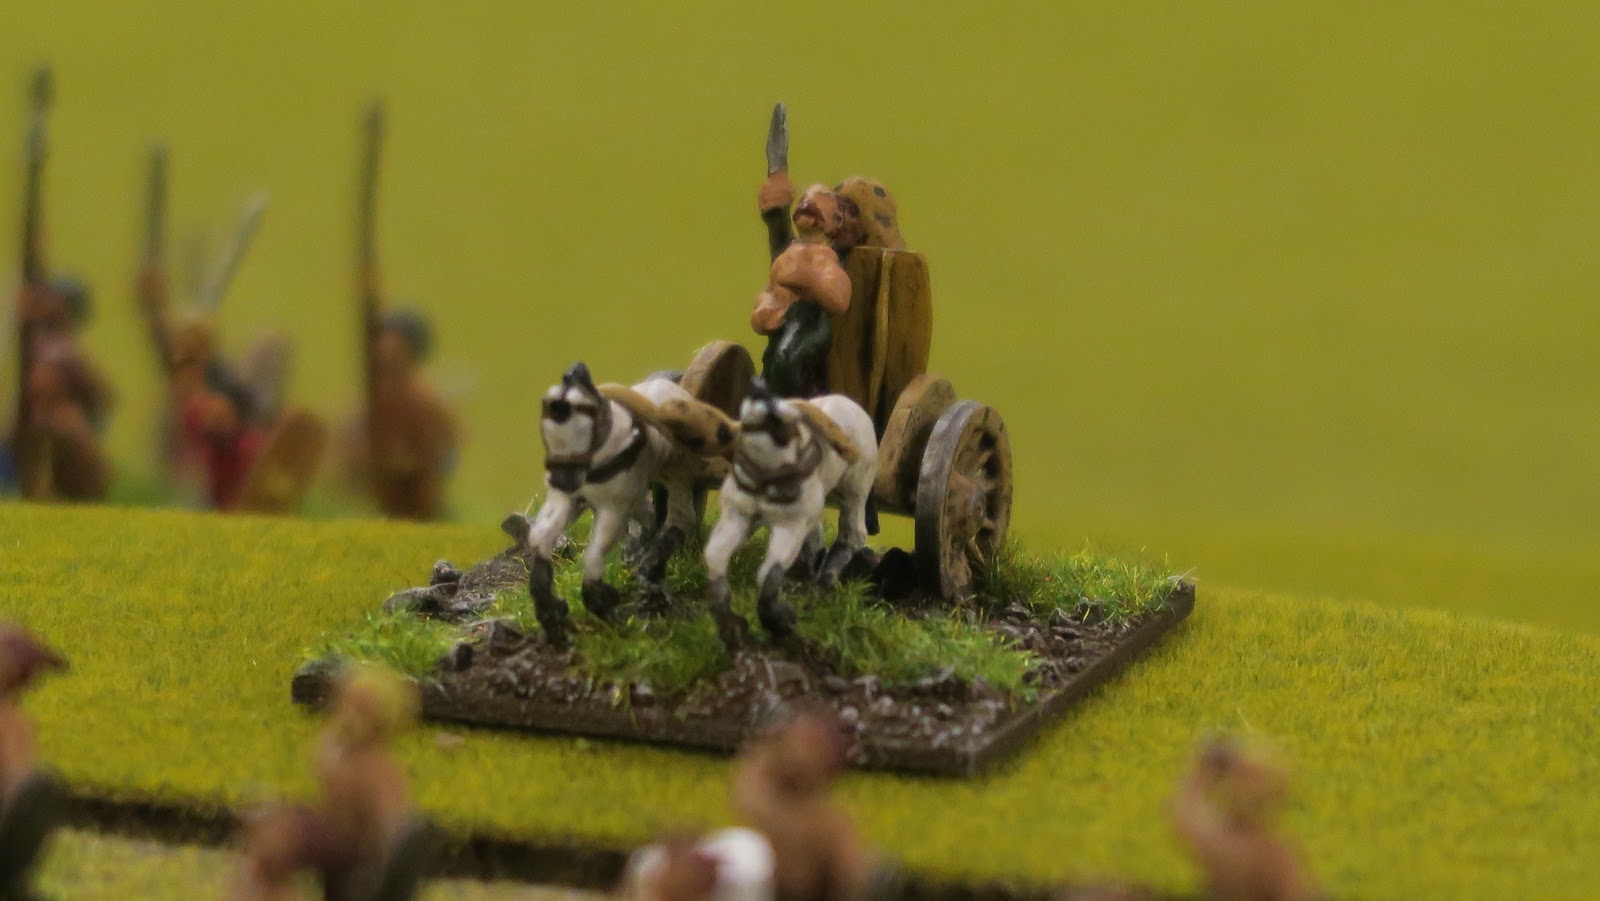
British - Queen Boudica (The Padawan) in Chariot
1 Chieftain Leader in Chariot
1 Chieftain Leader on Horse
1 Standard in a Chariot
3 Nobel Chariot Units
8 Warbands (24 figure units)
1 Fanatic Warband with Druid on foot
2 Slinger Units
2 Javelin Units
2 Light Cavalry
(Total 300 Figures)
Romans - Legate Lercio Lee (on horseback with Guard Cavalry)
1 Tribune on Horseback
1 Standard on Horseback
1 Legionary Cohort with Standard (Eagle) (24 Infantry)
3 Legionary Cohorts (16 figure Units)
2 Auxilia
2 Auxiliary Archer Units
Auxilia Cavalry
4 Bolt Throwers
(Total 132 Figures)
The Action
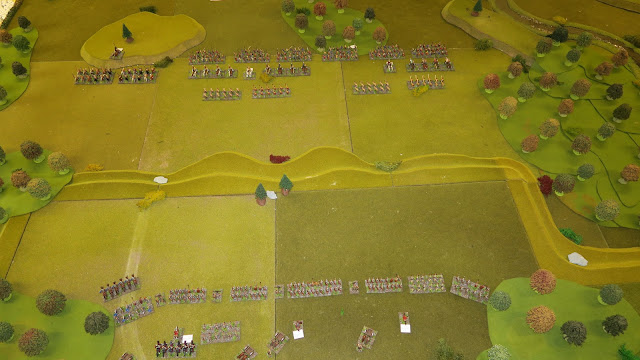 |
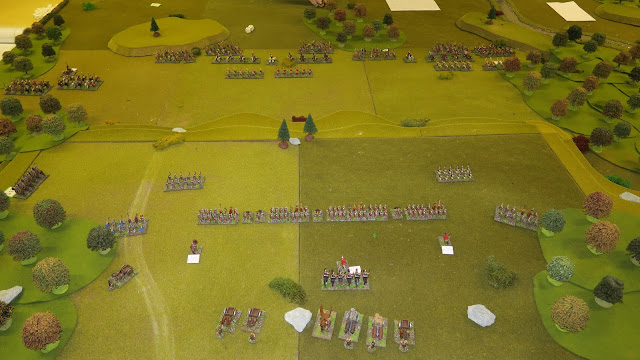
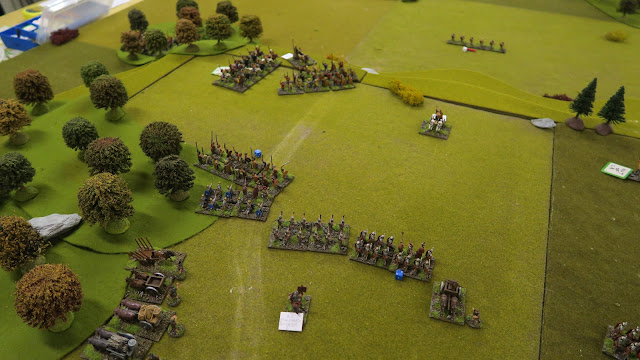
| The setup - The Romans have a strong position on a hill, with plenty of missile weapons to weaken the approaching British. |
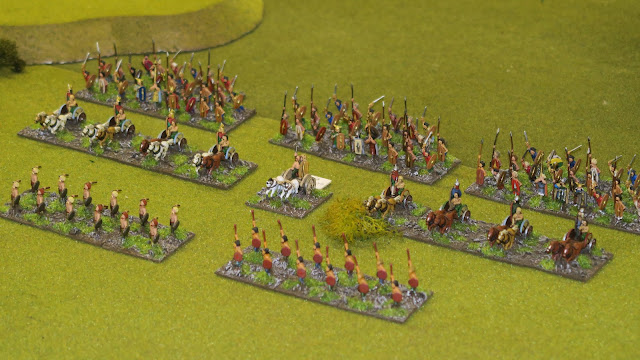 |
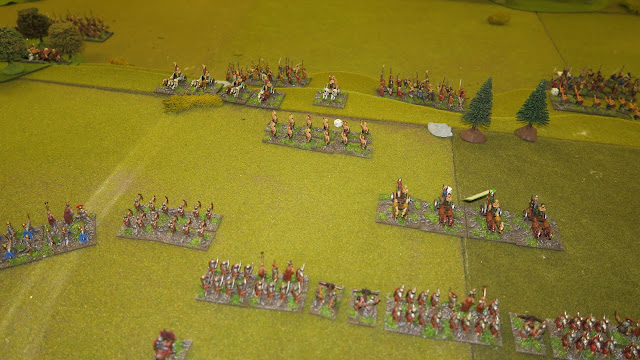
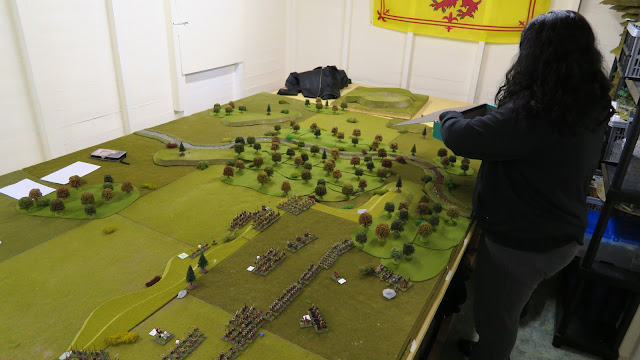
| The British are strong in number and confident in their leader, Queen Boudica herself. |
 |
| A huge forest on the Roman right could be hiding anything, but surely the British aren't that subtle. |
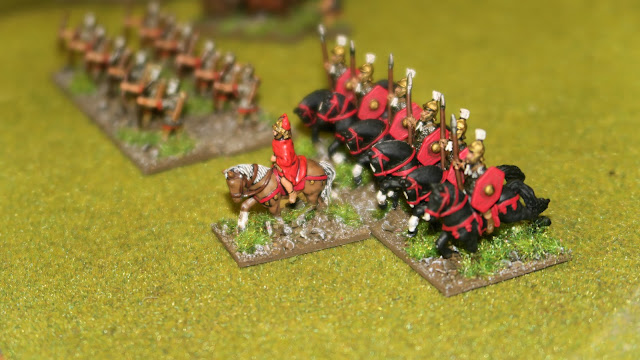 |
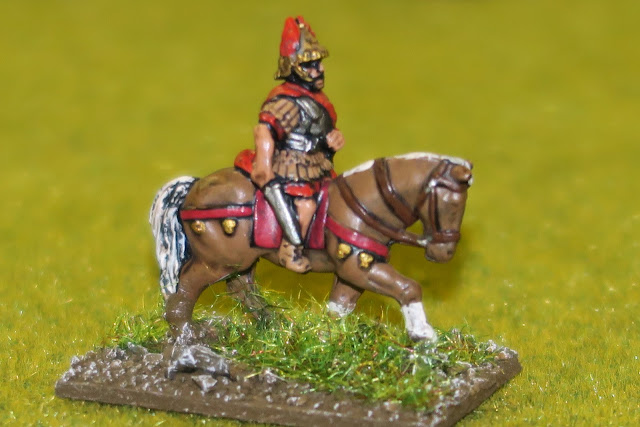
| Legate Lercio Lee, with his attached Guard Cavalry |
 |
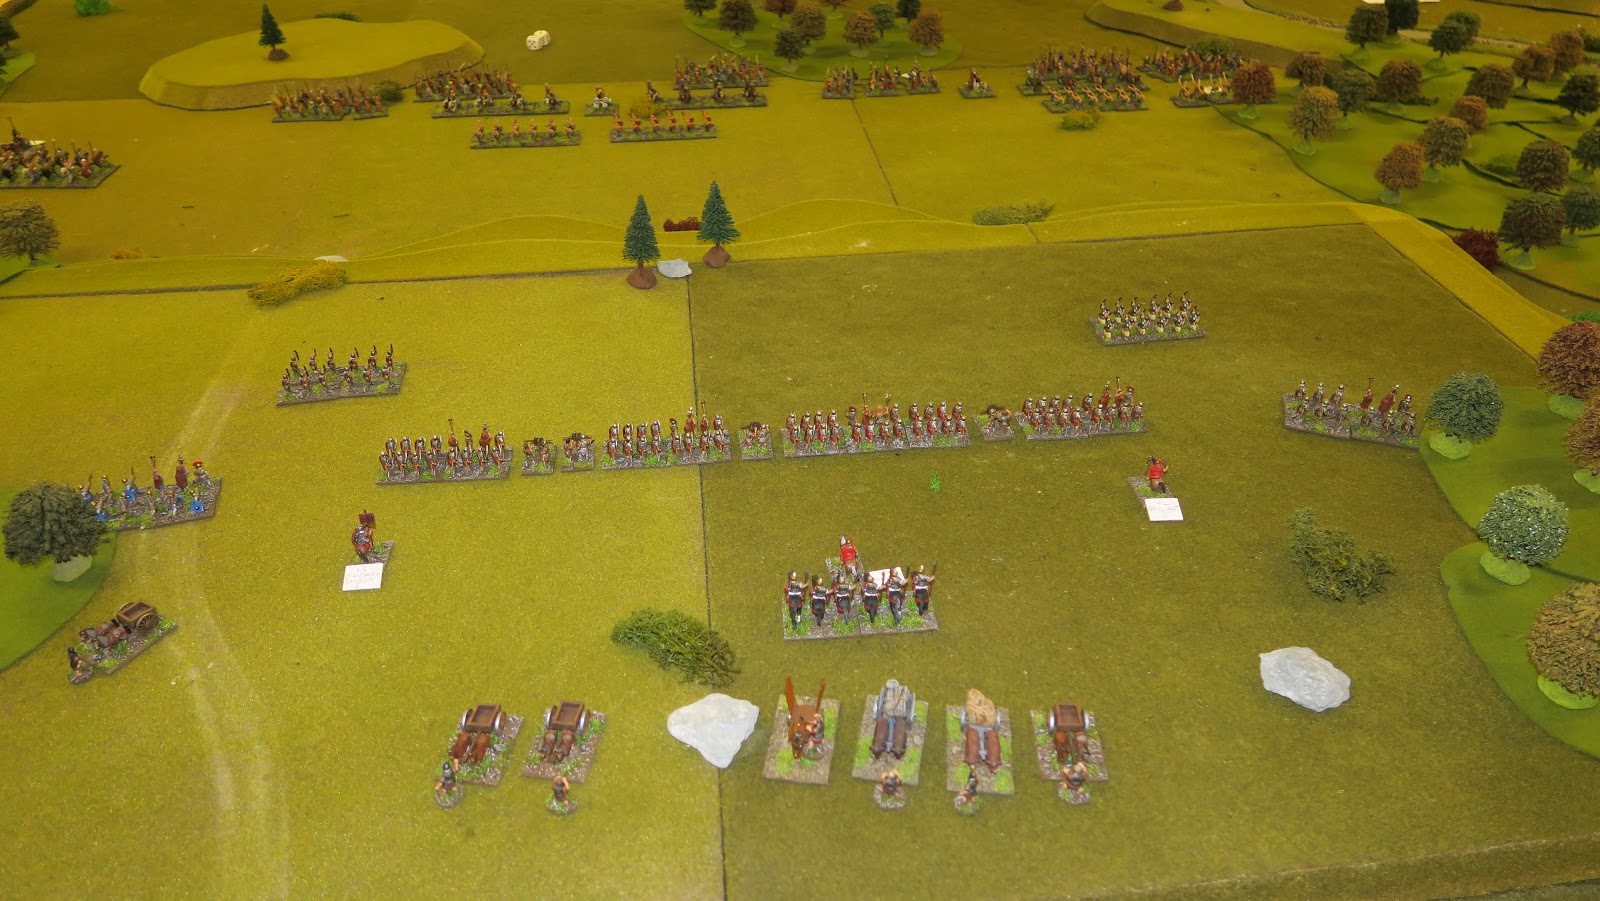
| The Roman position looks formidable. |
 |
| The Brits look numerous! |
 |
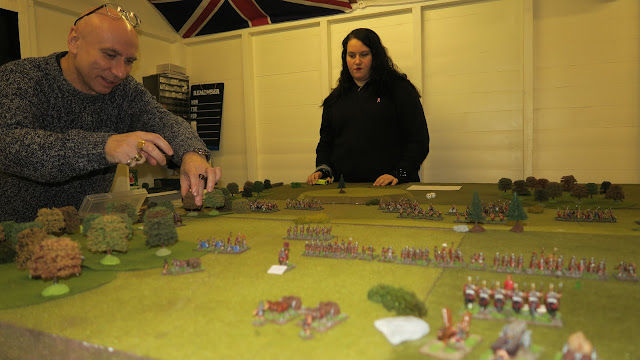
| The Young Padawan looks confident! |
 |
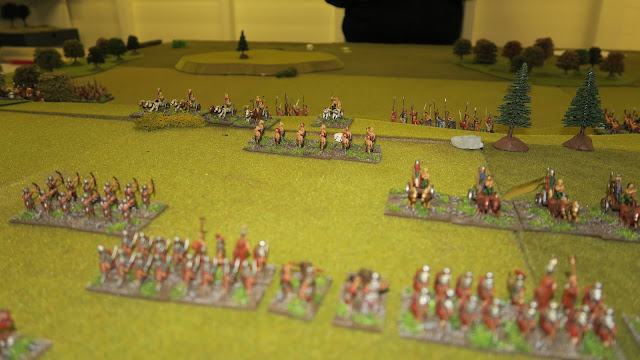
| The Game begins. I move my Archers forward to give them a little extra range. They can fall back in good order as the British get closer. Meanwhile, Boudica sends her Light Cavalry to threaten my flank. |
 |
| I keep my commander and the Guard Cavalry as a mobile reserve, to plug any gaps if the British break through. |
 |
| First Blood. My Bolt Throwers have a long range and I start to target some of the unarmoured skirmish type units Boudica has thrown out front. |
 |
| The British light Cavalry enters some woods on my left flank so I keep my Auxillary Cavalry ready to deal with them if they come out in the open. |
 |
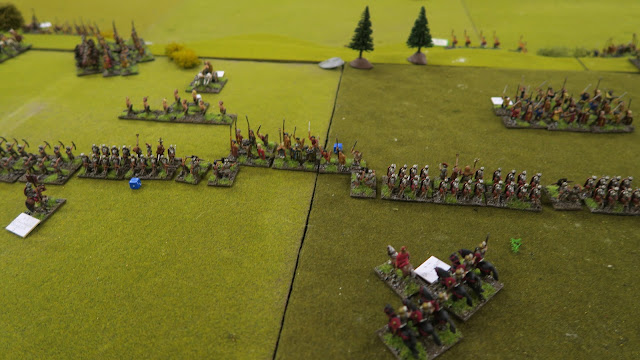
| Using her light troops as a skirmish screen means her warbands advance unhindered. |
 |
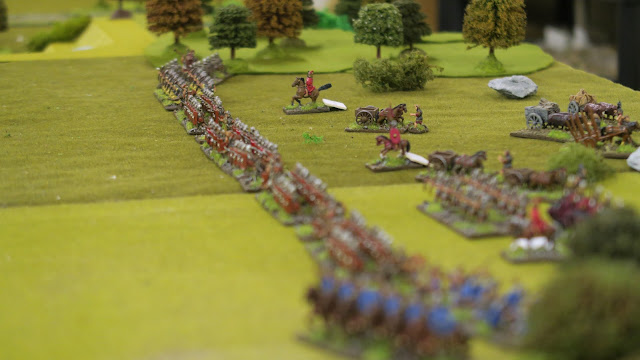
| The British have now reached the hill and I am able to open up with all my missile weapons, including Pilum on a Chariot unit that comes a little too close. |
 |
| My Archers fall back into the line, the range is no longer an issue. |
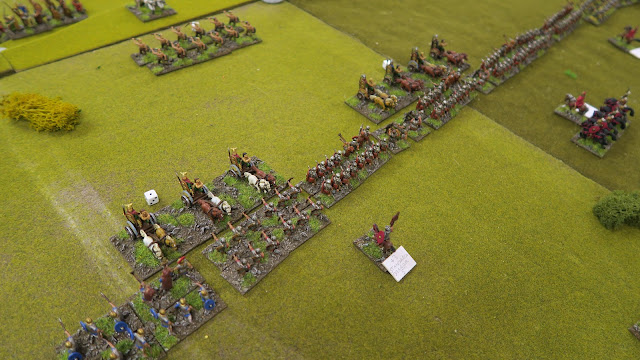 |
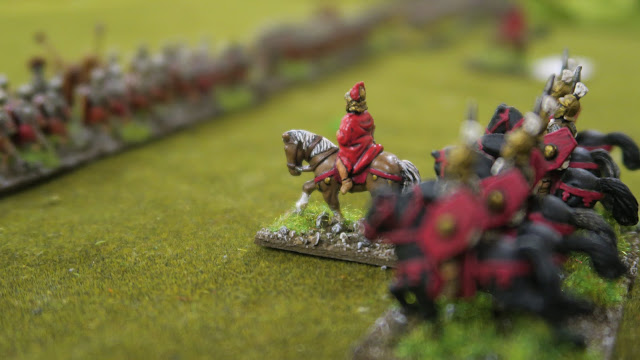
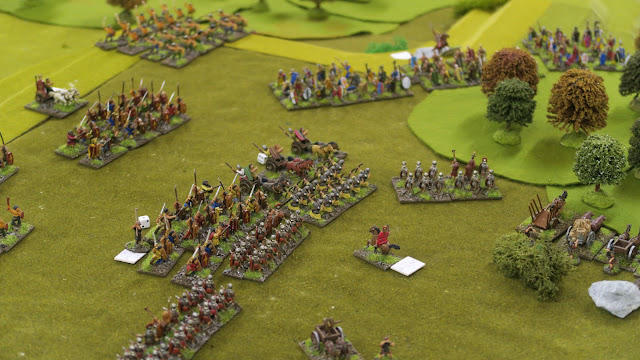
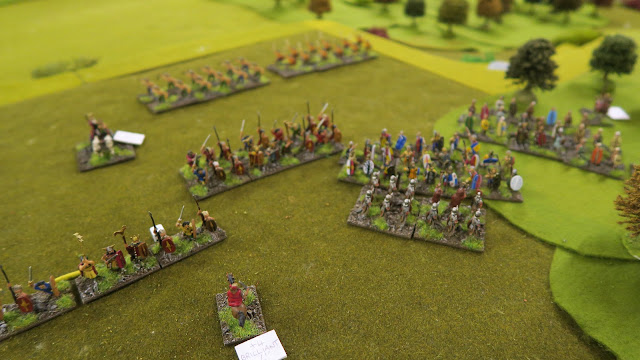
| Two Nobel Chariot units hit my front lines. They are only light chariots so this may be a mistake, against my tough Legionaries. |
 |
| The Legions stand their ground. They are disciplined troops and have a superior commander nearby so pass moral automatically. |
 |
| The resulting melee is bloody and both Chariot units retreat in disorder and rout. |
 |
| Boudica is not pleased. Her presence close to the front line gives her units a morale bonus, but this time it hadn't worked. |
 |
| Legate Lercio Lee is confident his army has a strong position but he readies his guard cavalry in case any part of his line fails. |
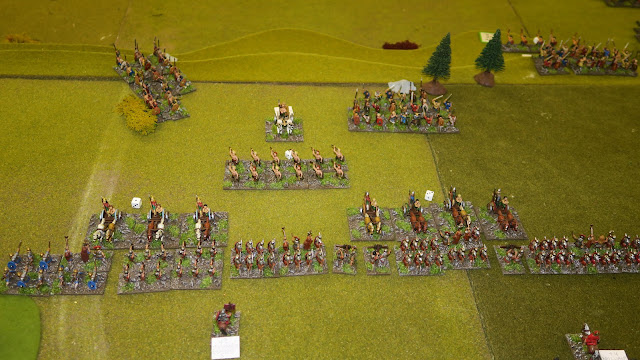 |
| Another view of the Chariot Melee. Behind them, there are warbands closing in. However, Boudica has sent a significant portion of her force in a wide swing skirting the edge of the woods on my right. It looks like she's got them a little bogged down and they won't arrive at my line for a couple more turns. |
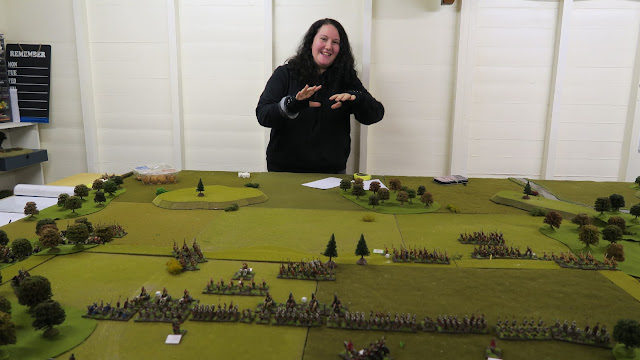 |
| She still looks confident....what is she up to? |
 |
| Oh bugger. I had to make a roll before the game started and it turns out it was to see if I detected British units hiding in the forest to my right. I didn't and now they have reached the edge of the woods. |
 |
| She's far too happy...what is in that box!?! |
 |
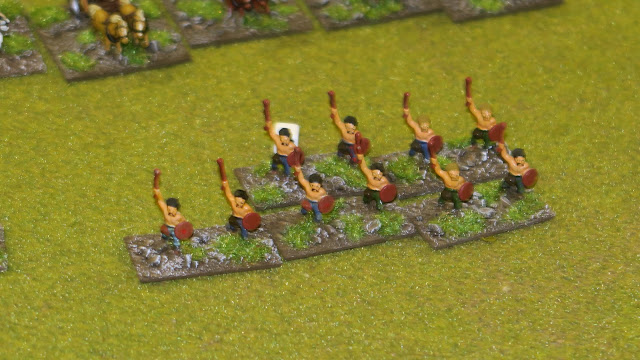
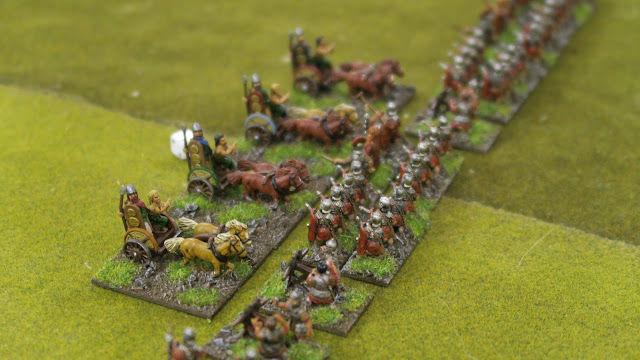
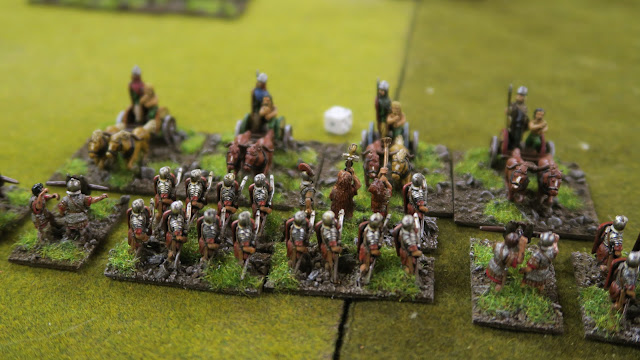
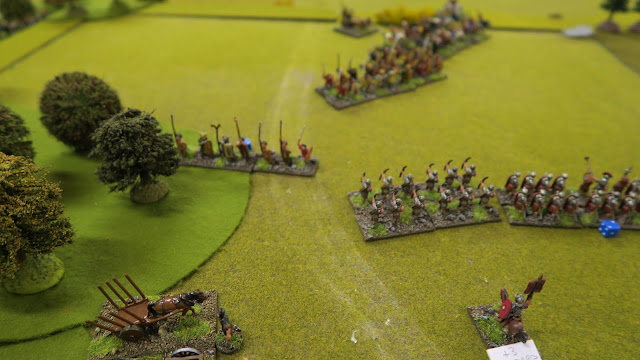
| Ah, three fresh and very fearsome looking Warbands. And worse, they are on my flank. |
 |
| They swarm up out of the forest. Unlike my units, they can move through the woods without penalty. |
 |
Meanwhile, one of Boudica's Warbands has reached my front line and overwhelmed one of my Legionary Cohorts. As well as destroying the Cohort they also sweep away two of my Bolt Throwers! Fortunately, I saw this coming and had positioned my reserve Guard Cavalry to protect the weak spot.
In the background, you can just make out my Auxillary Cavalry that has charged a Warband that got a little too close. The Warband is mauled but my cavalry is destroyed, despite 'winning' the Melee! |
 |
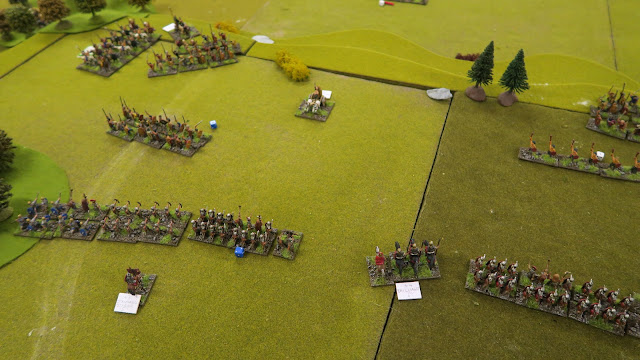
| However, on my right flank, my position is looking terrible. Warbands are swarming through the first and I am forced to start pulling back units. The crafty child wasn't getting her flank bogged down, she was deliberately slowing them down so they arrived at the same time as her hidden reserves!! |
 |
| Not good! |
 |
| My Legate and the Guard Cavalry destroy the Warband that had breached my lines. I have a straight line on Queen Boudica and I ask Postie if I can continue my charge into her (winning like this would normally allow an immediate full charge move to the victor). If I can take Boudica out of the frame I might just win this game.....but the Umpire won't let me!! My best chance has been denied. |
 |
| Over on the left flank, another Warband has now hit my Auxilia |
 |
| My right flank is crumbling. Overwhelmed by massive Warband units my Auxiliaries don't stand a chance. First, my archer unit is destroyed and then the Auxillia are defeated in melee. They fall back but it doesn't look like they will escape fast enough. |
 |
| On my Left flank, my other Auxiliary unit is also unceremoniously destroyed. |
 |
| The surviving Auxiliaries on my right are now charged in the rear by the pursuing Warband and wiped out. |
 |
| I think this is game over. I now only have three infantry units remaining, albeit largely unharmed, plus the remnants of my Guard Cavalry. |
 |
| The main Cohort (carrying the Eagle) has pulled back to change position but the reality is they are going to be overwhelmed by up to five warbands in the next couple of turns. |
 |
| Legate Lercio Lee decides to pull back the remnants of his army and make an ordered retreat rather than lose all his men, and more importantly, the Eagle. Victory goes to Boudica! |
 |
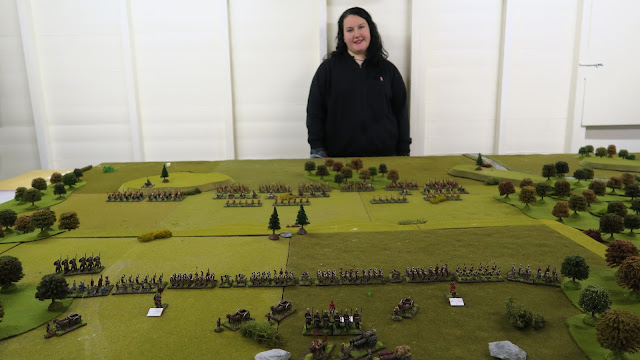
A very happy Padawan. She played very well and made sure
her overwhelming numbers counted at the right time. |
Analysis
Well, that's two games I have lost this year, out of two played. Not a great start! The Padawan played a good game, moving most of her force so that my missile weapons could only pluck away at her skirmish troops rather than the Warbands. Her move around my flank along the forest edge looked like a mistake, but it was actually a ploy to ensure they arrived at the same time as her reserves. The resulting hammer blow that hit my right flank was impossible to resist.
I think its about time she was upgraded from Padawan to full Jedi Knight (or more likely a Sith Lord).