Showing posts with label 15mm. Show all posts

Monday, 30 March 2026

The Battle of Oltenitsa - 4th Nov 1853 - A Crimean War Batrep

Yesterday’s game in the Shed-o-War with the rest of the Posties Rejects transported us back to a part of the Crimean War that rarely gets the spotlight. While most people jump straight to the mud, mismanagement, and media circus of the later Allied campaigns, the opening phase (before the British and French fully committed) was very much a brutal, grinding contest between the Russian Empire and the Ottoman Turks.


By 1853, tensions between the Russian Empire and the Ottoman Empire had been simmering for years. Russia, keen to expand its influence southward and present itself as the protector of Orthodox Christians within Ottoman territories, pressed its claims with increasing aggression. The Ottomans, meanwhile, were determined to resist.


When diplomacy failed, Russian forces crossed into the Danubian Principalities (modern-day Romania), prompting the Ottomans to declare war in October 1853. What followed was a series of sharp, often overlooked engagements along the Danube and in the Caucasus. These early clashes set the tone: determined Ottoman resistance, often underestimated, against a numerically and logistically powerful Russian army.


One of the defining moments of this opening phase came at the Battle of Oltenița, where Ottoman forces successfully checked a Russian advance. It was an early indication that this would not be the quick, one-sided campaign many had expected. The Turks fought hard, often from prepared positions, and proved more than capable of bloodying Russian noses when the ground favoured them.


Stuart set up a scenario based on these early encounters, pitching Russian attackers against a well-entrenched Turkish force in November 1853. On paper, it looked straightforward. In practice, it was anything but. The Turks held a commanding ridge line, broken by rocky outcrops and fortified with a chain of redoubts. Ten objectives in total, each hill and redoubt worth a single point, and, at the start of the game, all firmly in Ottoman hands. The Russian objective was clear: seize at least six to claim victory. Simple, right? Well… no.


Although the Russians enjoyed a comfortable two-to-one numerical advantage, the terrain told a very different story. Assaulting uphill into prepared positions is never a pleasant experience, and the redoubts turned what might have been a straightforward advance into a grinding series of assaults. Every objective captured would have to be paid for.


One of the real highlights of the evening was seeing the Ottoman collection back on the table. This early-war period has a distinct visual character that sets it apart from the later, more familiar Crimean battles. The Turkish uniforms in particular are an absolute joy: bold colours, striking contrasts, and just enough flourish to remind you that 19th-century warfare hadn’t entirely abandoned its sense of style.

It’s a period that deserves more attention, both for its aesthetics and for the fascinating tactical challenges it presents. The asymmetry of these engagements, numerical superiority versus defensive strength, makes for exactly the kind of tense, decision-driven games that stick in the memory. Games like this are a great reminder that history doesn’t begin with the most famous moments. The early phase of the Crimean War is full of compelling scenarios, dramatic clashes, and underappreciated armies that deserve a place on the tabletop.


And from a wargaming perspective, it offers something rather special: a chance to explore a conflict where the outcome isn’t dictated by reputation, but by how well you can manage ground, timing, and sheer bloody-minded persistence.

As for the Russians’ daunting task of prising six objectives from stubborn Turkish hands? After a marathon eight-hour struggle, they fell just short—ending the day with five points apiece and a hard-fought draw. The Ottoman force was effectively shattered, but much like their historical counterparts, they had done exactly what was required: blunt the advance, buy precious time, and withdraw in good order to a new defensive line, leaving the Russians to contemplate the cost of every inch gained.

Saturday, 25 October 2025

RE-PLAY 2025 Show Report

I've just dropped my latest video, a show report covering our fantastic day at RE-PLAY 2025, the annual wargaming event hosted by the Milton Hundred Wargames Club and the Royal Engineers Museum in Gillingham, Kent. 


What truly sets the RE-PLAY show apart is its unique and incredible setting. As we discuss in the video, the games aren't simply on tables in an empty hall; they are meticulously placed amongst the museum’s jaw-dropping historical exhibits. Imagine setting up your dice and tape measure next to a piece of the Berlin Wall or a massive V2 rocket! This spectacular backdrop creates an electric atmosphere, combining the joy of tabletop wargames with the gravitas of genuine historical relics. It’s an immersion unlike any other and genuinely great for introducing the general public to the hobby.

Our focus for RE-PLAY 2025 was a deep-cut historical scenario: "The Attack on Hill 112," set during the brutal fighting in Normandy, July 1944. This fierce engagement was part of the wider British offensive, Operation Jupiter. Using the beloved Rapid Fire Reloaded rules, Reject Dan (running his first-ever show demo—a huge congratulations to him!) guided players through the assault. The British VIII Corps, spearheaded by the veteran 43rd (Wessex) Infantry Division and supported by the heavy armour of the 31st Tank Brigade—including scary Churchill Crocodile flamethrower tanks—were tasked with seizing Hill 112. This seemingly innocuous ridge was, in reality, a critical fortress commanding the battlefield.

The game mechanics perfectly captured the tension of WWII wargaming. The British faced a difficult, costly climb against entrenched German Panzergrenadiers, who were using interlocking machine guns, concealed anti-tank weapons, and deadly Nebelwerfer rocket artillery to hold the line. The German orders were strict: hold until the inevitable counterattack arrived, featuring heavy armour like Tiger I and Panzer IV tanks.

While we were incredibly busy talking to both wargamers and the general public and running our own scenario (a testament to how engaging the show was!), I managed to grab ten minutes to dash around the hall. The photos and video snippets show the sheer variety of wargaming on display. This annual event, expertly organised with the Milton Hundred Wargames Club, always draws a wide range of clubs, showcasing everything from ancients and fantasy to modern skirmish games.

Monday, 30 June 2025

A Taste of Typhoons and Trouble: A Rapid Fire Reloaded WWII Game

Over the weekend, a few of the Rejects dusted off the 15mm figures and came together for a rare WWII game—this time using Rapid Fire Reloaded. I picked up the rules earlier this year and had been itching to give them a proper run out. So, when Dan offered to host a game, I jumped at the chance. What followed was a cracking game—full of drama, unexpected twists, some triumphs, and (as always) a healthy serving of carnage. In short, it was everything a good wargame should be.

Our scenario came straight from one of the Rapid Fire Reloaded scenario books, focusing on the period between 6th and 9th June 1944—just days after the D-Day landings. British and Canadian forces were pushing inland from the beaches, facing stiff resistance as they tried to break out. Our game was set on the 9th and featured the 9th Canadian Infantry Brigade, supported by British armour, advancing inland from Juno Beach.

Historically, the Sherbrooke Fusiliers and the Nova Scotia Highlanders had pushed a bit too far ahead of their artillery support and stumbled—rather unpleasantly—into elements of the newly arrived 12th SS Panzer Division. The SS, showing unnerving fire discipline, let the Canadians roll past their concealed positions before opening fire and causing utter mayhem. The result? The Canadians were cut off and forced to withdraw. It would take over a month before this ground was retaken.

Thankfully, things unfolded a little differently on our table...


How Not to Launch an Armoured Assault

Our game kicked off with the Allied vanguard under Stuart (aka Postie), consisting of a Recce Squadron of Stuart tanks, a Carrier Platoon with infantry, an Anti-tank battery of M10s, and a support company fielding a 6pdr and a 3" mortar. Stuart wasted no time and promptly pressed down the road towards Authie, with the objective tantalisingly close beyond.


Meanwhile, I commanded the main force, made up of three squadrons of Shermans (each handily equipped with a Firefly for that extra "knock-out punch") and a HQ platoon in carriers, complete with a 2" mortar, a PIAT team, and a bonus 75mm Sherman. Thinking myself rather clever, I swung the main force to the left to outflank what I suspected was a weak German position in the centre. I had visions of a sweeping advance, tanks charging heroically through cornfields, and a quick victory. What I actually got was a faceful of hidden SS Panzer Regiment, lying in wait like a bunch of patient crocodiles in a swamp.


The trap was sprung with cinematic brutality. In an instant, I lost my commanding officer, a Sherman, and—tragically—a Firefly. The road was now blocked with burning wrecks, and I was staring down the barrels of concealed German guns from heavy woodland. So much for my grand tactical outflanking manoeuvre. If this were a Hollywood movie, the dramatic music would have cut out and been replaced by a sad trombone.


Back near Authie, Stuart was having a hard time of his own. Trying to get infantry into hard cover while dodging fire from two AT guns and a squadron of Panzer IVs isn’t what you'd call a relaxing afternoon. One of our M10s was quickly brewed up, and for a brief moment, I was genuinely worried the game might be over before we’d even cracked open the biscuits. But then... the dice gods changed their minds.


A turn of appallingly ineffective fire from Steve (commanding the Germans) gave us the breathing space we needed. Stuart made the most of the opportunity with some excellent dice rolls—knocking out a couple of Panzer IVs and, in a moment of pure vindication, taking out a German 105mm howitzer. The tide, it seemed, was turning.


In keeping with the real Normandy campaign, we Allies had the upper hand in the air. And thanks to scenario rules, we were granted access to that iconic symbol of Allied support: the mighty Typhoon. Well, it looked mighty... until we used it. Despite calling in airstrikes on three separate occasions, we failed to hit a single thing. Not so much "Death from Above" as "Mild Inconvenience from a Distance." Eventually, the Typhoon was brought down by German AA fire, at which point I considered trading in my pilot's wings for a bus ticket home. Still, at least we tried. Repeatedly. And failed. Repeatedly.


As the game wore on, our situation improved. Despite my earlier blunder, having my tank force bogged down by the 12th SS may have worked to our advantage in a weird, wargamer’s version of accidental genius. By engaging them early—though unintentionally—we blunted their ambush. Had they waited until we were fully committed down the centre, they'd have been shooting into our sides and rear armour. Instead, we faced them head-on and slowly but surely began knocking them out one by one.

By this point, we'd seriously depleted the German armour. The battlefield was littered with burning wrecks, and the Allies were (somewhat battered but still breathing) in control of key positions. Cruicially, there was nothing between us and our ultimate objective at Franqueville. With the game tipping firmly in our favour, Steve sensibly decided that the Germans would have withdrawn and conceded the ground.


Final Thoughts

Considering how the game started—with burning Shermans, a dead CO, and a failed airstrike—I don’t think Stuart or I saw victory on the cards. But that's the joy of wargaming: just when things look bleak, the dice throw you a lifeline, your opponent has a wobbly turn, and your Firefly remembers how to aim.

All in all, it was a thoroughly enjoyable game with good friends, great models, and more drama than a Sunday night war film. Rapid Fire Reloaded worked brilliantly, and I’m already itching to get it back on the table again... Minus the uncooperative Typhoon! Indeed, I'm considering how I can use these rules with my 6mm North Africa collection, which hasn't seen the light of day in many years. 

Until then, keep your dice high and your morale higher!

Wednesday, 5 February 2025

The Battle of El-Qa - A Biblical clash of arms near Kadesh

Over the weekend a handful of the Rejects gathered at the Shed-o-War for a rare Biblical/Ancients game. Stuart got his collection of Egyptians and Hittites out of storage and three of us had a very entertaining set-to on Sunday. Colin took command of the Egyptians, with a slightly smaller but better quality army than the Hittites commanded by Surjit and me. The resulting game was an interesting tussle where first one, then the other side, had the advantage. 

After deployment, the Hittites (closest) put all their Chariots on the right wing against a deep formation of mostly bow-armed light troops.

Meanwhile, Colin deployed most of his archers on a small hill and had his smaller chariot force on his right wind facing spearmen on the Hittite left (my command)

Ready for the game to commence, neither side is sure their deployment is wise...only time will tell.

We placed all the Hittite Chariots on our right wind and Surjit's job was to break and turn the Egyptian flank. 

On our left flank, I had several units of good quality spearmen which I hoped would be enough to deal with the smaller Egyptian chariot force facing me. 

The Hittite centre was mostly medium infantry with spears and a line of bow-armed open-order units. 

The Egyptian chariots were smaller but one of those units are elite nobles. 

The Egyptian archers were leathal, but were grouped together rather than spread out so for much of the game they couldn't all fire at the same time. 

The Egyptian chariots rout my javelin men and smash into a unit of spearmen.

Fortunately the Spearmint held firm and won the melee, sending the Chariots back. 

Behind this I had formed a string line of spearmen, many armed with shields. They were able to repel a similar charge by the second Egyptian chariot regiment. 

IN the Egyptian centre, Colin was having a few command and control problems, with some units not moving because they were out of command range. 

Surjit's chariots start to engage with the light infantry screen, running down any units foolhardy enough to try and stand their ground. 

The centre looks pretty evenly matched, but the flanks are where this game will be won or lost. 

With the Egyptian chariots repelled my infantry began to advance. I still had to be wary of the remaining chariots, they could always come back and hit a flank, so I was cautious. 

By now Surjit's chariots have started to get behind the Egyptian flank. There is still heavy fighting to be done, but it looks like the Hittites have the upper hand at last. 

My spearmen start to take heavy casualties from the Egyptian Archers. Fortunately, the archers have decided to advance, closing the gap and presenting an opportunity for my men to charge in. 

The centre spearmen units are being decimated by archery fire, but either side of them are other units, including one which has not taken any casualties. It charges and reaches the flank of the Egyptian archer units. Payback time!

More Hittite Spearmen are rushing towards the front, but the battle is nearly over. My attack on the spearmen routs them and the follow-up charge routes another unit....

Meanwhile (in a blurry picture, sorry) Surjit has completely turned the Egyptian flank and is just one quick dash away from capturing their camp.

Colin wisely decided enough was enough at this point and conceded defeat. A great game that challenged everyone and made us all work hard for victory. 

Friday, 3 May 2024

The Battle of Beaumont 1870 - Quick Strike Battle Report

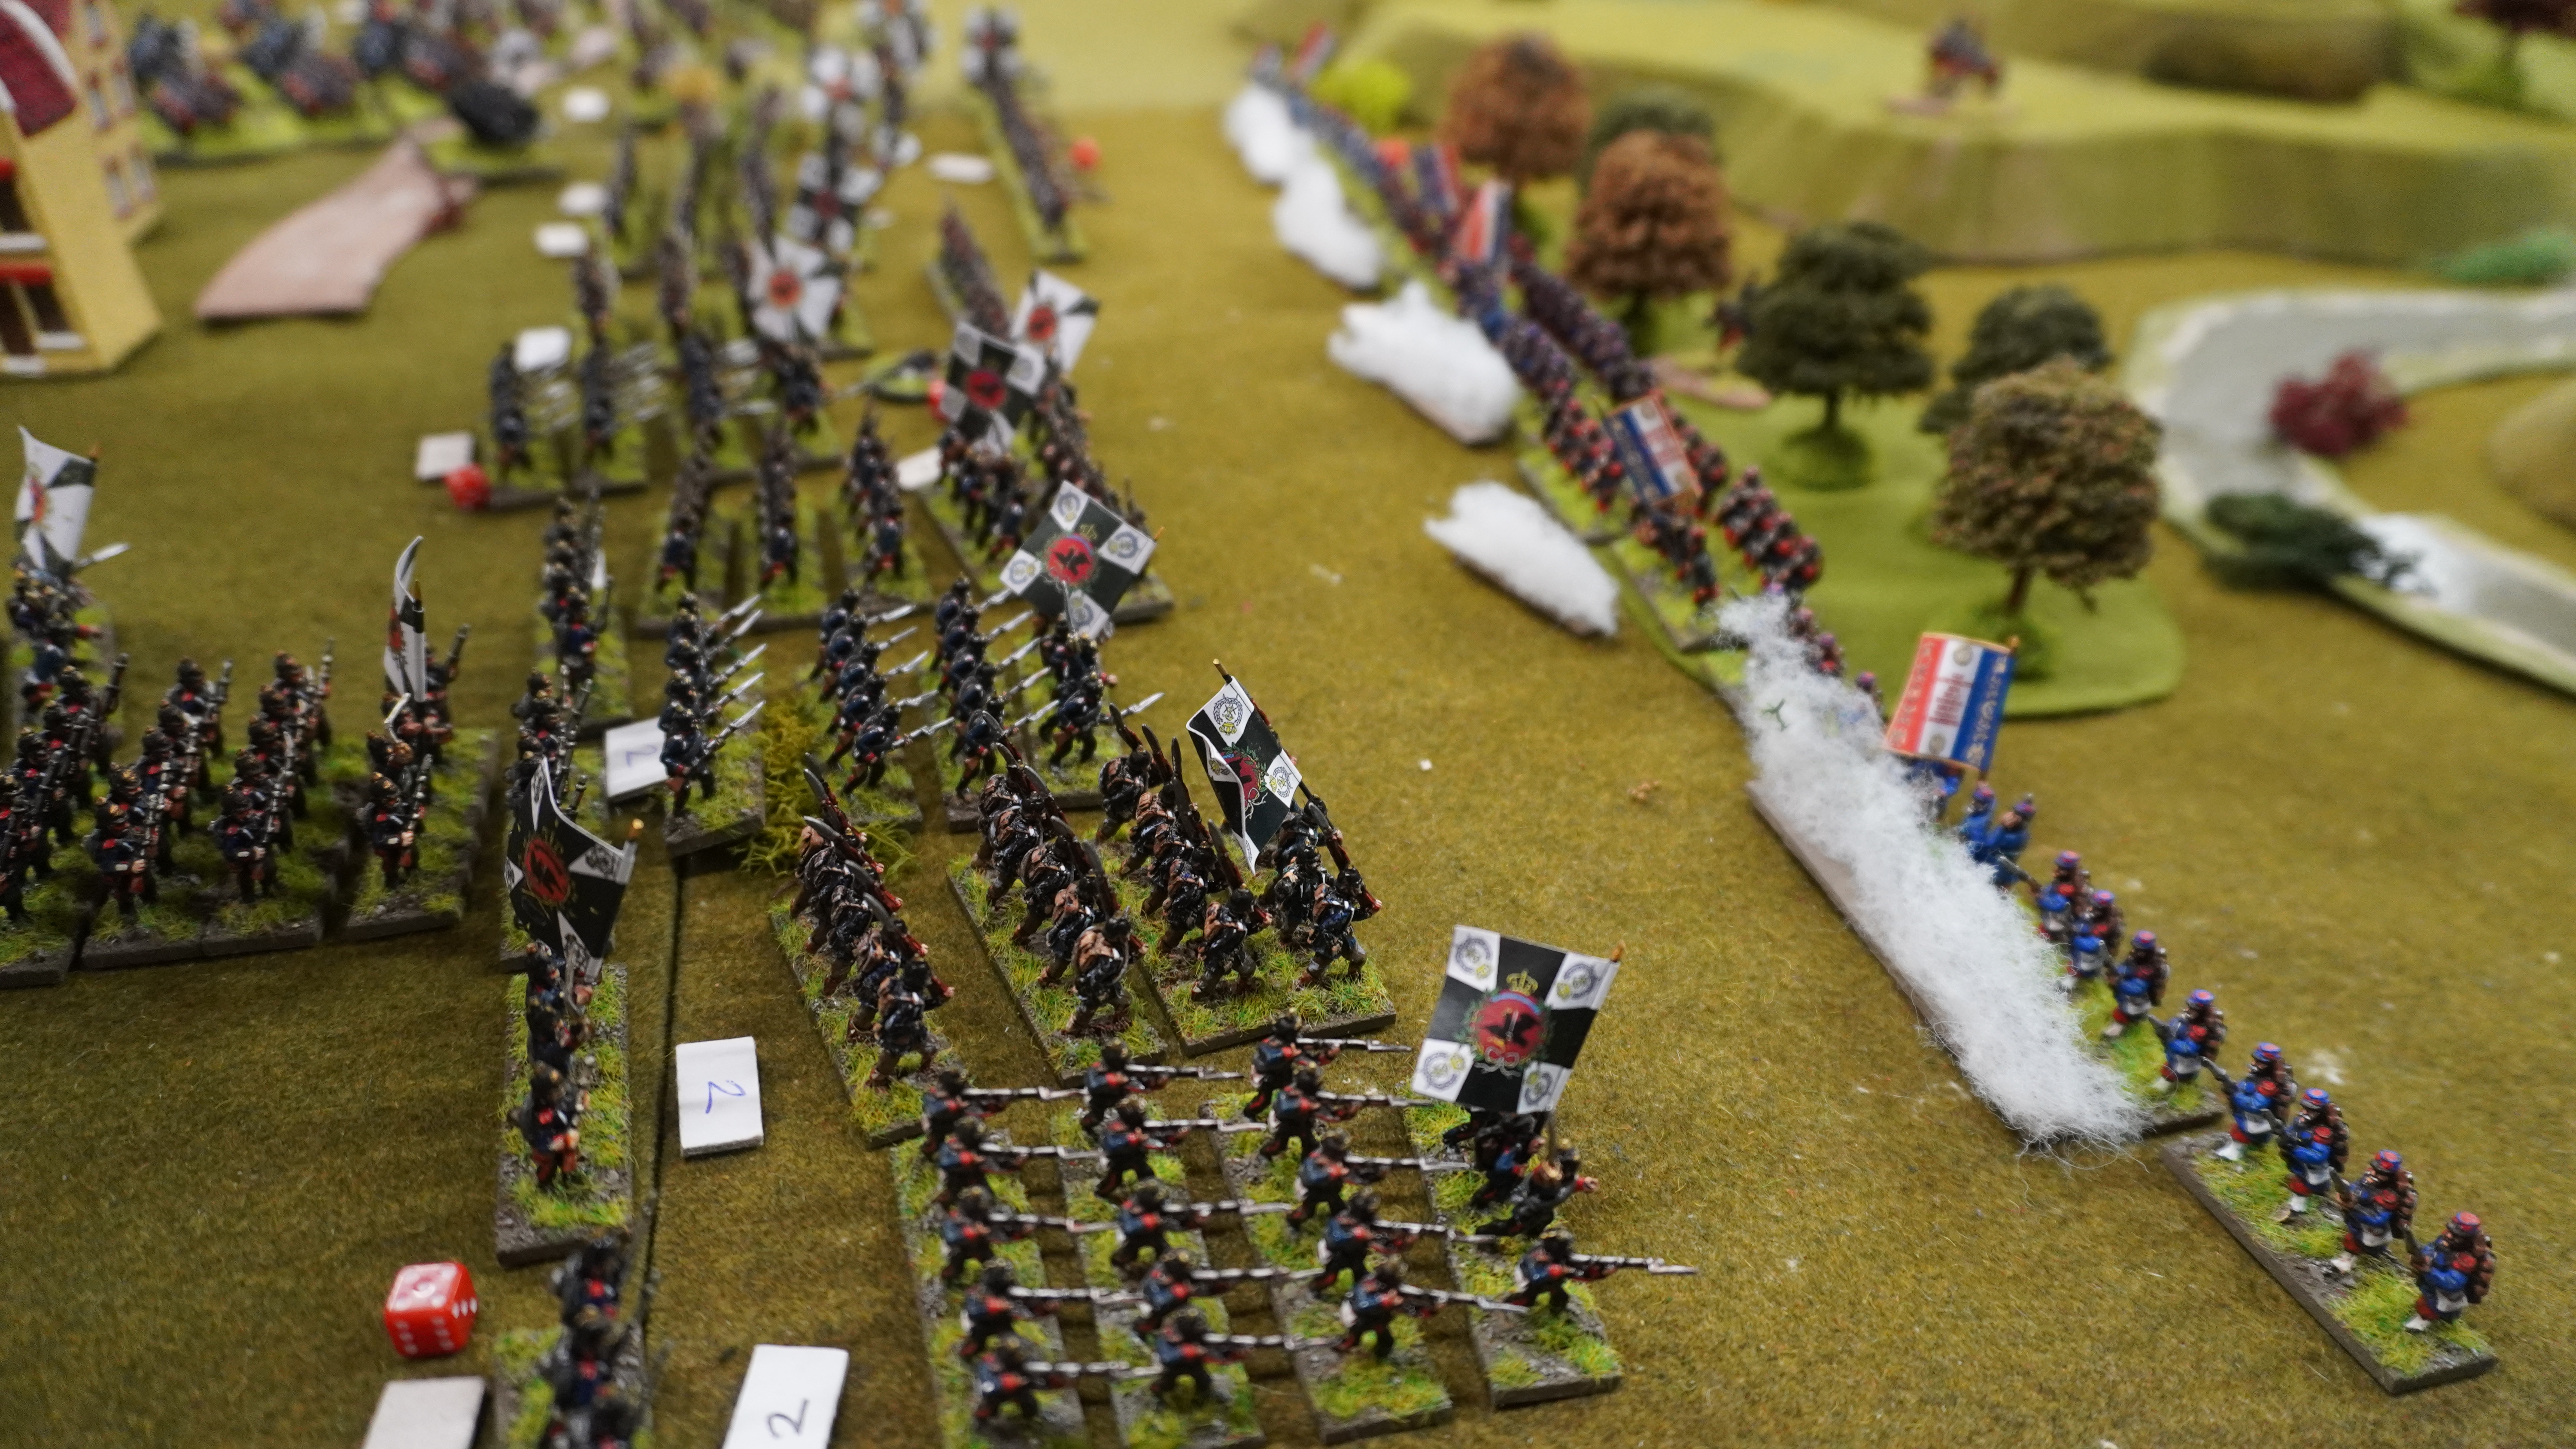
The Battle of Beaumont took place in 1870 during the Franco-Prussian War. This game sees the French conducting a fighting withdrawal in the face of intense German pursuit. We used They Died for Glory as the rules for this 15mm wargame and the end result was a very close run contest. 


For more details, army lists and maps please check out Richard's blog posts on this game:

Wednesday, 1 May 2024

The Battle of Beaumont 1870 - Franco-Prussian action in the shed-o-war

Over the weekend the Rejects got together for another game of 'They Died for Glory' refighting part of the Battle of Beaumont which took place during the Franco-Prussian War. The game commenced a few hours into the start of the battle as the French began a fighting withdrawal and the Prussians did their utmost to catch and destroy this Corp before it crossed the Meuse. 

I was going to post a long, detailed battle report here...but I'm trying to knock a Quick Strike Battle report video instead. So in the meantime, I highly recommend checking out Richard's Blog My Wargaming Habit and his posts on the prep for the game and a review of the battle as it played out. I'm hoping to have my video ready by Friday or Saturday and of course, I will post a link to that here when I have it completed. In the meantime here are a couple of 'teaser' pictures of the game. 


Friday, 12 April 2024

Hunting Big Cats in the Normandy Bocage

Tiger Tanks and Panzerschrek teams lurk in the woods and Bocage of Normandy 1944. This What-a-Tanker battle report combines several games testing out my supplementary rules that bring Panzerschrek anti-tank teams into the game.   


The rules are nothing fancy, just an A4 sheet of very basic rules using tokens (some of which are Blinds) for the movement of Panzerschrek teams in the Normandy Bocage in the summer of 1944. If you want a copy just drop me a line with your email address and I'll be happy to send them to you.

Saturday, 6 April 2024

Sergent O'Reilly's Charge - A CoC Battle Report

I've decided to give some of my old games a second life by turning battle reports from my blog into a series of Quick Strike AAR videos. This week I'm revisiting a solo game of Chain of Command that I played in 2020. These transformations into video content are only possible because I take so many pictures during games that most never made it onto the blog, so have never been seen before. My back catalogue of pictures from games and shows currently stands at over 90,000 pictures...so I have plenty of material I can share!


Saturday, 23 March 2024

The Battle of Froeschwiller-Worth: Battle Report

A short Battle Report of a recent game set in the Franco-Prussian War of 1870-71. The Battle of Froeschwiller Worth took place on the 6th of August but both sides had been planning and preparing for a battle on the 7th of August. However, forward elements of the Prussian army began to engage the French around Worth and this eventually developed into a full-scale battle, that neither side was wholly prepared for. 


Richard's Battle Report of this game

Ray's Battle Report of this game