Sunday saw the Rejects gather yet again in Posties Shed-o-War for yet another French Revolution period battle using Richard's excellent homebrew rules. These are the rules we used for our Demo game at Broadside in November and we all agreed at the time we needed to play more games to really get the mechanics of the rules pinned down. Aside from being an excellent game experience for all of us, I think it's also been a useful bit of playtesting, especially this game where we encountered some situations that we haven't had to deal with for years.
So I need to start this Battle Report with a huge apology. I was so invested in the game that I hardly shot any pictures and certainly didn't have time to make notes, so this is more like half of an AAR. That being said I did get a couple of cracking shots that I thought worth sharing and hopefully, Ray will have a fuller write up on his blog Don't Throw a One.
So this battle sees the action shift to the Lower Rhine (our earlier games took place in Italy) and the Austrian commander Archduke Charles has handled the Imperial army well, plays a careful game of manoeuvre with the French Army under General Moreau. The Austrians realise it is important to prevent a French breakthrough from the Rhine to the Danube and thus force an Austrian defeat. The French have however managed to bring about an engagement although the final position of the battle has yet to be determined (more on that in a moment).
The French meanwhile have been trying to fulfil the orders of the Directory and push the Austrians back to the Danube to link up with the Army of Italy. This would force the Austrian Emperor to make peace. Archduke Charles has been successfully avoiding a pitched engagement but now the French have finally brought him to battle.
The Pre Game Phase
Surjit and I took command of the French Army of the Rhine and for reasons completely unknown to myself, Surj trusted me with most of the troops in the centre of our line (I'm not known for my prowess with Napoleonic troops!). This effectively put me in charge as I would be taking on the bulk of the fighting and Surjits units had to coordinate with my attack. It has to be said we didn't necessarily know that when the game started because Richard introduced a clever mechanism for deployment and a chance to change the terrain, representing the two sides jockeying for position.
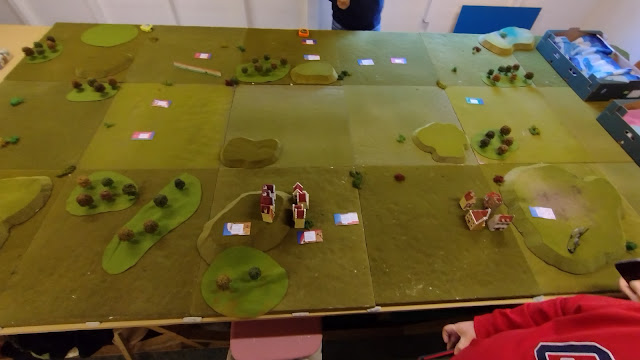
Both sides were given cards each representing a Brigade plus a couple of dummy cards. We then had to decide where to place these along our sector of the table edge. This done, both sides were then given another pack of cards with a range of options written on them. We each had to choose 12 cards from the deck and two sets were then shuffled into a 24 card deck. Three cards were then dealt with each side. Each turn of this 'probing phase' we drew an extra card from this deck and had to play one card from this set of four. The cards included things like: Placing a Farm or hill on the Tabke; Removing terrain items; moving terrain elements sideways or across the table; Moving units (we still didn't know which were real and which were blank at this stage). This continued until either one side had picked up two 'disadvantages', or both sides agreed to stop, or when the main deck had been used up. The result was that neither side had total control over the terrain or their own deployment.

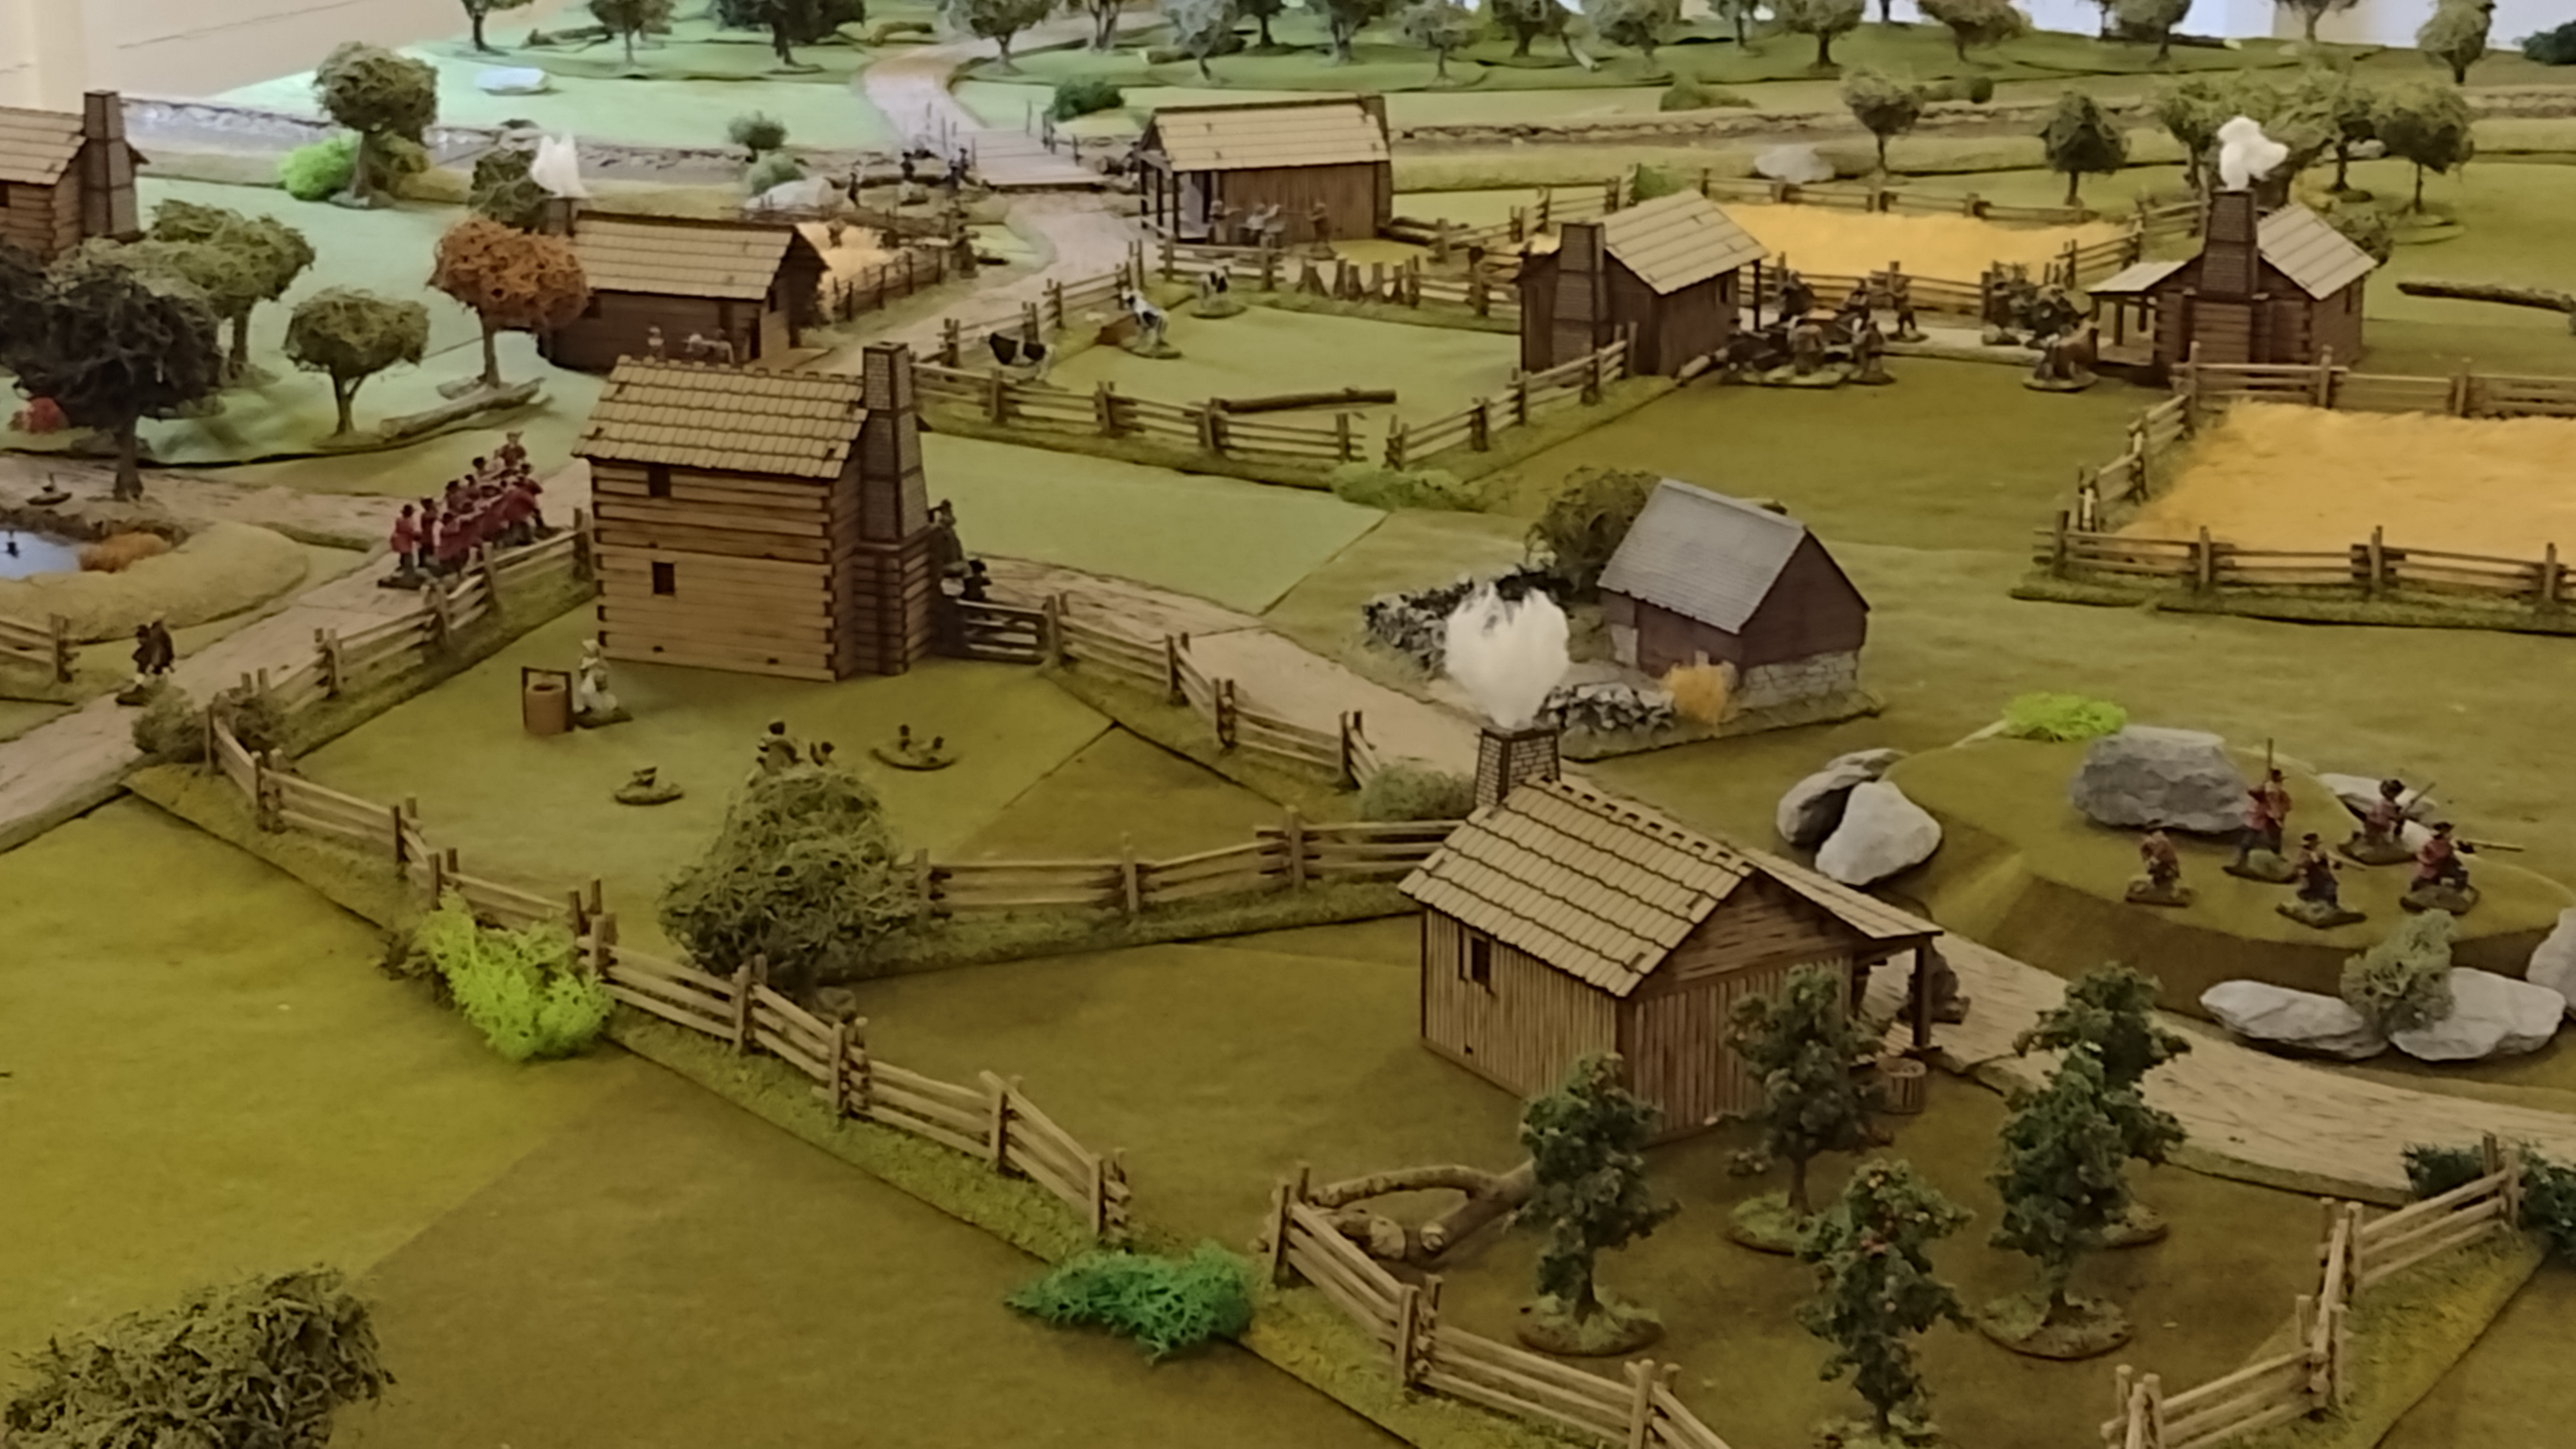
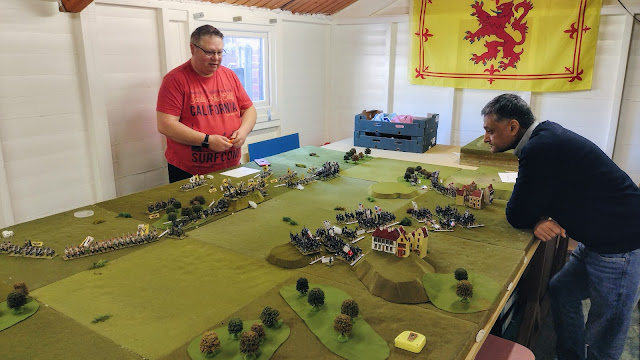
With this phase over Richard then set up the Brigades where our unit cars indicated and both sides were then given a frantic ten minutes (and not a second longer!) to change formations or shift the orientation of units. The earlier phase meant that most of our units need up in a single 2ftx2ft square and it was so cramped it looked a bit like Picadilly Circus! We had a plan though, and so long as we didn't get our units muddled up, or hesitate with our moves, we were confident we could win the game.
The French Plan
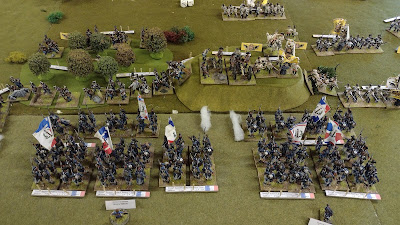
So our plan was simple. Form as many units into Attack Columns as we could, with some regiments in skirmish formation to the front to shield the columns behind. Then we pointed ourselves at the enemy and marched as fast as our little french legs would carry us towards the Austrian line! Unfortunately where we were positioned necessitated a slight diagonal march to reach the part of the enemy line we wanted to hit but in the end, we only lost one turn of movement to get all our units aligned for a simultaneous attack.
My command was the main attack with five Regiments in attack column pointed at the centre of the Austrian line. Surjit was assigned to protect my right flank and I had some cavalry on my left that kept the Austrian flank sat in position for most of the game. Of course, no plan survives contact with the enemy and the Austrians were not idle in allowing us to do whatever we wanted. Initially, our plan worked, hitting the enemy in a coordinated attack that threw them back from their positions. The follow up was less well coordinated due to casualties and moral reductions...but I'm jumping ahead of myself a little.
The Austrian Plan
Well, it's hard to put words in their mouth but given the way they were deployed, I think it is fair to say they took a defensive posture from the start. Using a line of forest and hills (and some late-appearing wall) they lined up and dared the French to attack!
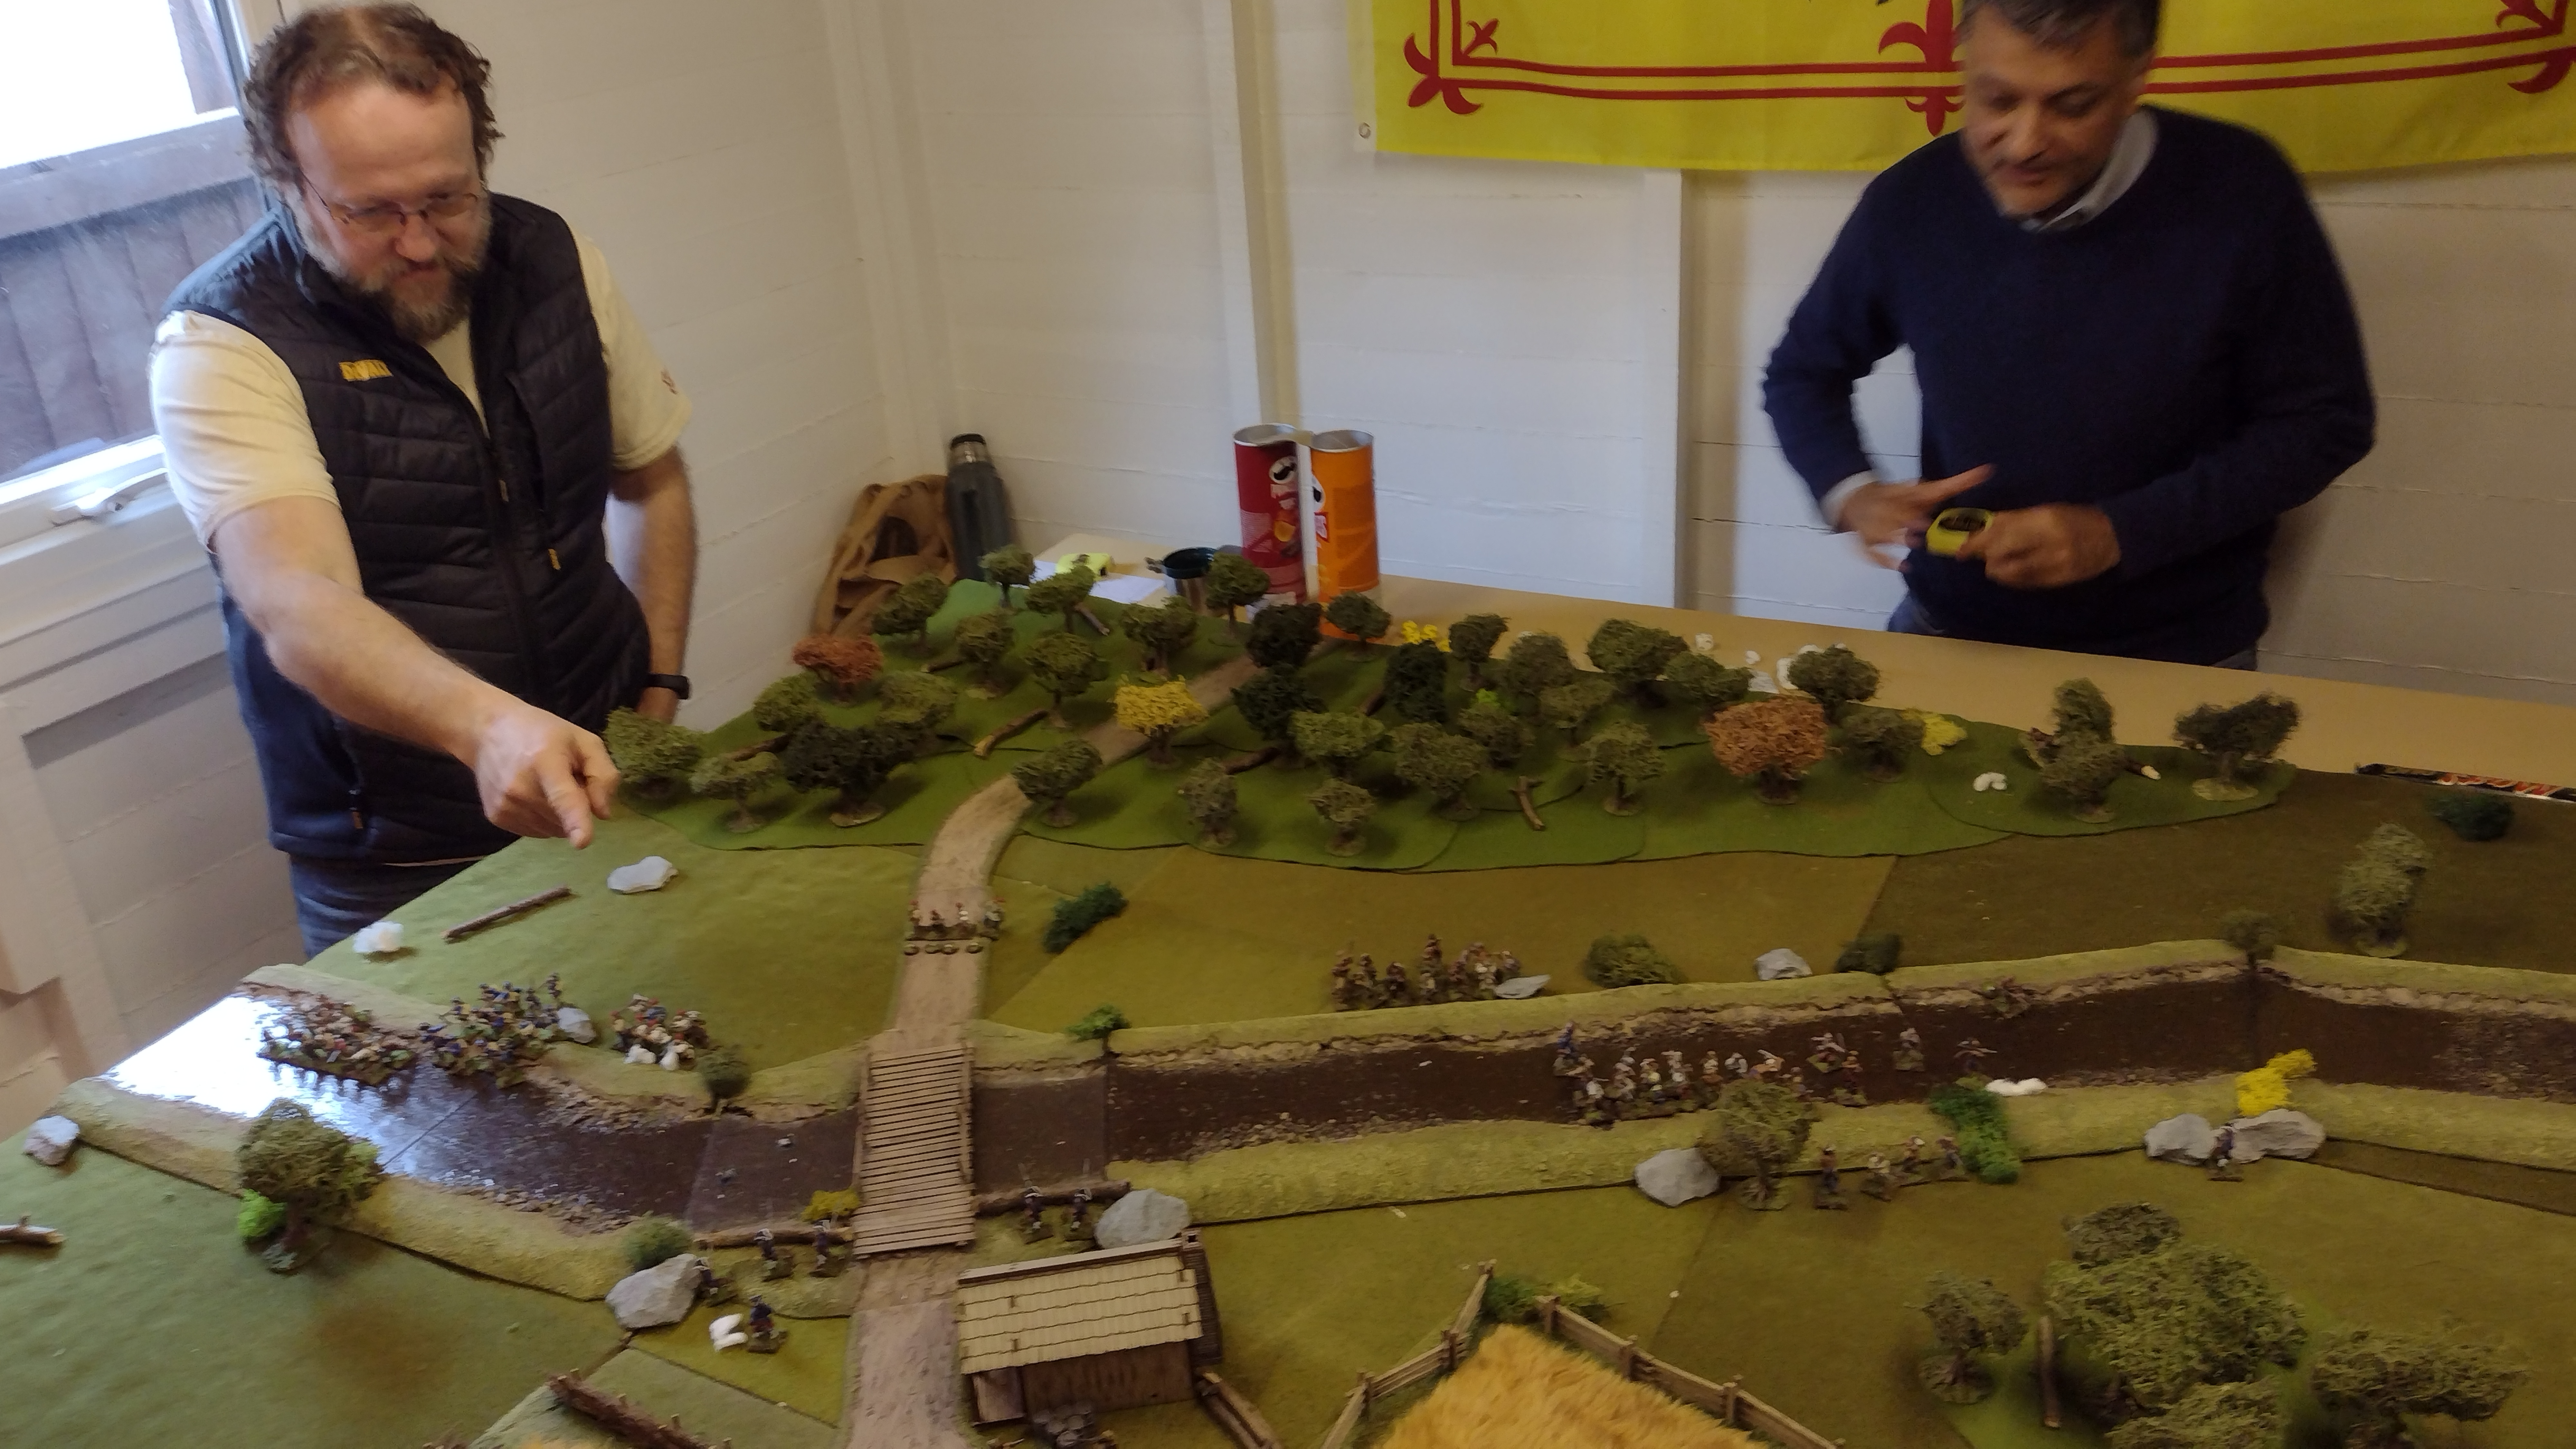
The ActionThe first couple of turns worked perfectly for me and Surjit. Richards rules involve an opening phase with Artillery Fire, Skirmish Fire and then Volley Fire, if the commanders choose to do so. Any actions used at this stage reduce the actions available in the following Action Phase and while it may be beneficial to fire as quickly as possible, there are also advantages for a defender in letting the enemy get closer. During the Action Phase each side then rolls for initiative and the winner can choose to move one of his Battalions or force the opposite side to go first. This worked for the french because the Austrians had opted to hold their fire until we got closer, but by forcing them to use their remaining actions before we moved we remained out of rage (or at long range with their medium gun). The result was we were able to shift our columns into position largely unmolested and begin the advance on our targets.
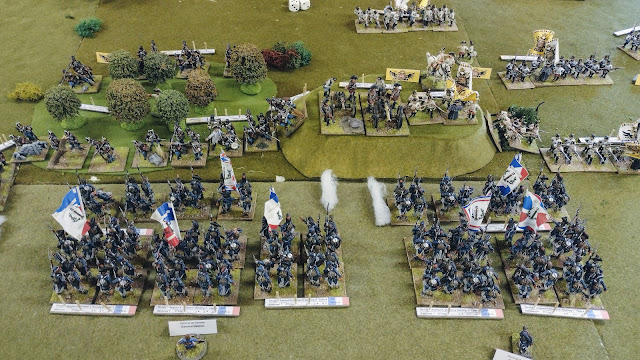 |
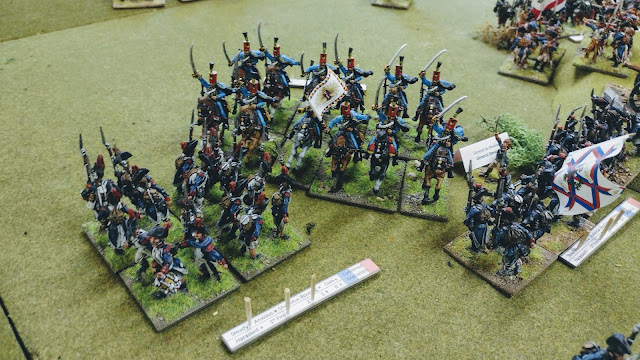
| By the end of the second turn, my brigades were in a position to smash into the Austrian line. My Skirmish units had done their job and the attack columns behind were largely unscathed. |
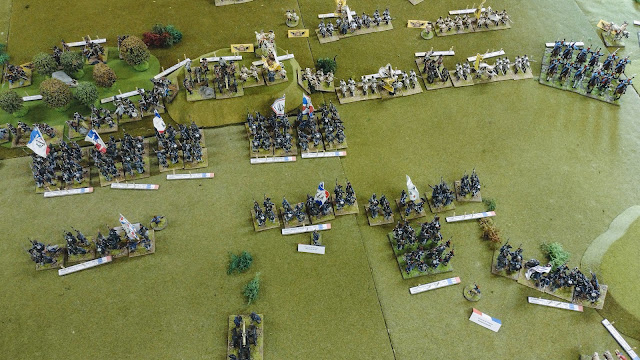 |
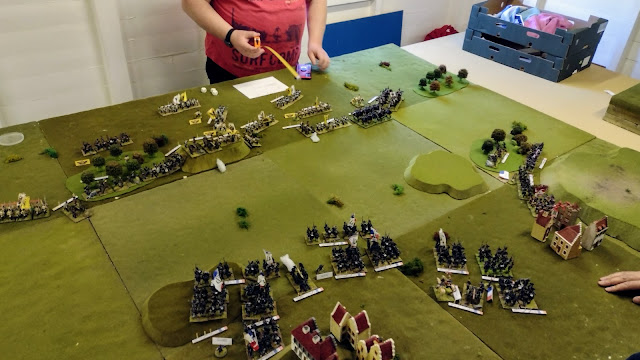
| Unfortunately, Surjits start position meant he was slightly behind me and then didn't move forward aggressively enough to support my flank. Ideally, I would have liked to have had one or two of his Regiments in attack column next to me. However, he was rightly concerned by the Austrian Cavalry on the right of this picture. That being said he had another Brigade out of shot on the right that I think ought to have pushed further forward to hold the cavalry away from our centre...but hindsight is a wonderful thing and rarely suffers the uncertainty all commanders deal with in the middle of a battle! |
 |
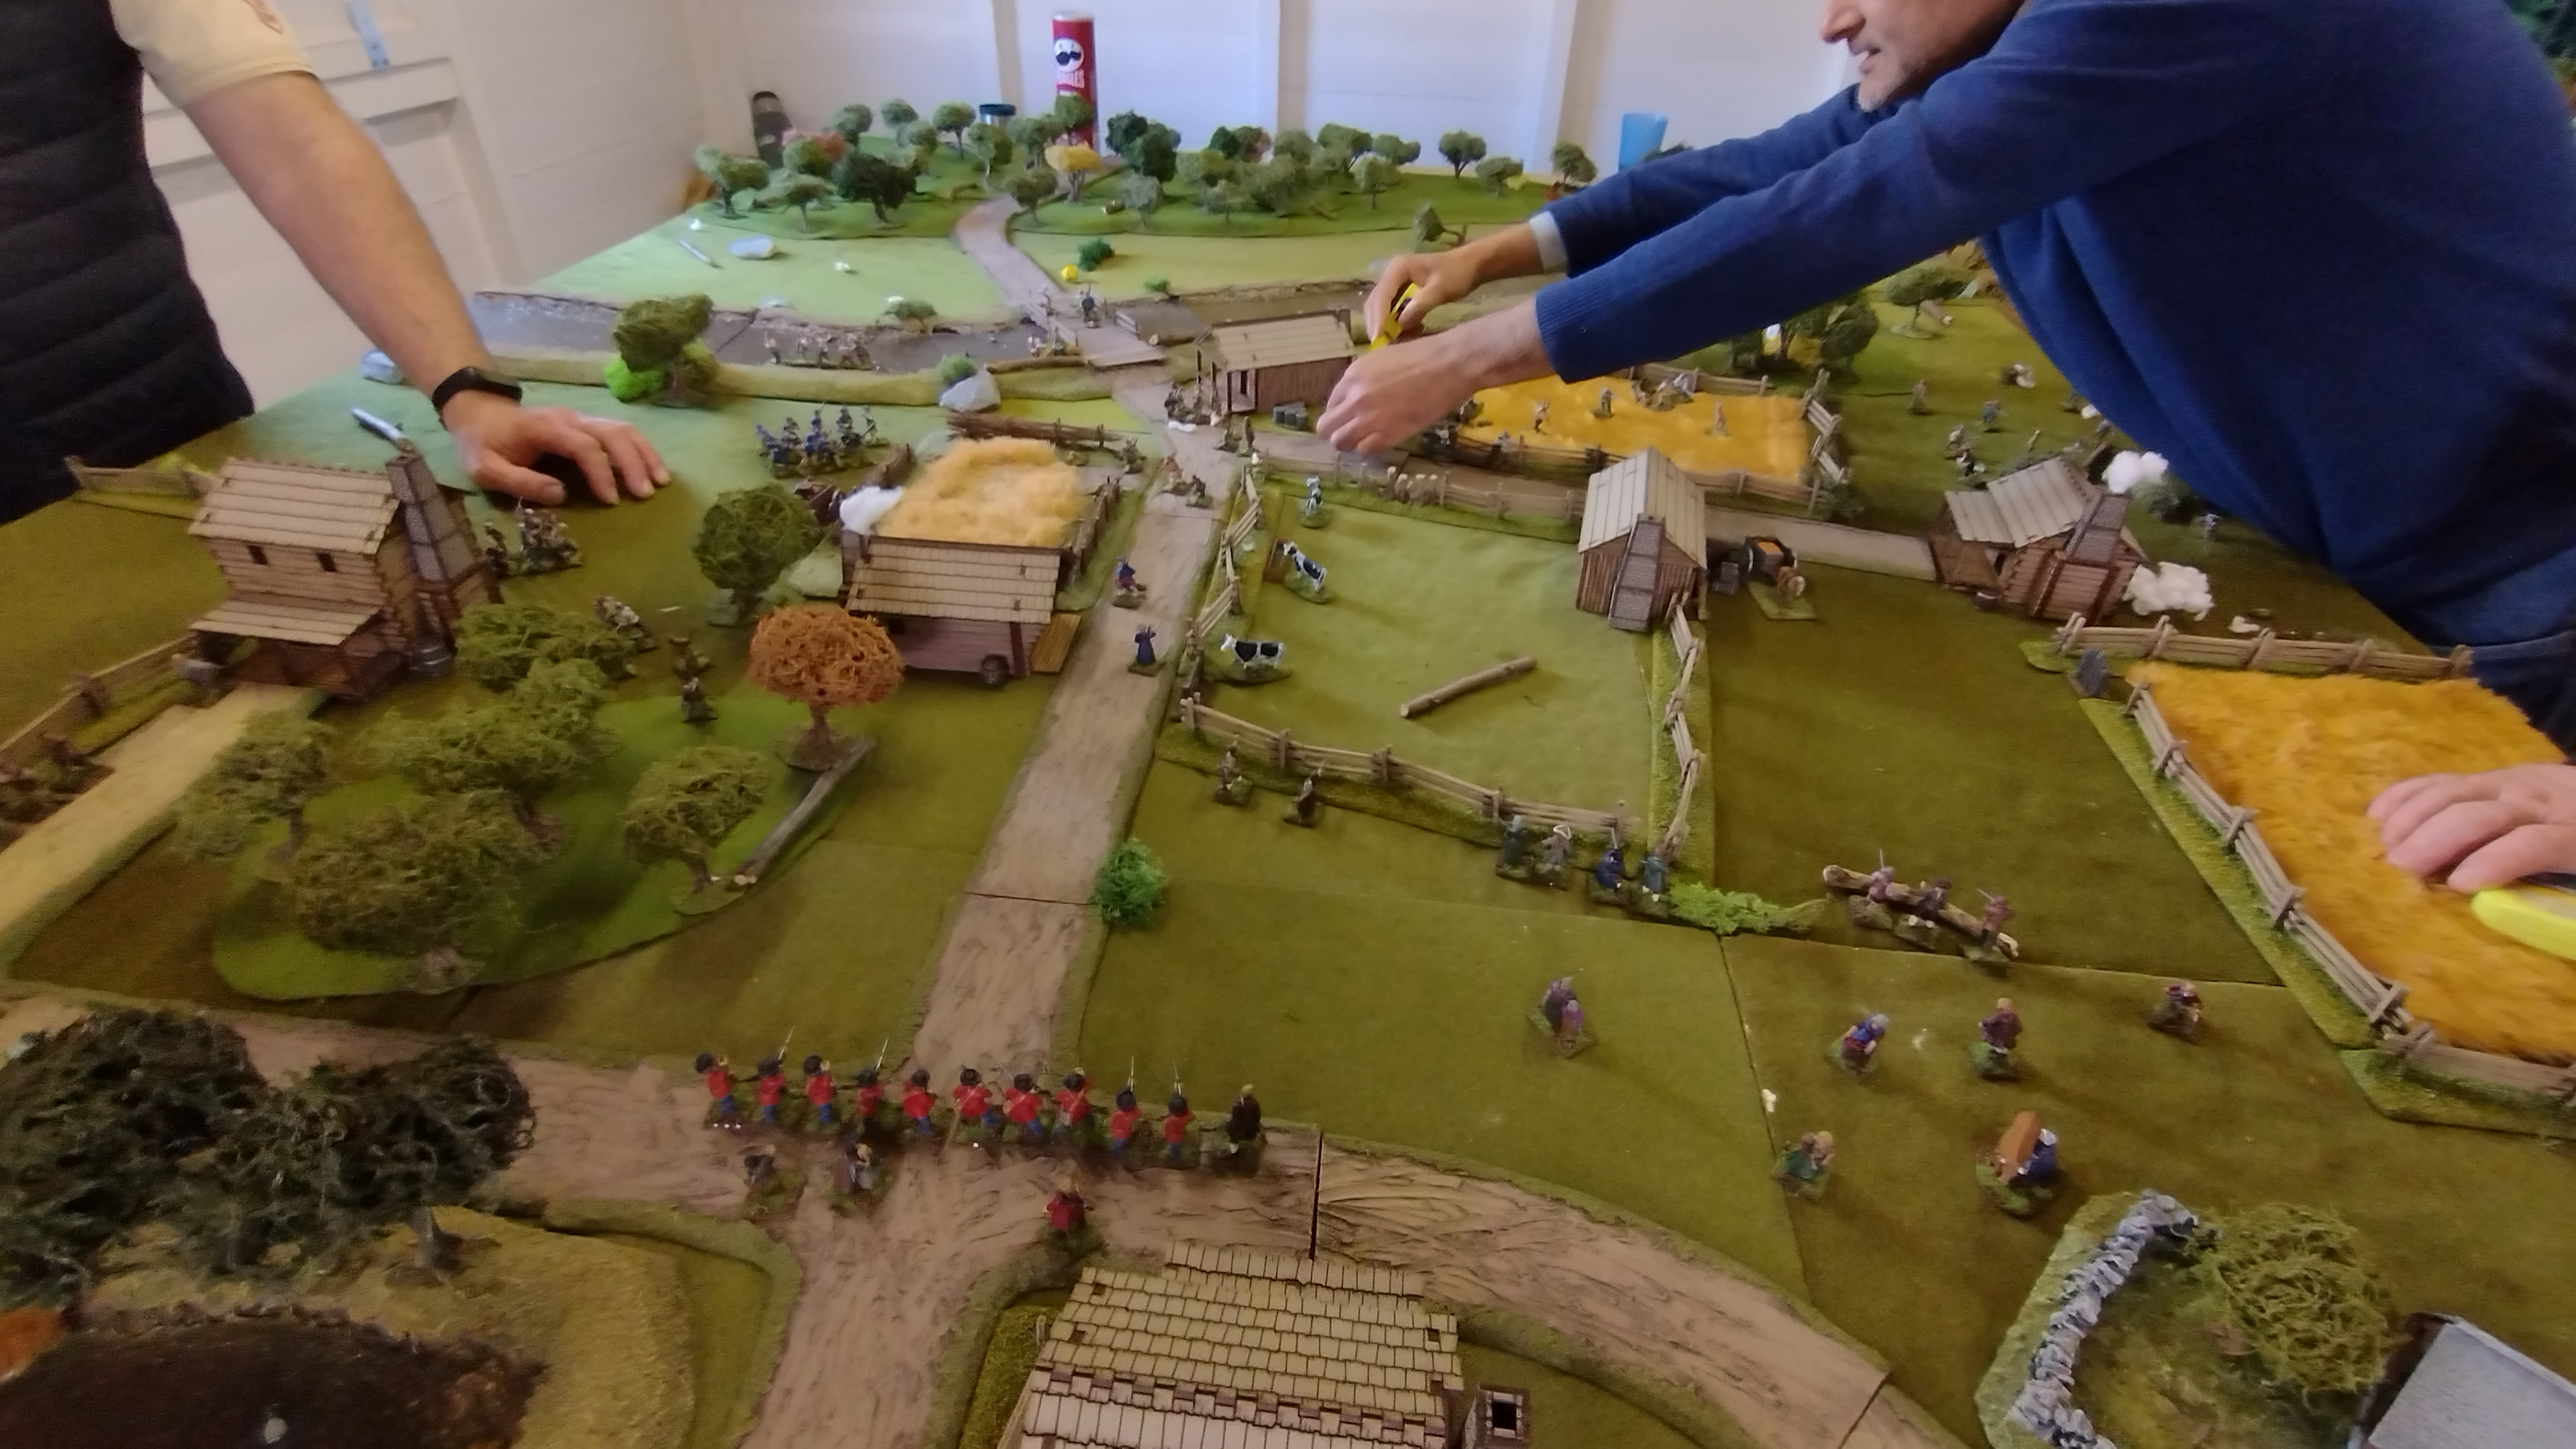
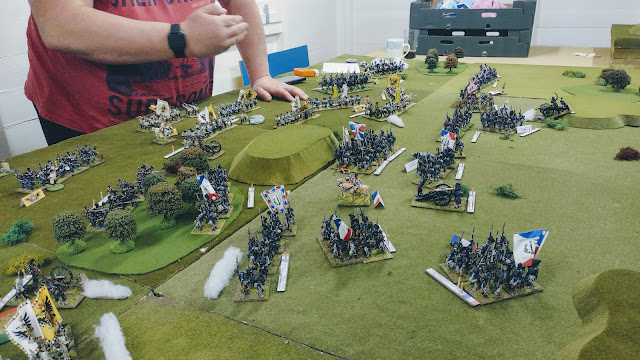
| My attack goes into the centre winning all but one of the Melees. I destroy one gun, force another to retreat and send three enemy regiments reeling backwards. But the Austrians have prepared their defence-in-depth and I bulk at the idea of throwing forward lone units into the Austrians. At one point one of the retreating regiments had its rear to me and I was certain I would hit it, but a good morale test and they were able to turn around. In Richards rules, units from the same Brigade may provide supporting fire against charging enemy regiments and I considered the cost of a follow-up assault to be too high. Was I wrong? Ray thought so, but I was thinking about the casualties I had already taken and wanted to conserve my fighting force. |
 |
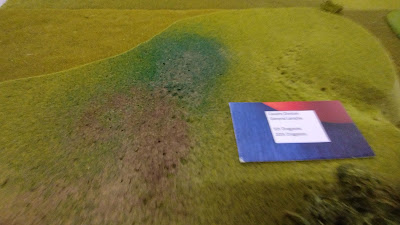
| Meanwhile, the Austrian Cavalry charge into Surjits Brigade. They sweep aside the skirmish screen and plough into a regiment of Grenadiers in a square... it doesn't end well for the Austrians, but it was a valiant effort and a sight to behold. |
 |
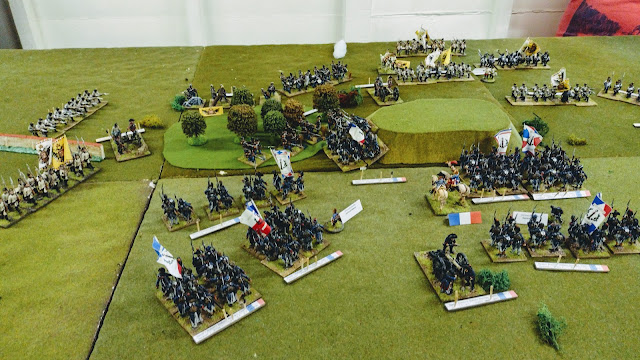
| Our attack has stalled. Many of my units have dropped morale grades and I use actions to make morale checks to recover them to 'Steady' so I can get them back in the fight. Meanwhile, Ray and Steve are doing the same with some of their regiments. But with the Austrian cavalry repelled Surjit has started to push his flank forward and I feel ready to renew my push in the centre. My Brigade in front f the woods changes its facing slightly towards Steves Brigade (this Brigade has spent much of the game sat in a standoff with my French Cavalry, much like Surjit and the Austrian Cavalry at the other end of the Battlefield). |
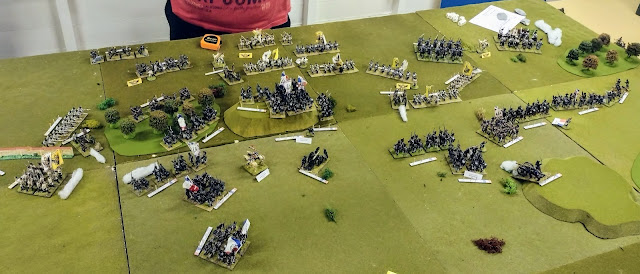 |
| More or less the final positions of the game. We were running out of time (we'd been playing for eight hours at this point!) so Richard called it over and then we all waited with bated breath to find out who had won. Both sides had fought hard. The French controlled much of the battlefield but the Austrians were by no means out of the battle so it was unclear who had the upper hand as darkness fell. |
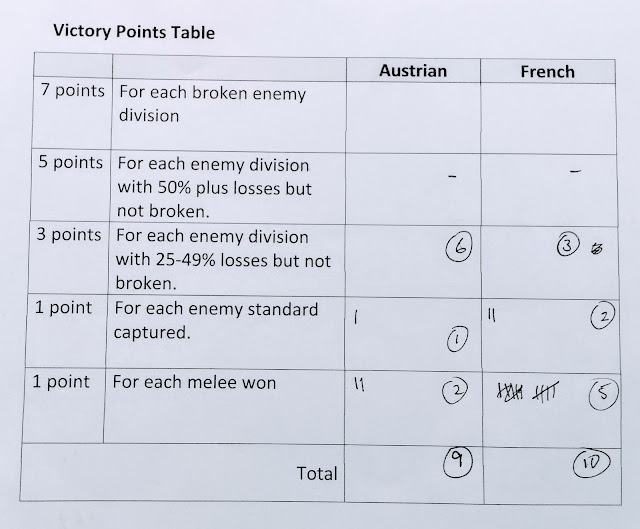 |
| A narrow French Victory. The points for melee's fought and casualties taken are a testament to the intensity of the fight in the centre of the line. |
 |
| Not sure if you can actually read this, but these are the Orders of Battle for both sides and the record of casualties taken. |
Conclusion & Analysis
Well, once again I have to say we had a cracking good game with Richards rules. They play pretty fast and while they seem complicated to start with there is a definite flow and logic to them that we all enjoy. The additional mechanism used at the start to arrange the battlefield was an added element of fun and was almost a mini-game in its own right. Amazingly this is my third consecutive win of the year with a period that I have not had much success with in the past.
I should also mention that we were joined by a new recruit to the Rejects, Steve. We met him at Broadside in November and as he lives relatively local we decided to invite him around for a game. He played well on the day, took the defeat in good humour and most importantly laughed at all our jokes! We hope to see him again at future games.