Showing posts with label Fire and Fury. Show all posts

Tuesday, 28 November 2023

Battle of Neds Cabin: Fire & Fury revisited

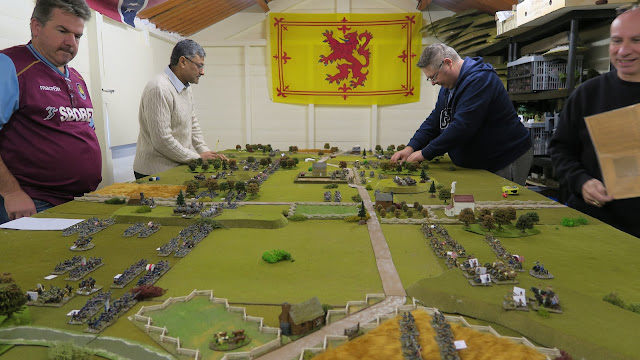
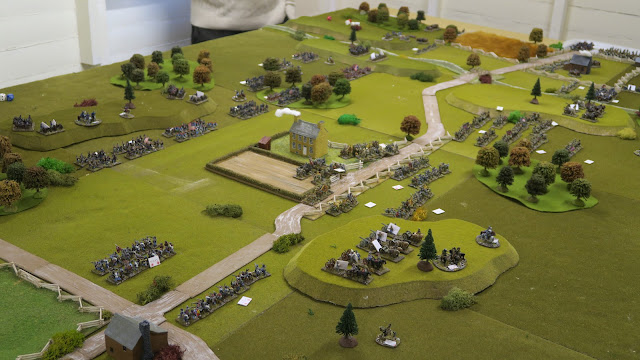
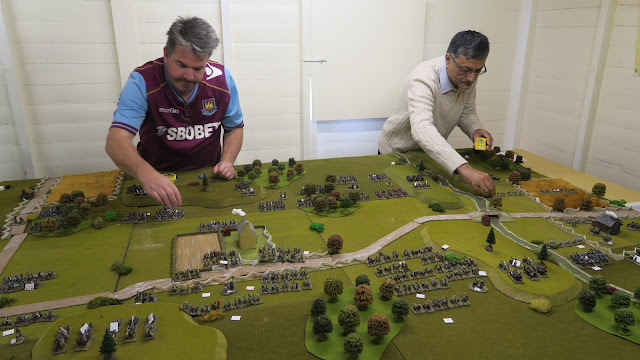
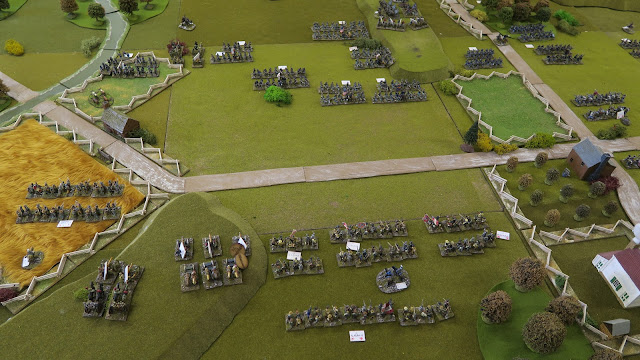
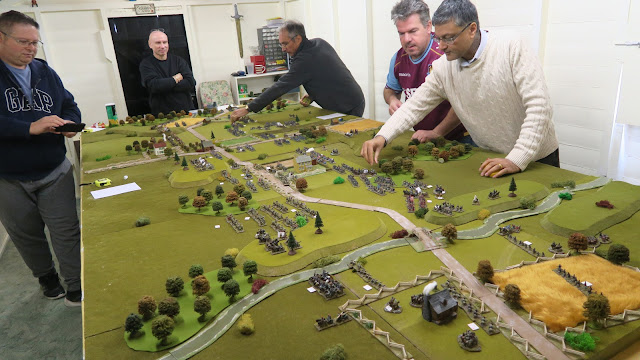
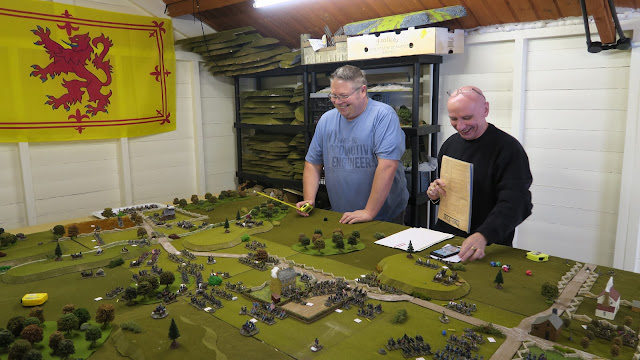
Posties Rejects got together at the weekend for some ACW action using Fire & Fury. I haven't played these rules since 2019 but we all picked things up quickly under Stuart's watchful gaze. 

Union Order of Battle
3rd Corp c/o McDowell
1st Division (c/o Hatch) 1st, 2nd, 4th & 6th Wisconson + Gun
2nd Division (c/o Ricketts) 1st, 2nd, 3rd & 5th New York + Gun
3rd Division (c/o Reynolds) 1st, 2nd, 3rd & 4th Pennsylvania + Gun
Cavalry Division (c/o Pleasanton) Vermont Cavalry & Gun
+ Reserve Artillery (dice for quantity in 2nd turn)

Confederate Order of Battle
2nd Corp c/o Jackson
1st Division (c/o Starke) 1st, 2nd, 3rd & 5th Virginia + Gun
2nd Division (c/o Lawton) 1st, 2nds, 4th and 6th Arkansas + Gun
3rd Division (c/o AP Hill) 2nd, 3rd, 5th & 6th Alabama + Gun
Cavalry Division (c/o Wheeler) Texas Cavalry
+ Reserve Artillery (dice for quantity in 2nd turn)

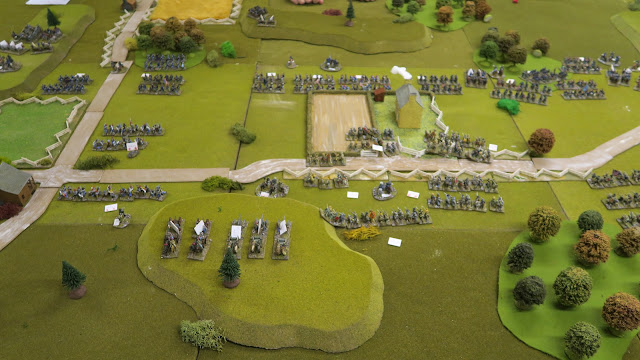
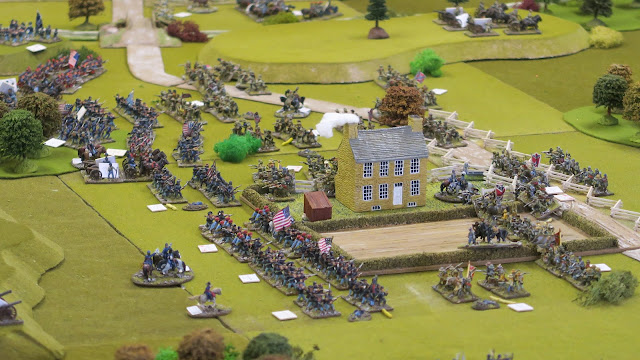
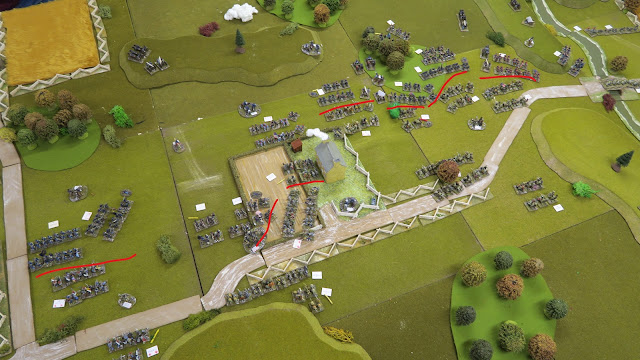
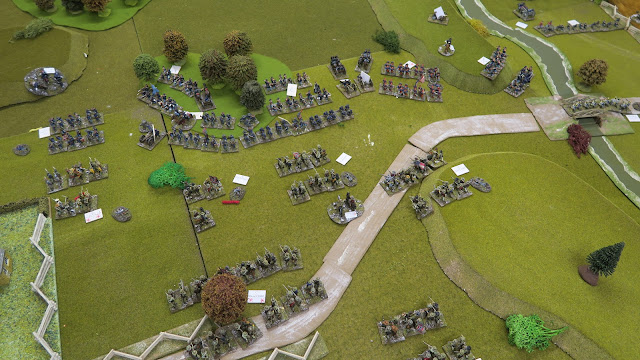
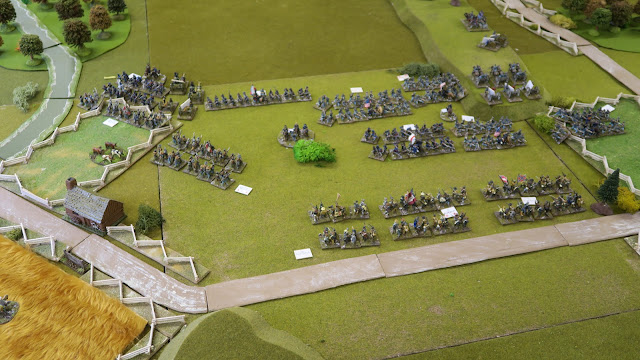
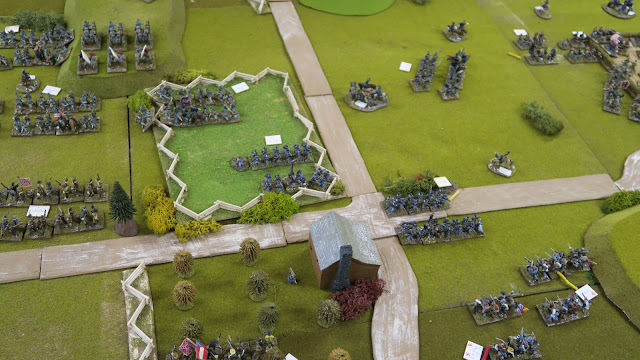
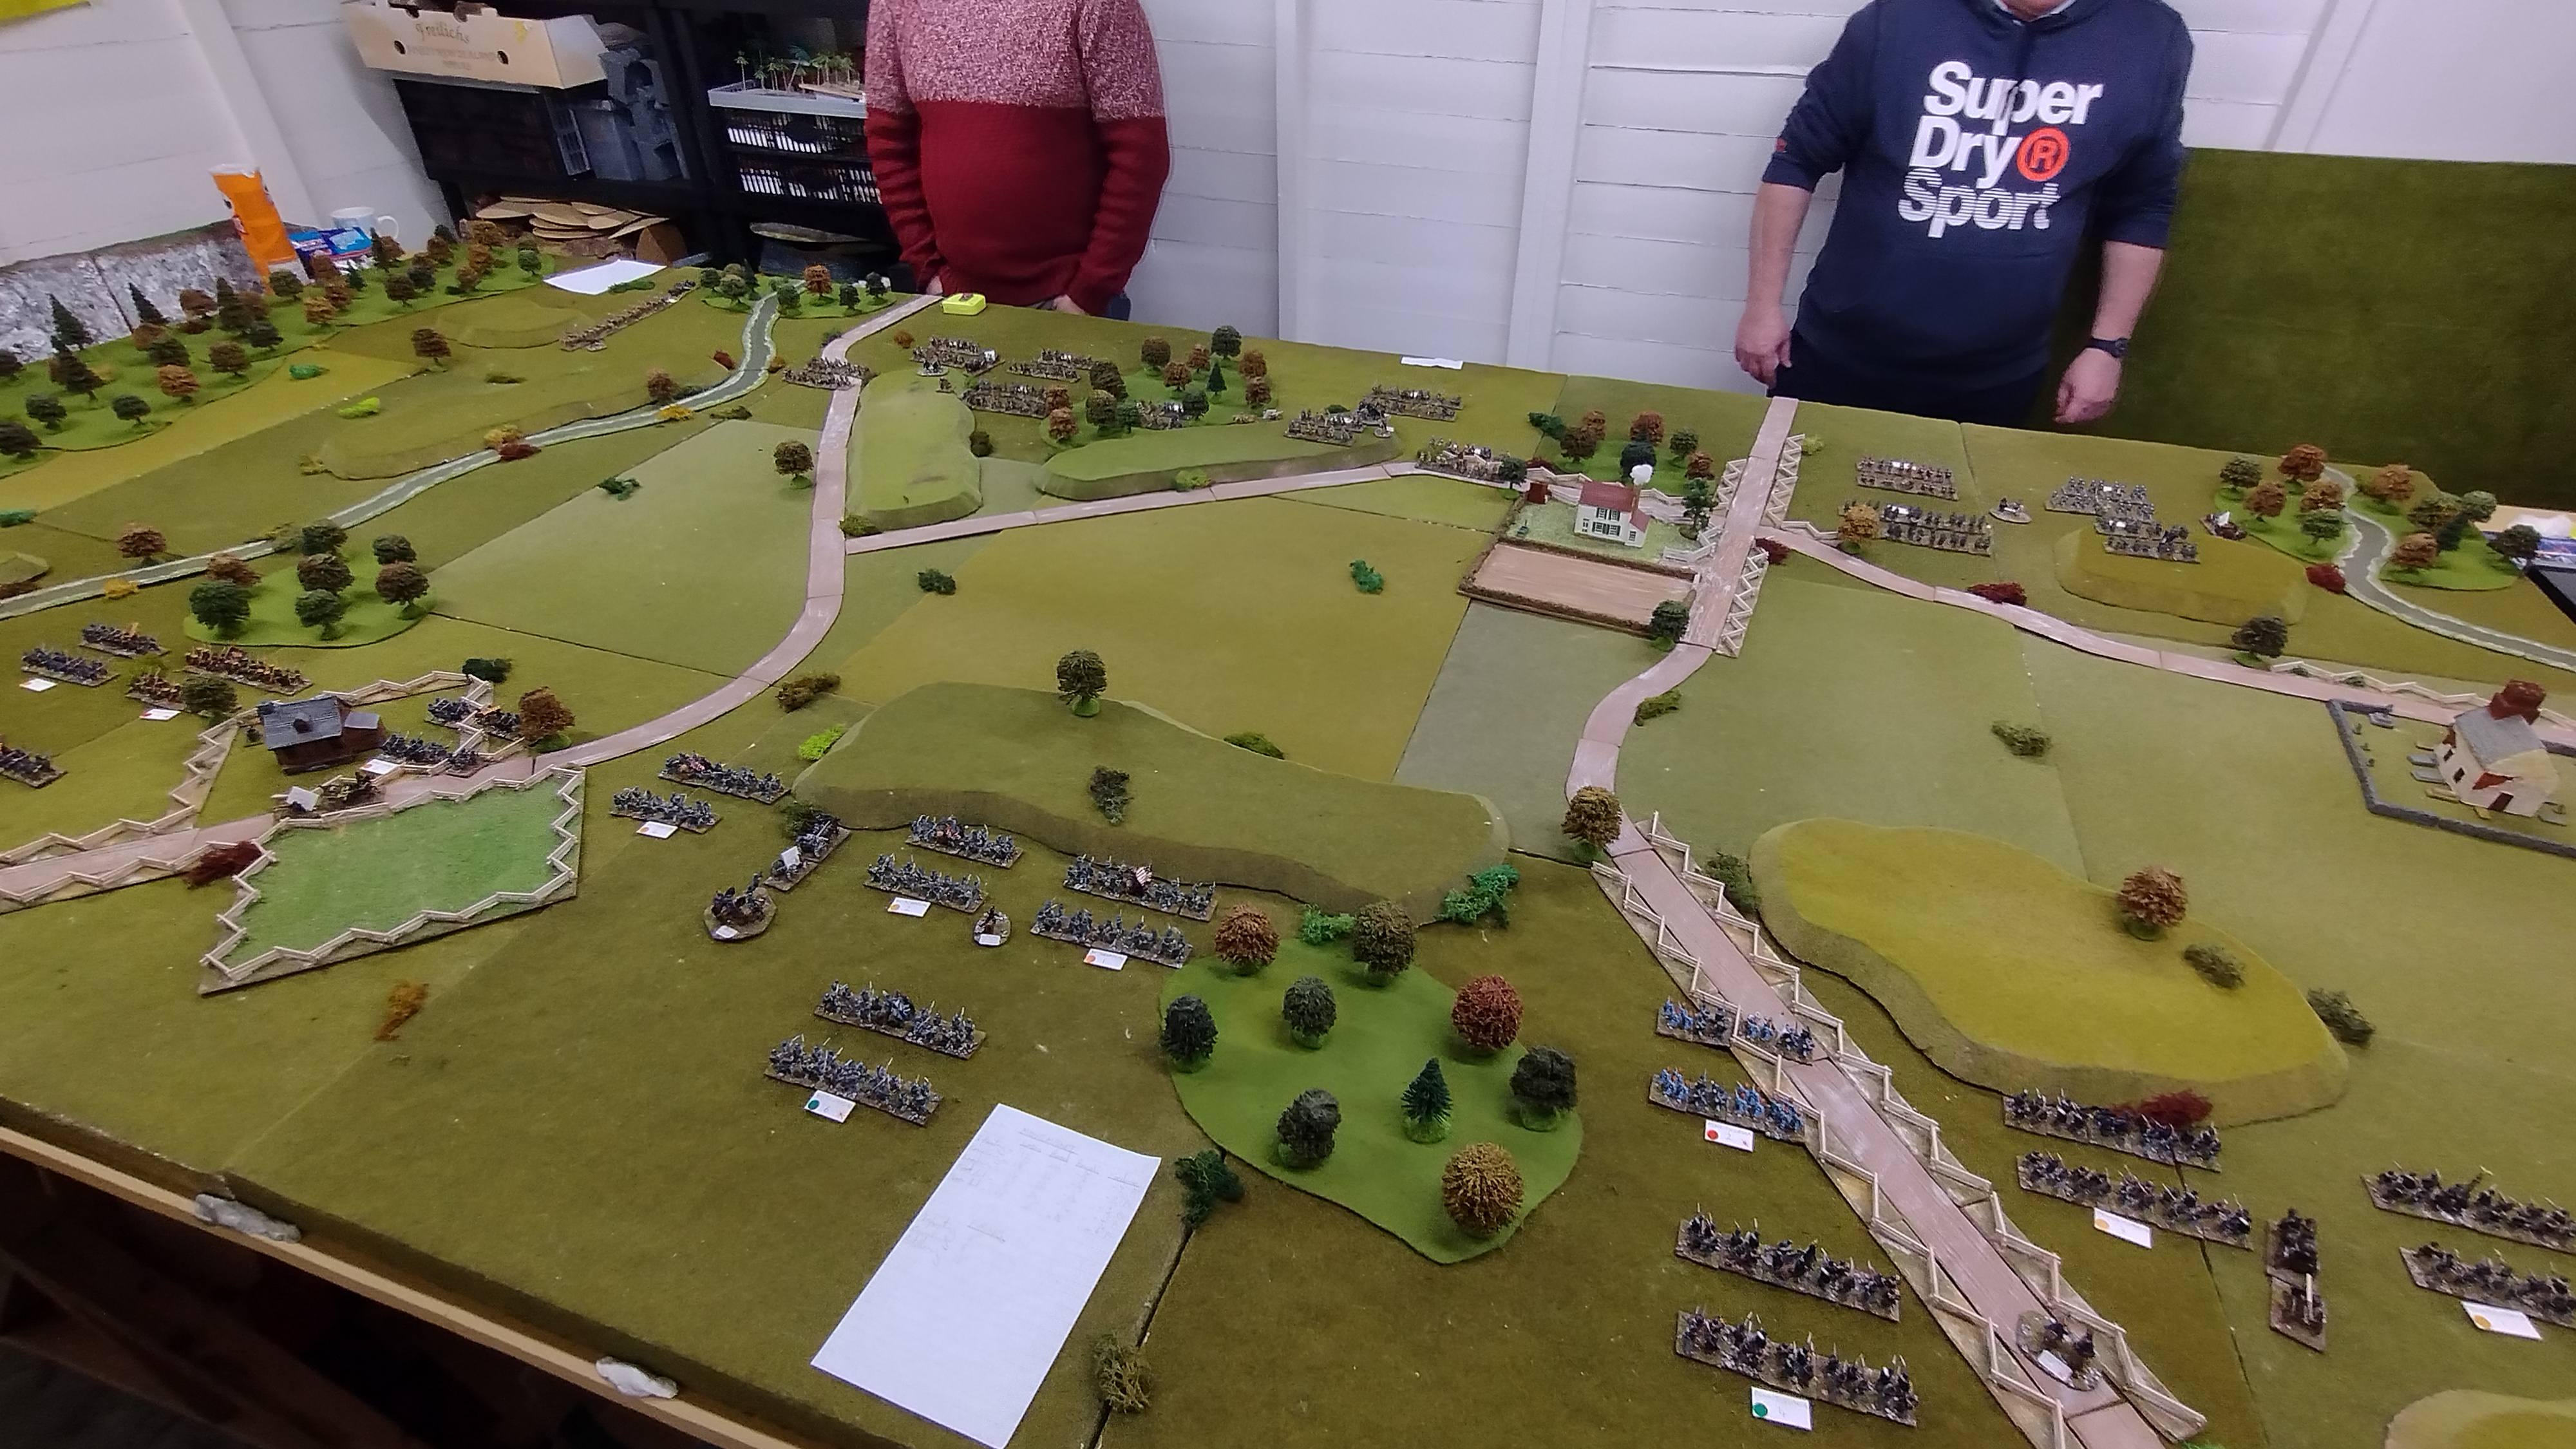
The initial setup. Artillery reserves would come on later in the game. 

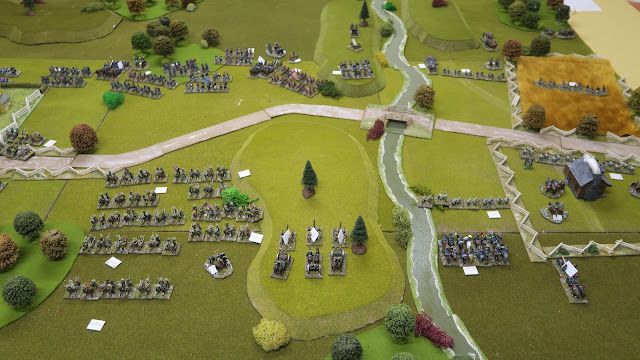
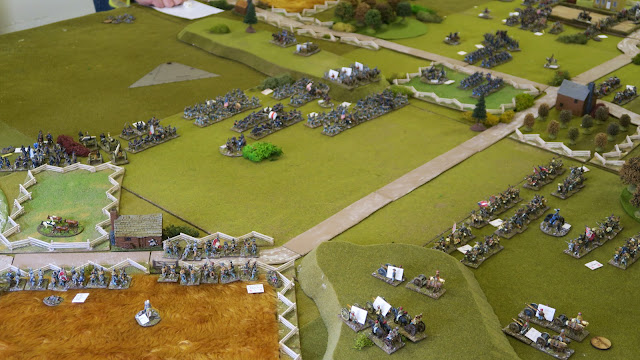
The Federal line was anchored on a ridge line

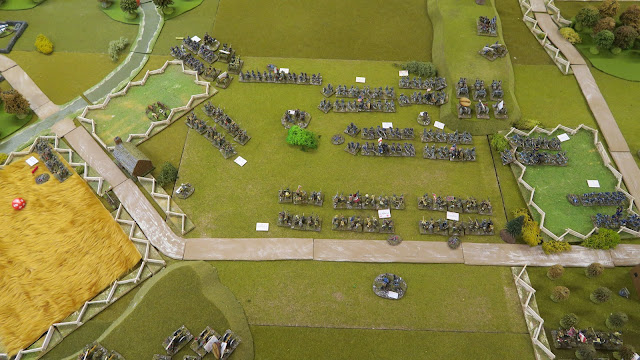
The Confederate players advance towards the Union positions

New player Dan turned a humble wood into a formidable redoubt

My Wisconsans watch the approaching rebels

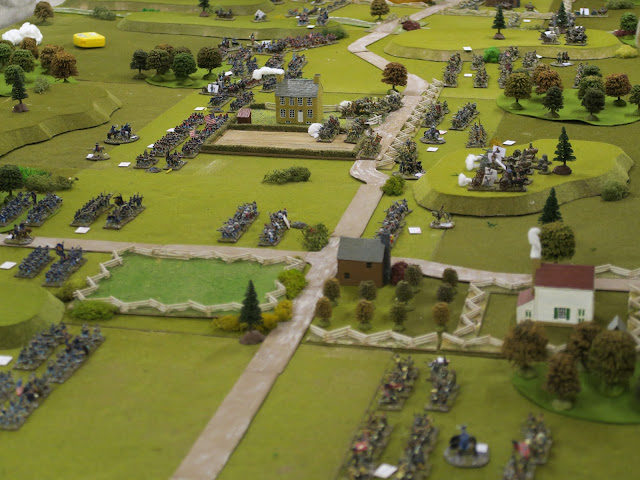
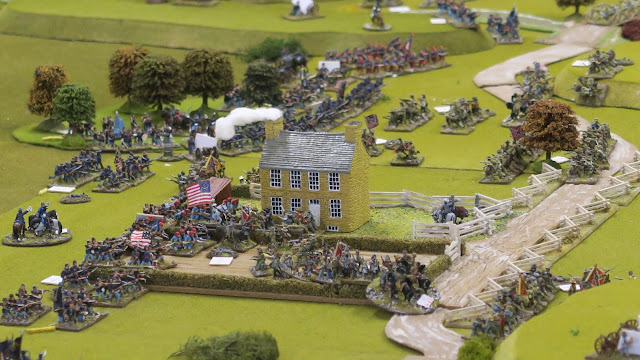
Much of the fighting took place on the right flank.

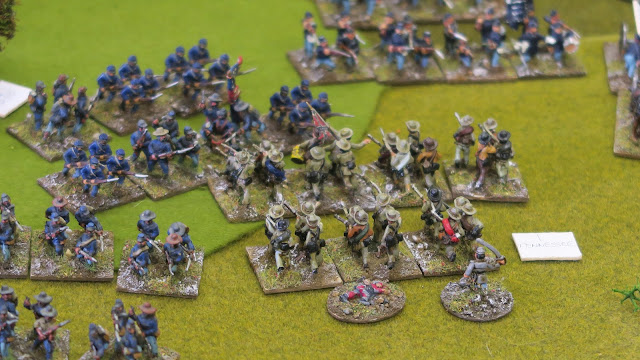
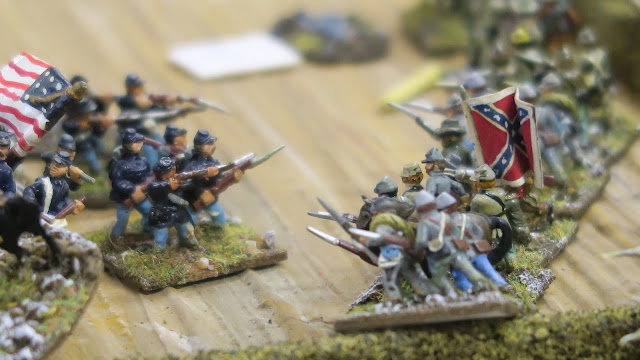
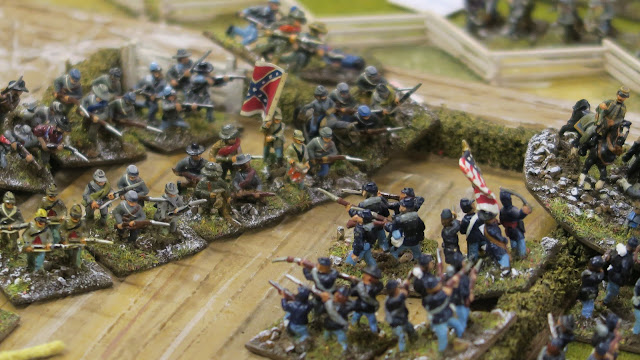
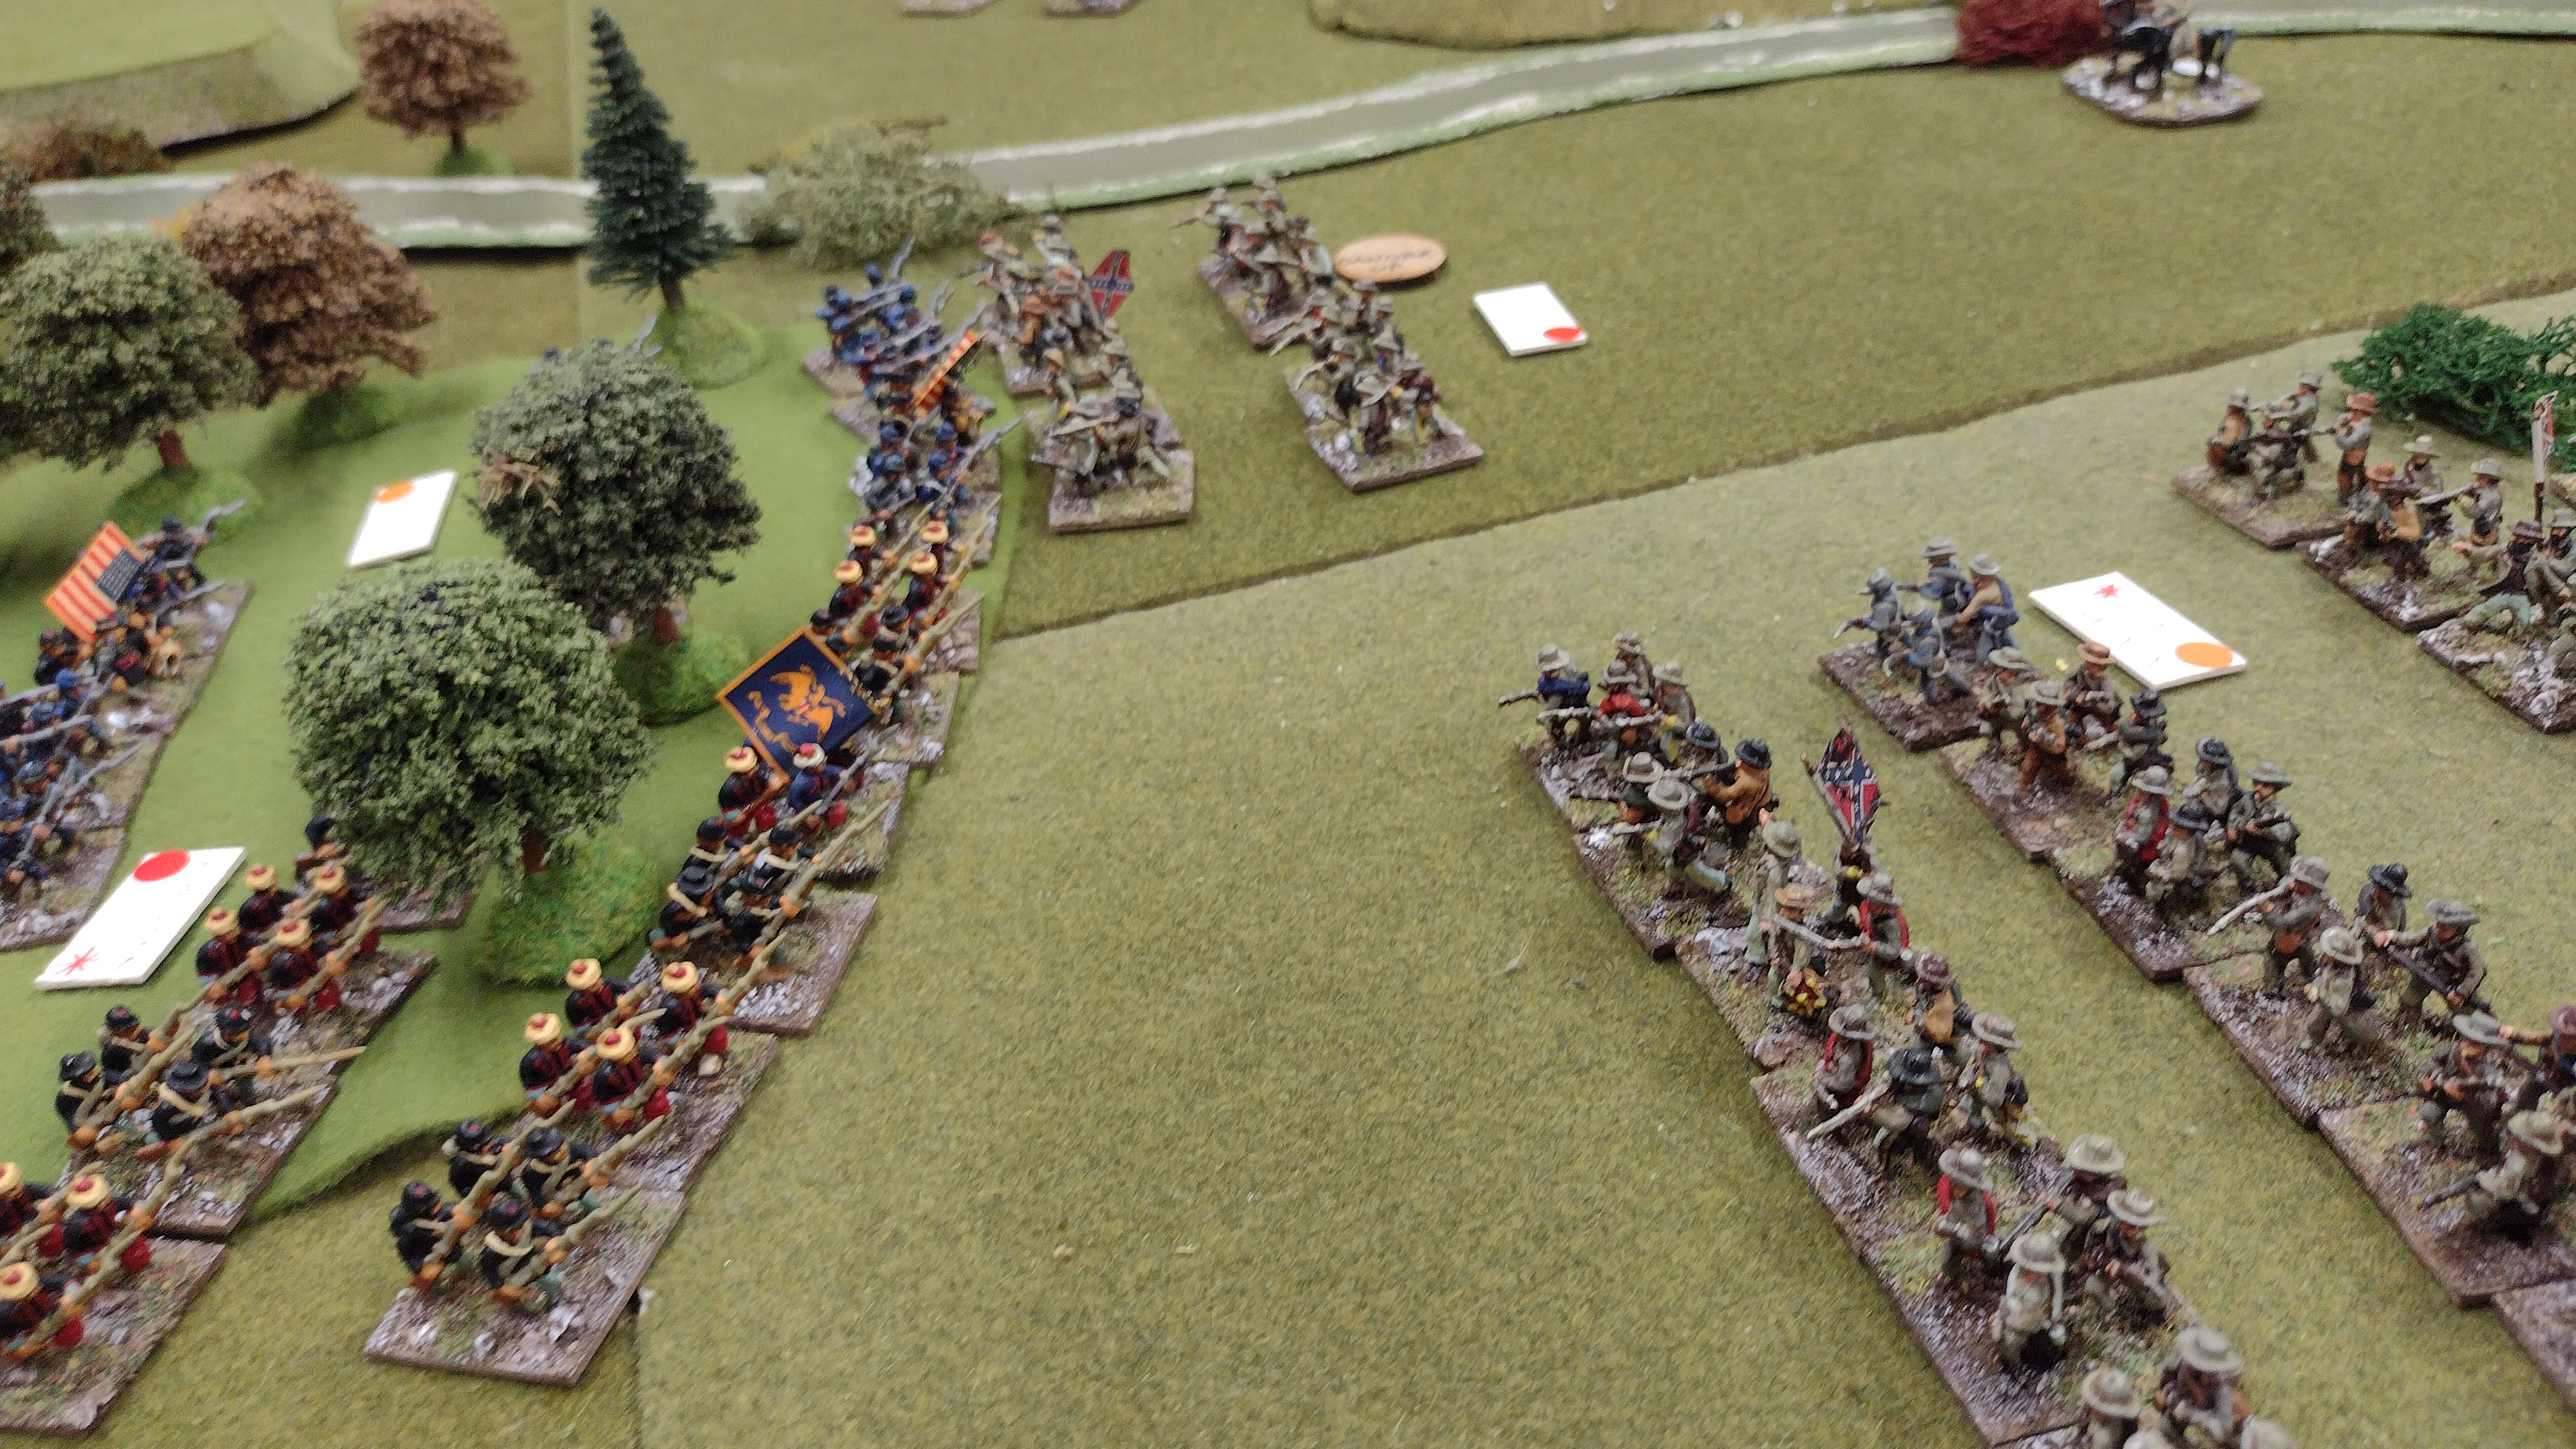
The Rebels charge up the ridge in the first of several back and forth melees

Union troops are pushed back

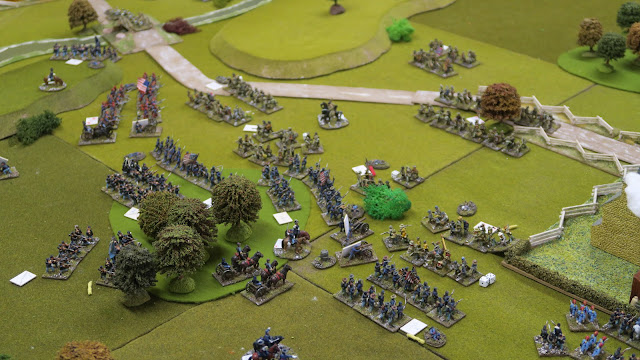
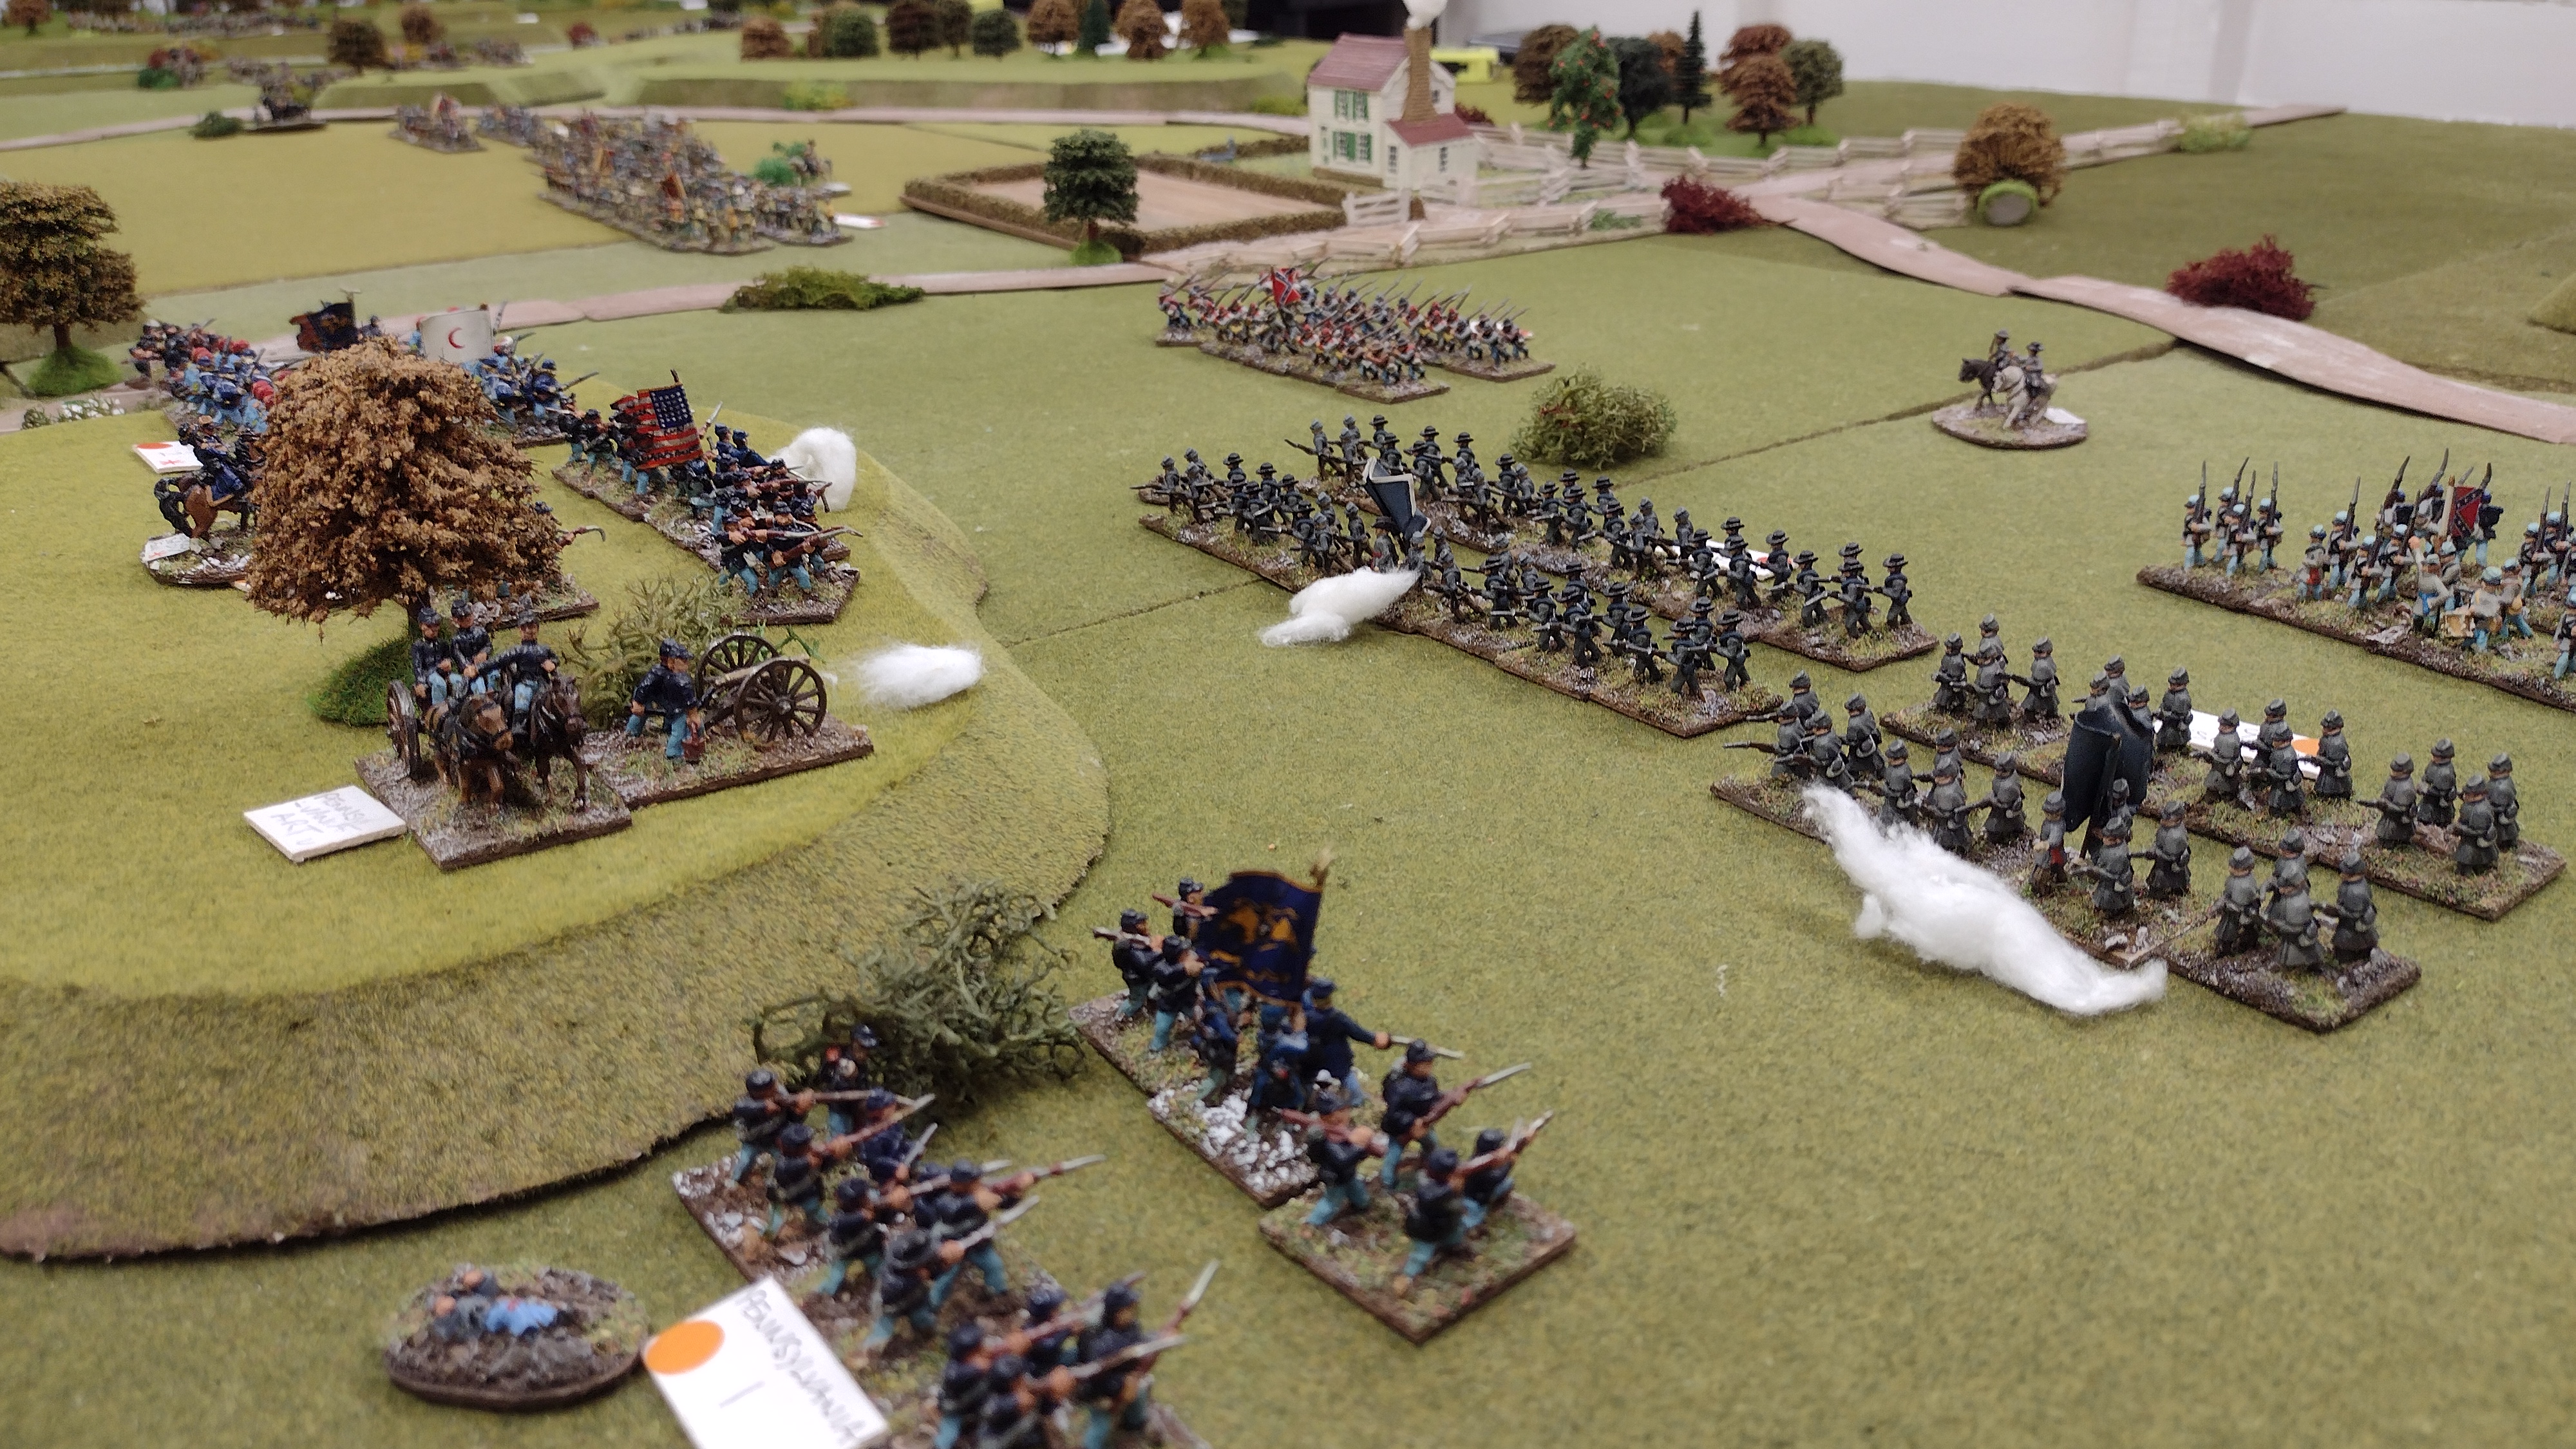
On the right flank, the Pennsylvanians charge downhill, bayonets fixed in an attempt to disrupt the Confederate advance.

Extremely high rolls on both sides made the melee very exciting. 

The Pennsylvanians are touched back up onto the ridge and hold their position

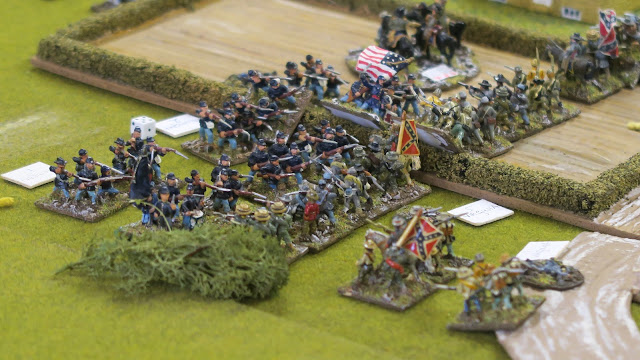
Meanwhile, Dan's New Yorkers fight bitterly for the woods. 

Richard's Virginian's charge uphill and I roll a double one, but so does Richard. There's an immediate second turn of melee and I roll 11 but Richard rolls a 12 and I'm pushed back

But then the Union right flank crumples. Both sides are being worn down but the Union troops have the worst of it. 

At this point in the game, it was getting later in the afternoon and I decided another round or two of melee would not improve the union position so I conceded the game. When Stauart totted up the points the Confederates had won by three points, a narrow win but one that would probably have only widened further had we played on.

Tuesday, 2 July 2019

Battle of Moonshine Ridge - 1862 Maryland

Sunday was unbearably hot inside the shed-o-war, but we persevered because we were playing an excellent ACW game using the Fire and Fury rules. Its been a while since I have played this period or these rules (I think I missed the last game at Reject HQ) so I pulled out my copy of the rules and skimmed through them on Saturday in preparation. Apparently, in that last game, all the players were so frustrated with the way the game played that Postie said he would try to alter some aspects of the rules. So having dutifully read the rules I turn up on Sunday to find that Postie had prepared several changes that made large chunks of the rulebook invalid! So this game was more of a test of some ideas he had that would 'fix' some of the supposedly frustrating elements of the original rules.

The Setup
The game is a fictional battle but set in the midst of a real campaign, so Postie drew up our orders of battle from forces appropriate to the time period and location. Both sides started the game in march column, streaming into the field of battle. We all got a 'free move' before play commenced, based on the roll of 2d6. In keeping with my poor dice rolling tradition, the average score for my Brigades was about 5 and consequently my Division bearly moved!


Order of Battle
Errr.... I forgot to copy the OOB's at the end of the game, so you'll probably have to look at Ray's BatRep (when he does it) if you want to know exactly what forces were arrayed against each other. In my defence, it was very VERY hot in the shed-o-war and by the end of the game, all I wanted to do was get outside to gulp down some fresh air.


Action
Both sides started the game in a column of march

We then rolled for an initial 'free move'. 

Ray's Brigades moved well, gaining a lot of ground with that initial move. 

Surjit and I as the Confederates did less well!

Turn one and Ray brought on some reserves, two brigades of Mounted Infantry, by the second half of the turn they were across the table and behind our flank! They then dismounted and took up a position in the wheatfield on the left of this picture. 

Surjit moves to counter this shifting two Brigades to the hill. 

Meanwhile, my guns have got themselves in a good position and begin to open fire on the advancing New Yorkers across the table. My artillery fore was above average for most of the game and did significant damage to some of the Union Brigades. 

Surjit's Virginians continue to move into position, although sending two Brigades to deal with the Union dismounted infantry may be a bit of overkill. 

Meanwhile, the Unions Michigan Brigades adopt a strong defensive position in a wheat field.

Fire begins to be exchanged between the dismounted Union cavalry and one of Surjit's Virginia Brigades. 

While more of his infantry get close to the Union troops. Ray was compalining endlessly about how we (the Confederates) weren't attacking enough so he moved forward on us. We'd lost time at the beginning of the battle with poor movement but we also were not stupid enough to assault Union troops in the favourable ground.

Michigans charge Virginians on a hill. Despite the advantage, Surjit was never going to win this without the support and his unit was thrown back badly mauled. 

Meanwhile, my Brigades have finally got into position. The poor initial move was compounded by a subsequent turn where I managed to roll a 1on the movement chart. Three Brigades were unable to move or change formation, one of which was under fire from Union artillery. Surjit didn't want me to advance here but I had spent nearly three turns unable to even take advantage of any cover. 

Meanwhile, Surjits Virginians have charged and seen off the Union mounted infantry. But the cost was high. Posties changes to the rules give defenders a bonus for being behind light cover but also incur a penalty for anyone trying to assault across the same. This 'double penalty' made the fight here very costly for the Confederates. 

In the centre, the Unions troops from Pennsylvania and New York have advanced and charged the Confederate lines. 

Finally, on turn four our reserves arrive. Before the game started Stuart gave us a choice of where and when we wanted our cavalry to arrive. Surj wanted them to come on later in the game, although with hindsight I think an earlier entrance would have been desirable!

The Union charge, seen from the perspective of the blue bellies.

There is hand to hand fighting along most of the line. 

Union troops sweep up onto the hill after defeating one of Surjit's Virginian Brigades. 
 
A narrow victory in the melee send the Virginians back, but they are not out of the fight just yet. 

Meanwhile, I have had enough sitting behind my fence and decide to attack the Union troops that have come into charge range. My concern here was that if I continued to do nothing here Ray could move 'spare' units towards the centre where we were looking very thin. However, I now fell foul of the double penalty for charging across a fence. Despite getting a bonus for charging the enemy, another for outnumbering them, another for having my 'dander up' (a special rule invented by Postie) and more for having fresh units, I still lost by a significant margin. 

Boom Boom Boom... the only good part of the game for me, as my Artillery continues to perform well against the enemy. 

Lining up for another charge in the centre. However, by now time was getting late and we called the game a draw as neither side had the upper hand. 


Analysis
Well, I think it's fair to say that didn't go entirely to plan. I lost two turns early in the game simply trying to get my units into the formation and positions I wanted them. I was able to send a couple of my units to assist Surjit in the centre, but it took us so long to get started it felt like the game was already decided by that point. Over on the right, Surjit was wrong-footed by the excellent move of Rays mounted infantry. I don't think Surj would admit that, but I think we were both taken by surprise by Ray's bold move and I think that's why we both overreacted to the threat. Surj diverted two battalions to the threat of the dismounted infantry on our flank, which I'm convinced Ray had no plans to move once they were in position behind soft cover. That extra battalion could have helped us hold the line against the Union assault on the hill in that sector.

Then when our cavalry finally came on in Turn 4 (waaay too late in the game, but that was the C/O's decision) I don't think Surj handled them very well (sorry mate). I think he was lining them up for a Napoleonic style frontal charge of the Union infantry, but that's just not how cavalry of this period worked and I'm not convinced the rules would have favoured such a move either. Personally (and Ray agreed with me) I think they would have been better used to swing wide behind the Union flank, take a turn or two to get into position and then dismount to become a thorn in their side as his dismounted infantry were in ours. But I wasn't in command of these reserves so it's hard to say what I would have done when faced with such a conundrum. I had my own problems...

So, over on my flank, having spent several turns just trying to roll higher than a 1 on the movement chart (*facepalm*) I was effectively ordered to hold my position and support the centre. I was able to send two Brigades into the centre and one of these was instrumental in holding back a Union breakthrough charge that had destroyed one of the Virginia Brigades. Eventually, Ray brought his troops close enough to my line that I decided to charge his position. Despite supporting the charge with a second Brigade and have the benefit of a 'Dander up' charge, I was unable to beat the union troops because they were lined up behind a fence. We discussed this after the game and I felt the bonuses for standing behind a rail fence were just too high, effectively putting this on par with a fortification.

I had better luck with my Artillery. Indeed we all did with some devastating barrages falling on enemy units. I concentrated my fire on the leading Union brigades in front of my line and although I didn't destroy anything I did significant damage which possibly held back another union advance. We all felt that artillery was a little too powerful for the period and needed to be scaled back a little.

So at the end, we called the game a draw but I felt the Union forces had the upper hand. (Ray will probably say he won, don't belive it!). Postie needs to rethink some of the rule changes he was trying out but I hope to give these adapted rules another try because I have always enjoyed playing the period. 

Friday, 5 October 2018

Battle of Jacobs Church - Fire and Frustration

Last Sunday Posties Rejects got together for an American Civil War game using the Fire and Fury rules system. Its been a while since these rules have seen action in the shed-o-war and for me its been nearly two years. However the rules are relatively straight forward to use and we all slipped easily into the game. We started the game remembering how frustrating these rules can be and by the end of the game - after profuse swearing and sympathetic laughter from both sides - I think we all agreed this may be the last time we play these rules (see Rays Batrep for another perspective on the game)

The Setup
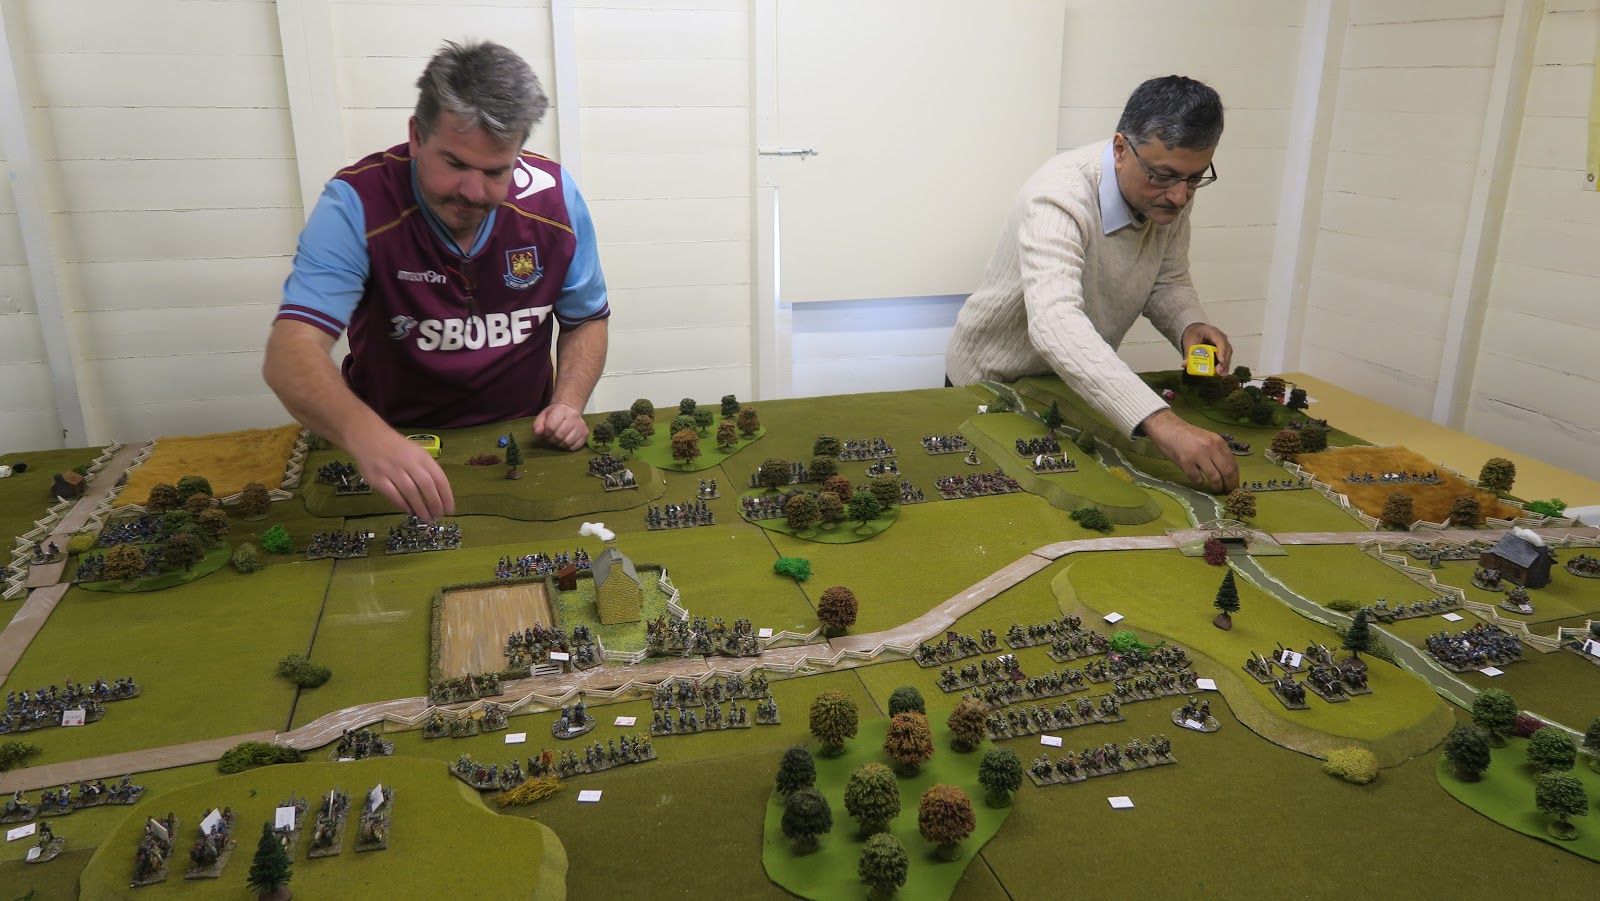
Postie arranged our forces on opposite sides of the table as a meeting engagement. The two commanding officers (myself and Mark) were allowed 10 minutes to deploy our forces as we wished. However with the number of models in play this barely gave us time to change formation of our units, let alone shift divisions around to some grand strategy. Indeed Mark still had over a divisions worth of troops in their startup positions when the 10 minutes ended. I used some of my 10 minutes to shift two divisions around and was down to the last couple of brigades when the bell went and deployment was declared over.

The battle is a simple meeting engagement and pits a veteran Confederate army against numerically superior but greener Union troops.


Order of Battle
Union Forces c/o McClellan (Mark, Richard and Surjit)
1st Corp - Hooker - *
   1st Division - Doubleday
      1st Battalion - 1st Indiana
      2nd Battalion - 3rd Indiana *
      3rd Battalion - 4th Indiana
      4th Battalion - 2nd Indiana
      Gun Batteries x3
   2nd Division - Ricketts
      1st Battalion - 4th New York
      2nd Battalion - 3rd New York
      3rd Battalion - 2nd New York
      Gun Batteries x2
5th Corp - Porter
   1st Division - Morrell
      1st Battalion - 3rd Michigan *
      2nd Battalion - 1st Michigan
      3rd Battalion - 2nd Michigan
      Gun Batteries x2
   2nd Division - Sykes
      1st Battalion - 2nd Maine
      2nd Battalion - 3rd Maine *
      3rd Battalion - 4th Maine
      Gun Batteries x2
12th Corps- Mansfield
   1st Division - Williams
      1st Battalion - 3rd Pennsylvania *
      2nd Battalion - 4th Pennsylvania
      3rd Battalion - 2nd Pennsylvania
      4th Battalion - 1st Pennsylvania
      Gun Batteries x3
   2nd Division - Greene *
      1st Battalion - 2nd Ohio
      2nd Battalion - 1st Ohio
      3rd Battalion - 3rd Ohio
      Gun Batteries x2
   Cavalry Division - Pleasanton
      1st Battalion - Indiana
      2nd Battalion - New York
      Horse Artillery Batteries x1

Confederate Forces c/o Jackson (Lee and Ray)
2nd Corp - Jackson *
   1st Division - J.R.Jones
      1st Battalion - 1st South Carolina *
      2nd Battalion - 5th South Carolina
      Gun Batteries x2
   2nd Division - Lawton
      1st Battalion - 2nd Alabama *
      2nd Battalion - 6th Alabama *
      3rd Battalion - 1st Alabama
      4th Battalion - 4th Alabama
      Gun Batteries x3
   3rd Division - D.H.Hill *
      1st Battalion - 1st Tennessee
      2nd Battalion - 2nd Tennessee
      3rd Battalion - 5th Tennessee *
      4th Battalion - 3rd Tennessee
      5th Battalion - 4th Tennessee
      Gun Batteries x3
   4th Division - A.P.Hill *
      1st Battalion - 1st Virginia
      2nd Battalion - 2nd Virginia *
      3rd Battalion - 4th Virginia
      4th Battalion - 3rd Virginia *
      5th Battalion - 5th Virginia
      Gun Batteries x3
   5th Division - Hood *
      1st Battalion - 1st Texas *
      2nd Battalion - 2nd Texas *
      Gun Batteries x2
   Cavalry Division - J.E.B.Stuart *
      1st Battalion - Virginia *
      2nd Battalion - Texas
      3rd Battalion - North Carolina
      Horse Artillery Batteries x1


Action
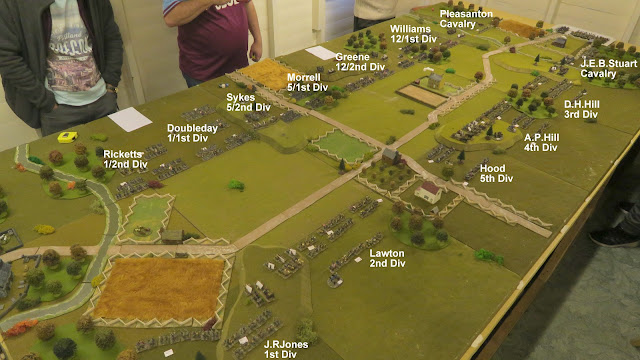
I swapped the 5th and 3rd Divisions around in an attempt to group as much weight together, but all I managed to do was move a weak spot down the line towards our centre. I had hoped to fill some of that gap with some of the 2nd Division (Alabama) troops but successive low activation rolls limited the action I could take with the desired units (more on that later). 

View down the table during the opening Confederate move. 

Hood's 5th Division Texans advance (nearest camera) and Ray moves forward D.H.Hill's 3rd Division, Tennessee and the Virginians under A.P.Hill. 

Mark and Surjit advance towards the Confederate thrust. Mark is moving Sykes Maine Division while Surjit is moving his Cavalry (dismounted) under Pleasanton. 

The Confederate left flank (my troops). My Alabamans (2nd Division under Lawton) hold their position for now. I'm at a numerical disadvantage here so I want my gun batteries to soften up the Union troops. In particular I target everything against the end of the Union line, and the New York troops under Ricketts. I'm in a position her to flank the Union troops if I can see off the New Yorkers...however my first couple of turns of firing couldn't hit the broad side of a barn, let alone their target. 

In the centre my Texans have advanced on the left and begun to take casualties from much more accurate Union artillery fire. Ray has moved his Virginians and Tennessee infantry forward and the first rifle volleys begin to take a toll on both sides. 

On the right flank of the battlefield, across the river, Ray has moved his dismounted cavalry forward and begun exchanging rifle fire with Union troops from Indiana and New York. 

Looking down the table. From left to right is Ray, Postie, Richard, Mark and Surjit. We are only one turn into the game and we are already starting to curse the dice gods!

Neither side has made contact yet but both have exchanged rifle and artillery fire. The Confederates are loosing more men though because we are attacking more aggressively and suffering in the Defensive fire phase as a result.  

Contact at last. Rays Virginians an Tennessee boys charge into the Union troops from Pennsylvania and Ohio. 

More troops pile into a massive melee that covers a third of the battlefield. Both sides are mauled but neither land a knockout blow. Our frustration with the rules is starting to show as we try to pile as much support into a melee as possible, but int the end it comes down to a single dice. Roll poorly (or even just average) and all that effort and bloodshed is for nought. 

View from the Union side of the table. The lines have separated, reformed and prepare for another round of charge and counter charge. 

The 1st Tennessee charge in once again. They win their first Melee and get a breakthrough charge at another Union Brigade, only to be stopped and repulsed. 

Meanwhile, over on the quiet side of the battlefield.... I'm still waiting opposite the Union troops. My Artillery has thus far hit absolutely nothing. The only good thing I can say is that Richards troops are being held in position by the threat of my troops opposite them. But that frankly is clutching at straws and he has already started to edge units to his left. If I don't get any result from the artillery soon I'm going to have to send the infantry in. I need to strop Richard from shifting his units towards the centre. 

Another view down the line.In the foreground my Texans have been forced back. I have two weak and battered units covering a big area and unless I put pressure on the advancing Union troops (Maine troops under Sykes) they could threaten Rays Virginians attacking around the farmhouse. 

The Virginians clash with Morrells Michigan troops in the fields surrounding the Farmhouse. 

Hand to hand fighting is taking place along the whole length of the centre. Casualties are mounting on both sides but so far it is the Confederates who have suffered the most. Given they started the battle outnumbered, this isn't a good position to be in. Neither side seems able to land a decisive blow. 
The battle in the ploughed field ebbs and flows. The Virginians have soaked a lot of their blood into the soil here and aren't giving ground easily. 

Ray my be laughing but the Confederate situation is becoming critical. We have taken double the casualties of our opponents, brigades are disordered and a couple of key Brigades are now so badly mauled they are spent. 

Another Confederate charge against the blue line of the Pennsylvanians and Ohioans. 

Back in the Ploughed field the Virginians are fighting hard but they can't break the Union line.

Despite hours and several rounds of combat the front lines are pretty much in the same place they were from early on in the game. Little ground has been taken at a great cost in lives. 

The Tennessee boys (3rd Division) are looking very weak now, with every unit significantly reduced in numbers. 

Over on my side of the table I finally get into melee on the extreme left and as expected my South Carolina troops don't fare well. I failed to damage their target (the New Yorkers) with any artillery fire and the resultant combat see's my only chance to turn the enemy's flank repulsed. I should have attacked much earlier in the game and now its probably too late to make any significant contribution to the battle.  

In the centre my Texans have been mauled and have fallen back. They are still in the field but are next to useless now as an effective force. In a last insult from the dice I had earlier moved one of my Alabama Brigades into the Orchard at the bottom of this picture. I was ready to charge the advancing Indianan units but rolled so poorly for activation they wouldn't move at all! 
 
My advance with the South Carolinan and Alabama troops has stalled almost as soon as it began. All I have in return are casualties our side can ill afford. 

Our centre (well my bit of it) has effectively collapsed and Ray is unable to break the Union line opposing him. We could play this game out another couple of turns but the result in no longer in doubt. The confederates have lost the battle (and the will to fight on). 

Analysis
I think its fair to say that everyone enjoyed the game (we love this period) but not the way the rules worked. We have experienced this frustration before with this rule set, but this particular game really highlighted the 'weakness'of these rules for a group like ours. There is a lot of work for the umpire to do calculating modifiers and the outcomes of firing and melee. This slowed down play as we were often waiting for Postie to check outcomes, especially with things like unit activation's so we couldn't even get on with movement without his constant intervention. 

For the players I think the main thing with these rules is frustration at not being able to achieve results with our troops. Essentially I think it comes down to the d10 based system for all dice rolls which seems to produce an 'all or nothing' result, with the 'all' being virtually unattainable! Achieving a significant outcome in Melee for instance relies more on the dice roll than on what forces are committed to a given fight. So one side could pile in loads of regiments against a much smaller opponent but still lose massively if the opposing dice rolls are opposite ends of the spectrum. And achieving that elusive 10-1 dice roll is just pure luck, no generalship involved. As Ray said (and I agree), a player with the skill of a Mushroom could win this game if he's lucky with the dice. 

We have requested that our glorious leader Postie closet himself away and write some suitable rules for this period, as he has with nearly every other period we play. It would be fun to replay this same scenario with the same forces but a different rule set as a comparison with Fire and Fury.