Tuesday 30 April 2019

Battle of Budweis - Moravia 1809

Over the weekend Stuart ran a Napoleonic game for the Rejects, of which Myself, Ray and Surjit were able to take part. As usual, we picked sides randomly out of a figurative hat and I was the odd one out ('odd' being the operative word). I would be playing the Austrians facing off against a combined Saxxon/Bavarian force.

Setup
The game Postie set up was a meeting engagement as lead elements of both sides encounter each other between a pair of vital river crossings in Moravia. The Saxonn/Bavarian forces outnumber the Austrians but the latter army has some better quality troops and generally better cavalry (and more of it). My Austrians are arrayed along a small ridgeline, approximately diagonal across the table.  

Order of Battle
Saxonn /Bavarian Army - IX Corps C/O Marshal Bernadotte
1st (Saxonn) Division  c/o GL von ZezSchwitz (Ray)
  1st Brigade c/o Gm Von Hartitzsch
    Liebgrenadier Garde (1) (Guard)
    Combined Grenadiers Radeloff (1) (Elite) 
    Combined Grenadiers von Bose (1) (Elite) 
    Combined Grenadiers Winkelmann (1) (Elite) 
    Combined Grenadiers Hacke (1) (Elite)
    1st Schurzen Light Infantry (1) (Line)
    Medium Gun Battery
  2nd Brigade c/o Gm von Zeschow
    Konig (1) (Line)
    Niesemeuschel (1) (Line)
    Von Obschelwitz (1) (Line)
    Von Dyherrn (1) (Line)
    Light Gun Battery
  Cavalry Brigade c/o Gm Freiherr von Gutschmid
    Garde du Corps (Guard)
    Karbineer Rgt (Elite)
    Prinz Clemens Cheval-Legars (Line)
    Hussar Regt (Line)
2nd (Bavarian)  c/o Gl Count Wrede (Surjit)
  1st Brigade c/o Gm Minucci
    No6 Laroche Light Infantry (1) (Line)
    No3 Prinz Karl (2) (Line)
    No12 Line (2) (Line)
    Medium Gun Battery
  2nd Brigade c/o Gm Beckers
    No6 Herzog Wilhelm (2) (Line)
    No7 Lowenstein (2) (Line)
    Medium Gun Battery
  Cavalry Brigade c/o Gm Preysing
    No2 Konig Cheval-Legars (Line)
    No3 Leinngen Cheval-Legars (Line)
  Reserve
    Heavy Gun Battery

Austrian Army c/o Archduke Charles (Lee)
Avantgarde c/o FML Nordmann
  1st Brigade c/o GM Peter Vecsey
    No12 Primatial Hussars (Elite)
    No58 Beaulie (2) (Line)
    Lower Manhartsberg Landwehr (1) (Militia)
    1st Jagers (Rifle) (1) (Elite)
    Light Gun Battery
  2nd Brigade c/o Gm Mayer
    No4 Deutschmeister (3) (Line)
    No49 Kerpen (3)  (Line)
    Untere Wiener Wold 5thB Landwehr (1) (Militia)
    Untere Wiener Wold 6thB Landwehr (1) (Militia)
Reserve Corp c/o FML Prochaska
  3rd Brigade c/o GM Steyner
    1st Combined Grenadiers Hahn (1) (Elite)
    2nd Combined Grenadiers Hromode (1) (Elite)
    3rd Combined Grenadiers Legrand (1) (Elite)
    1st Combined Grenadiers Demontant (1) (Elite)
    1st Combined Grenadiers Berger (1) (Elite)
    Heavy Gun Battery
Cavalry Reserve c/o FML Hessen-Homburg
  5th Brigade c/o Roussel
    No2 EH Franz Curassiers (Elite)
    No3 Herzog Albert Curassiers  (Elite)
  6th Brigade c/o GM Rothkirch
    No1 EH Johann 3rd Dragoons  (Elite)
    No6 Riesch 4th Dragoons  (Elite)
    Horse Artillery Battery
  7th Brigade c/o GM Wartensleben
    No6 Blankenstein Hussars  (Elite)
    No3 O'Reilly Cheval-Legers (Elite)
    Horse Artillery Battery


The Action


Initial Setup with each Brigade identified with the commander's name. The Austrian 1st Brigade started the game off the table and could appear any time in the first three turns effectively 'behind' the Saxonn/Bavarian lines.  

My plan for the Austrians was to hold the ridgeline with the infantry while the Cavalry Reserve under Hessen-Homburg secured the right flank. All my cavalry were Elite and most were heavy so I fully expected to sweep this clear in a few turns. With the flank secure I would advance the Grenadiers into the centre held by the Saxonns. Meanwhile, the 1st Brigade of the Advantgarde would enter the battle behind the Bavarians (off to the left and out of shot in that last picture) and hopefully draw off the attack I expected on the left of my line. This was my weak point being mostly line class troops and a couple of Militia regiments.


View down the table looking across the Austrian lines towards the Bavarians (Surjit) on the left and the Saxonn's (Ray) to the right. 

The battle commences - The Saxonn/Bavarian line surges forward but the Saxonn Cavalry wisely keeps their distance.

I stick to the ridgeline and try to shuffle my line to the left to strengthen the weak 2nd Brigade. I move my Cavalry forwards a little timidly. More crucially I don't make full use of my Horse Artillery. I could have moved them much further forwards to goad the Saxonn Cavalry into advancing. I've never been confident with Napoleonic Cavalry and that showed this game. 

The first couple of turns move quickly and in turn three I bring on my 1st Brigade, behind the Bavarian flank. With hindsight, I should have brought them on earlier to lure away more of the Bavarians and to give my troops time to get into the battle. They did tie up the Bavarian Cavalry and a Heavy Gun Battery but their impact on the game wasn't what I had hoped. 


Ignoring the appearance of my 1st Brigade the Saxonn/Bavarians continue their plan, calmly advancing towards my lines. 

On my left flank, the Bavarians advance in column and concentrate on my weakest spot. 

The First Bavarian Columns to reach my line (the extreme left of the 2nd Brigade) aim directly for a weakened unit which has taken severe casualties from some incredibly accurate fire from the Laroche Light Infantry. 

Meanwhile elements of the Saxon 2nd Brigade charge at another section of my 2nd Brigade holding the hill. 

The left of my line and most of my 2nd Brigade is under pressure. 

The melee on the hill does not go well. The Saxons only manage to push my unit back (thankfully they only just win the melee and I'm not routed) but it still opens a gap in my linen and leaves my light gun exposed to a follow-up charge. 

In the distance, over on the right of the line, the Saxonn Grenadiers begin to advance. Meanwhile, the Austrian and Saxonn cavalry smash into each other (more on that later).

The Austrian 2nd Brigade under pressure. 

This is turn four or five of the game and both armies are now locked in mortal combat. 

Ray steals the cakes before anyone else can get near them. He shared them, eventually, but for a moment his eyes lit up and I could see him doing the math....

The Bavarian columns have not only beaten but utterly destroyed the line unit they targeted. There is now a gaping hole on my flank and the only thing I have in reserve is a Landwehr regiment! 
  
The victorious Bavarian columns follow through and charge into two more of my units, including the aforementioned Landwehr. 

On the hill, the victorious Saxonn's follow through and charge the fleeing Austrians and my gun battery. 

With things falling apart on my left flank my hopes now rest with my cavalry on the right flank. 

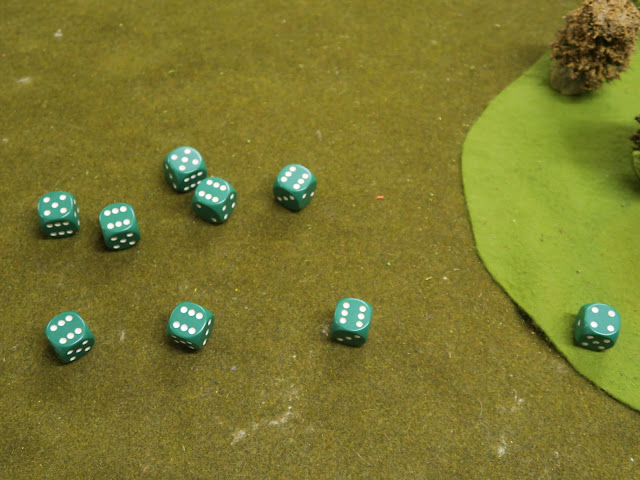
Normally my dice rolls are rubbish but not this time! Fives and Sixes hit and I nearly wipe out a regiment of Saxonn Cuirassiers. 

Follow up charges should decide this cavalry melee but I have lost a Brigade commander and one of my Dragoon regiments has taken a beating an had to fall back. 

Despite winning the cavalry clash the end result is a disaster. Losing that brigade commander in the melee forced a Brigade check on my Light Cavalry and they fail badly. The whole Brigade, including an as yet uncommitted and fresh regiment of Hussars, disperse! I'm gutted and my initial plan is now in tatters. 

Meanwhile, my 1st Brigade is pinned down by the Bavarian Cavalry and accompanying heavy gun battery. My infantry are not going to get into a position to have any significant impact on the game. I should have brought these on much earlier in the battle.


I could start to move my Grenadiers forward now but it's taken so long to clear the flank the correct time has passed. Loosing the Cavalry to a Brigade morale check has completely taken the wind out of my sails and my left flank is crumbling and starting to be rolled up by the Bavarians. This battle is unwinnable now and I decide to throw in the towel. 

Ray gets a medal for winning five games in a row! 

The laughing general then explains what I did wrong. I can't disagree with him, my plan was a mess and nothing seemed to go well. 


Analysis

There are days when I wonder why I 'enjoy' wargaming because frankly, I'm shit at it. I have the tactical aptitude of a peanut. And I'm even worse with Napoleonics so when I drew the Austrians out of the hat my heart sank. I was in for a thrashing before we had even stepped into the shed-o-war. That being said I thought I had a solid plan but clearly not. My inexperience and ineptitude cost me, dear, this game and I got the result I fully deserved. 

Monday 22 April 2019

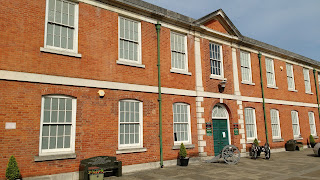
Royal Green Jackets (Rifles) Museum Winchester

The final day of my Museum Crawl Weekend and we visited Winchester. I had one specific target for this leg of the trip, the Waterloo Diorama in the Royal Green Jackets (Rifles) Museum

This museum brings together the collections of the Oxfordshire and Buckinghamshire Light Infantry, the King's Royal Rifle Corps and the Rifle Brigade. These regiments went on to form the Green Jackets Brigade in 1958 and the Royal Green Jackets Regiment in 1966. 

Private, 60th (Royal American)
Regiment c 1758

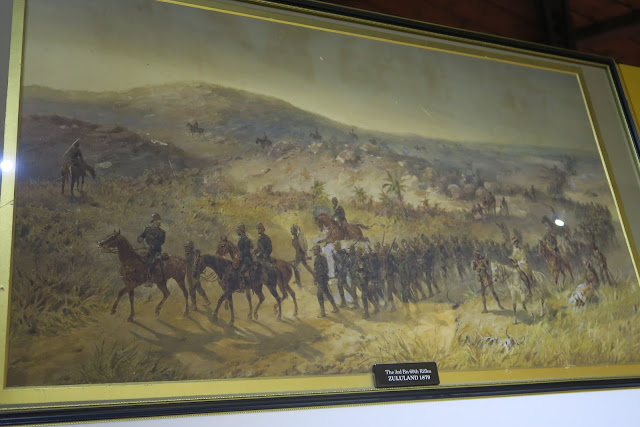
This paiting depicting the 3rd Bn, 60th Rifles somewhere in Zululand in 1879

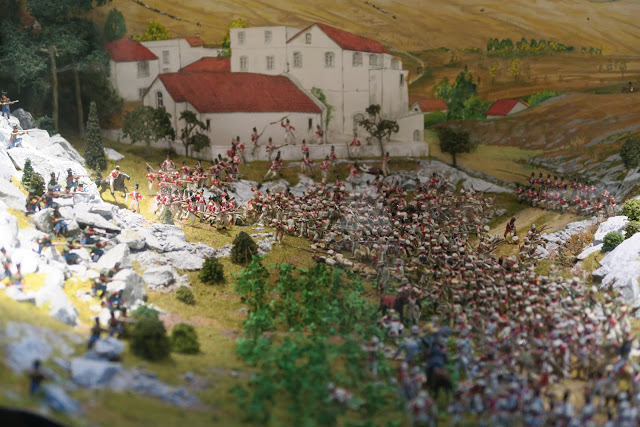
Diorama of the Battle of Vimiero, 21st August 1808. It shows the 5th/60th, the 2nd/95th and the 1st/95th firing on the French. 

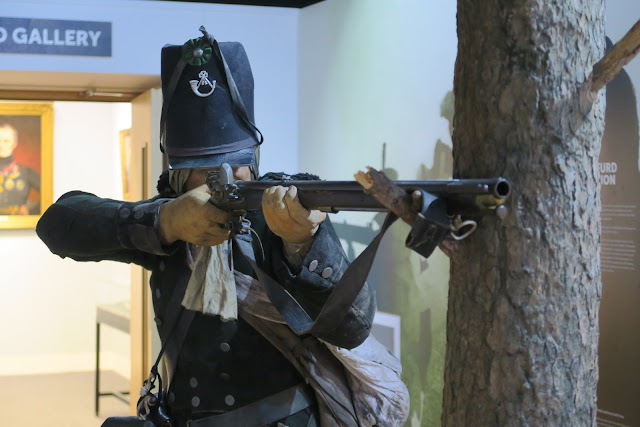
An Infantryman of the Greenjakets at the start of the 'Road to Waterloo exhibition

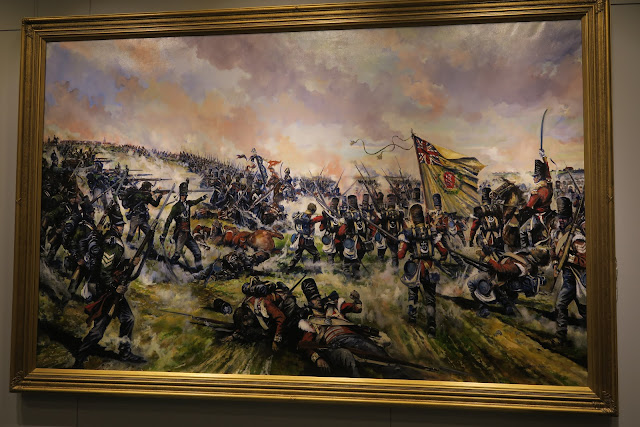
The route of the Imperial Guard at Waterloo by Jason Askew

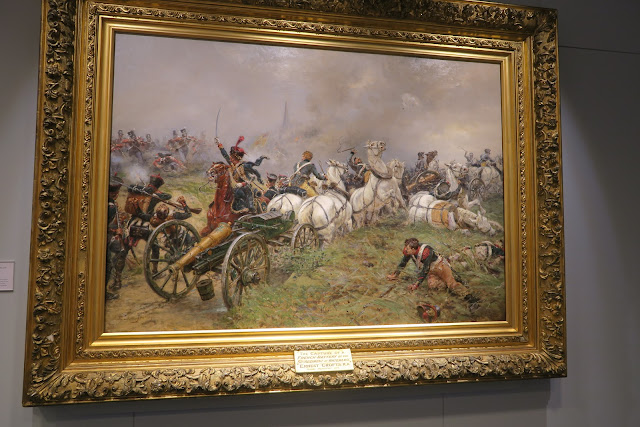
The capture of a French Battery by the 52nd Regiment at Waterloo by Ernest Crofts RA

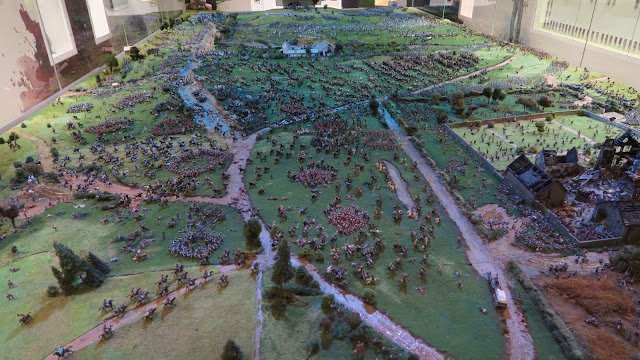
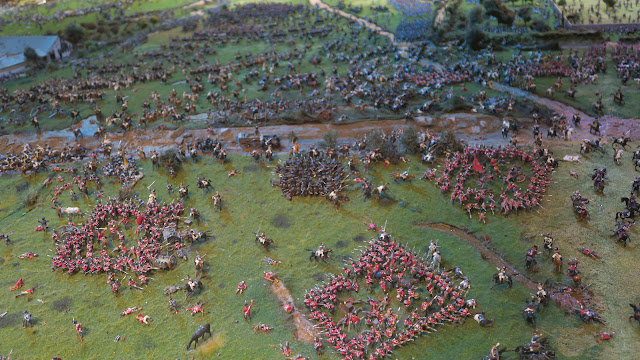
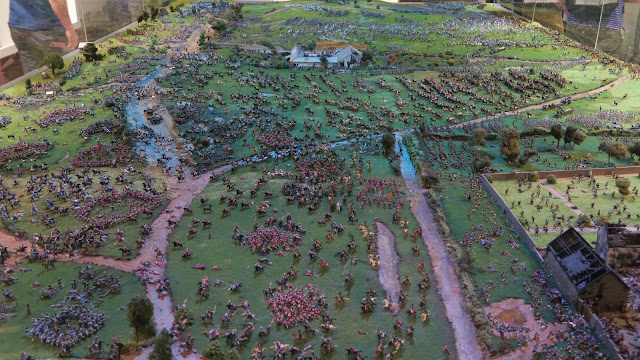
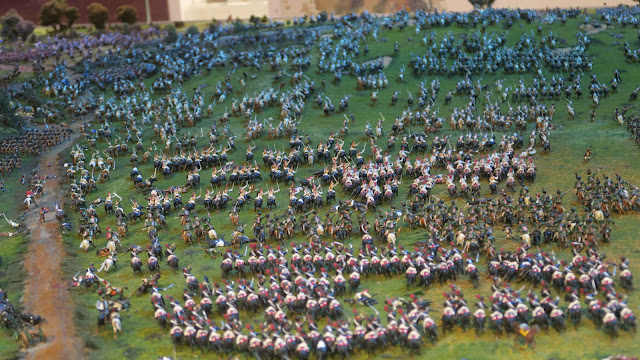
The exhibition, entitled “With the Rifles to Waterloo”, opened in 2015 to commemorate the 200th anniversary of the Battle of Waterloo, is focused on the Napoleonic Wars. The centrepiece of this exhibition is the Waterloo diorama, a 25 square metre model of the battlefield with 30,000 model soldiers and horses.  

The scale of this model is breathtaking but it doesn't represent a single moment rather it is an amalgamation of important events.

The Duke of Wellington and his staff

British Square resists repeated attempts by French Cavalry to destroy them. 

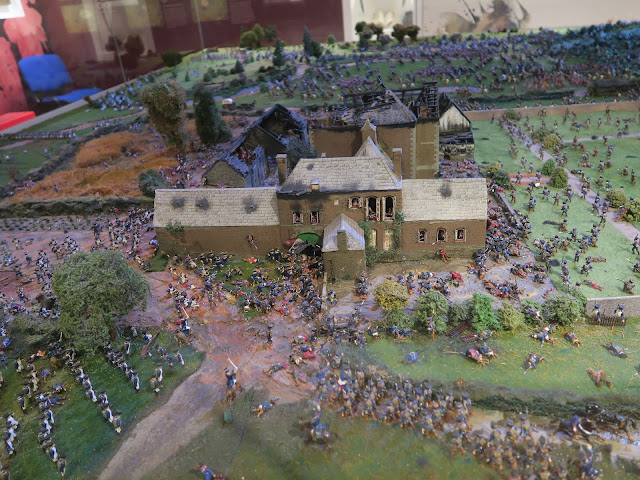
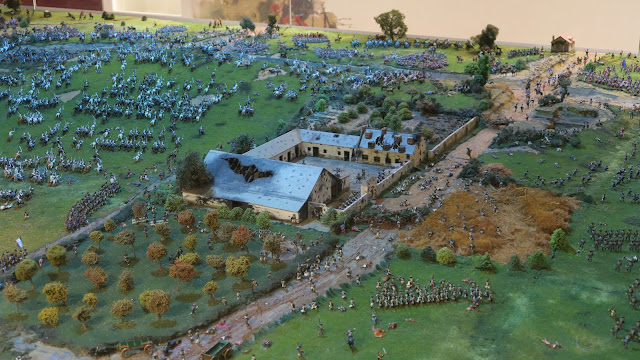
Looking down from Hougoumont towards Le Haye Sainte

Hougoumont Chateaux

Le Haye Sainte

Cavalry as far as the eye can see!

The Thin Red Line

Of course, the museum is not just focused on Waterloo and includes displays of the whole history of the regiment and its antecedents.

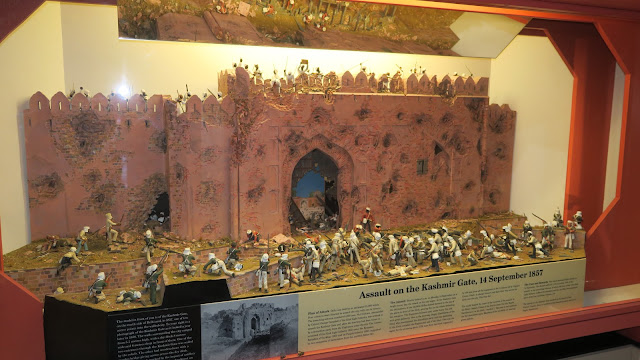
Assault on the Kashmir-Gate, September 1857

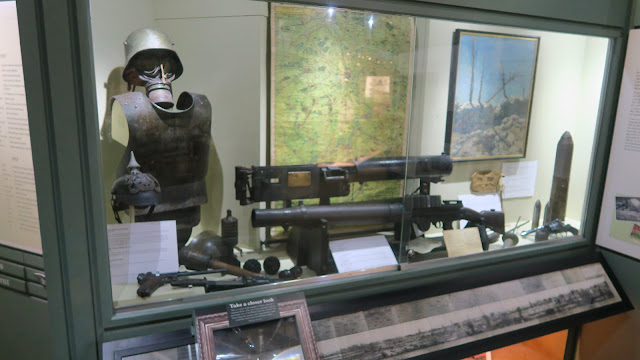
Artefacts from WW1

The Rifle Brigade in North Africa

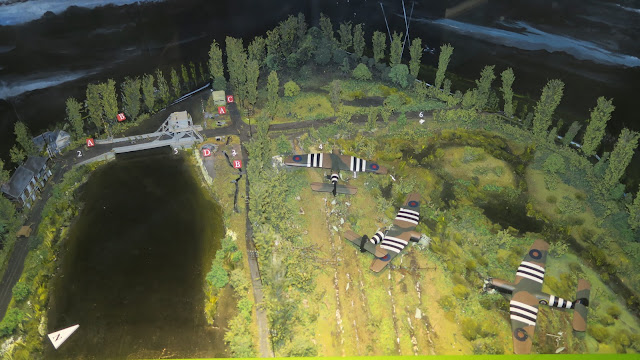
Pegasus Bridge

There is a lot more to see although it has to be said the Waterloo Diorama does tend to steal the show. 

Sunday 21 April 2019

Bovington Tank Museum

Day three of the museum crawl and I visited the Tank Museum at Bovington. I have been here dozens of times but the thing that I love about this place is that it is always changing. Their collections is massive so they are constantly moving items around and are able to display new items and put on new special exhibitions regularly.

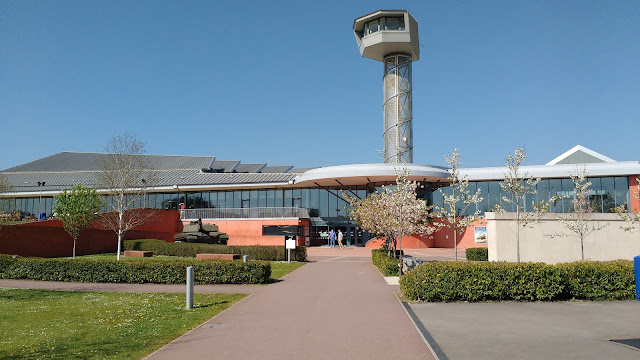
My happy place...and on a gloriously sunny day too.

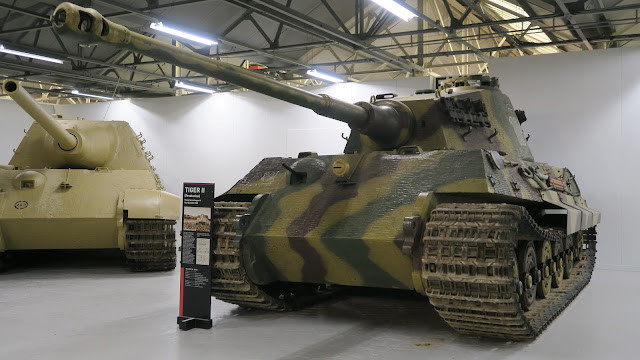
King Tiger. I have seen this tank dozens of times and its size never fails to impress me. 

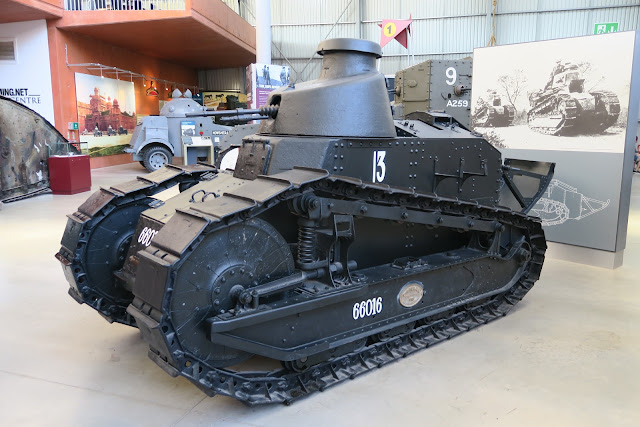
The French FT17 may have been small but it was probably one of the best tanks of WWI

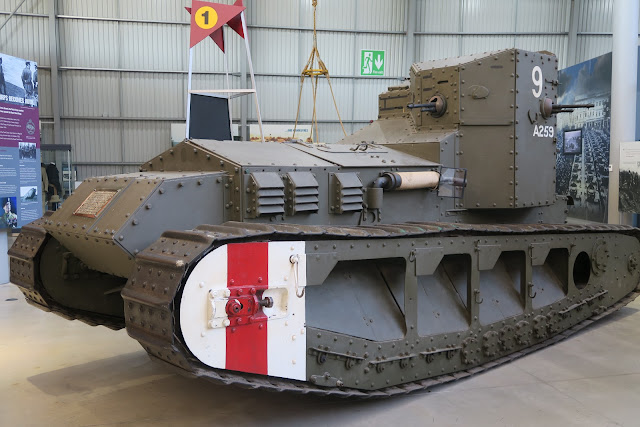
The British Whippet Tank. This vehicle was commanded by Lt Cecil Sewell. His VC is on display in the entrance to the museum. 

On 29th August 1918 Lt Sewell saw one of the tanks in his troop fall into a schell crater and catch fire. He got out of his own tank and under fire ran to the stranded vehicle and helped dig out the door and free the crew before they burned to death. He then ran back to his own tank and gave first aid to his own gunner. While doing so he was shot several times, the last fatally. His family collected his VC at Buckenham Palace in December of 1918 and the family have loaned it to the Tank Museum to honour his bravery.


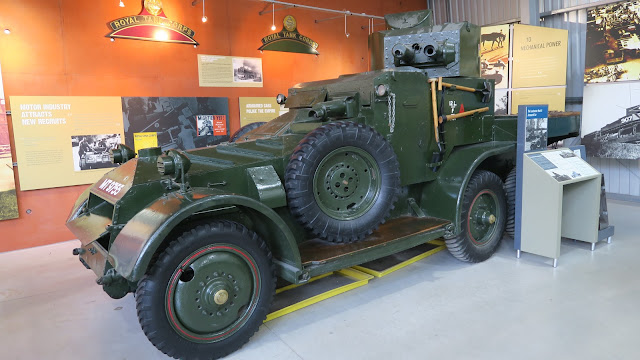
The Lanchester Mk II Armoured Car.

A Vickers Armstrong Mark E Tank. The British army decided it didn't want this tank so Vickers sold the tank all around the world.
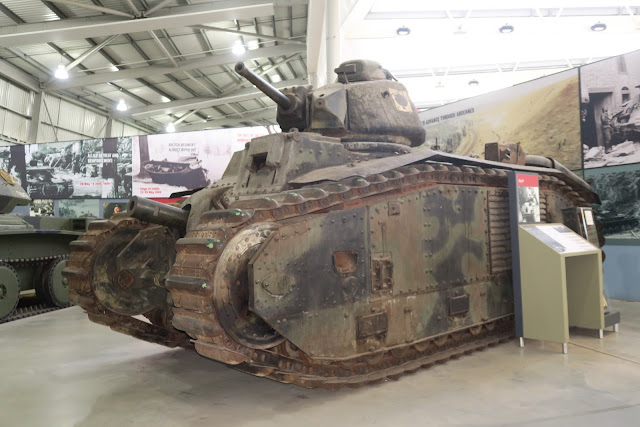
The French Char B was technically a superior tank to anything the Germans could throw at it but tactically they were not used very well.

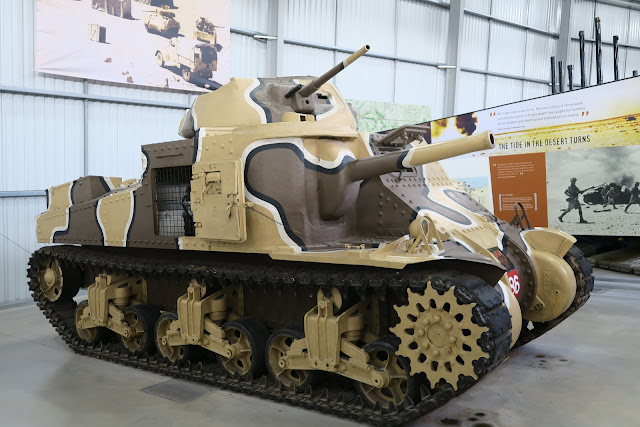
An American Grant tank. I'm not convinced by the camo pattern but I guess its correct... this is the tank museum after all. 

Panzer III

The Sherman Firefly

I had to resist the temptation to play with the toys.... 

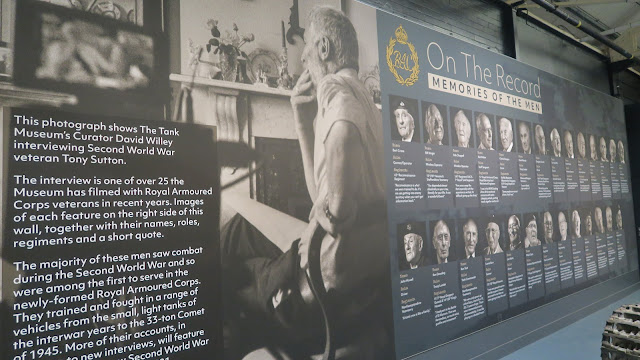
A new exhibit is Long After the Battle, featuring the stories of Royal Armoured Corp soldiers. 

Five stories in particular were told with audio visual displays and interviews.

Part of the display around the exhibit.

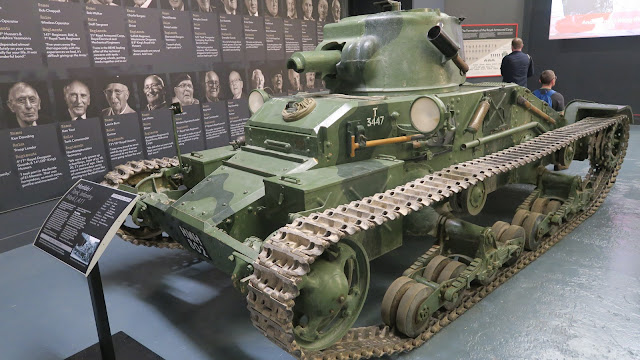
A Matilda I Infantry Tank A11

Churchill Mk IV Infantry Tank, A22

Little Willie, the first tank. It was experimental and never saw action (it was made of mild steel not armour) but it paved the way to later designs.

88mm Panzerjager Jagdpanther SdKfz 173

The Conservation centre is very full. Chatting to one of the volunteers he said they were moving tanks here as they cleared out the workshops. Later developments will see the 'Display fleet' moved to another building.

Once again a great visit to the Tank Museum. I always enjoy my trips here and they always seem to have something new to show. I like the fact that the team here don't rest on their laurels and are always putting together new exhibitions and bringing in previously unseen tanks.