Yesterday the Rejects got together to welcome back an old member who moved away a couple of years ago. He was back down south for a couple of days and of course he wanted a game in the shed-o-war. Postie put on an excellent Napoleonic game that challenged everyone, was a tough fight from beginning to end but ultimately ended with a satisfyingly definitive outcome. I think the mark of a good wargame is when both winners and losers can came away saying they had a great time.
The Setup
This is a fictional Peninsular War encounter set just a few days before the Battle of Salamanca. Wellington has just set camp for his army when the French appear and begin to advance. Spanish reinforcements have been sent for but the British position looks precarious from the beginning. The French have two Divisions of Cavalry poised on each flank and a lot of columns lined up to advance against the thin red line of the British positions. The Spanish reinforcements are marching quickly towards their allies but they could arrive too late to make a difference.
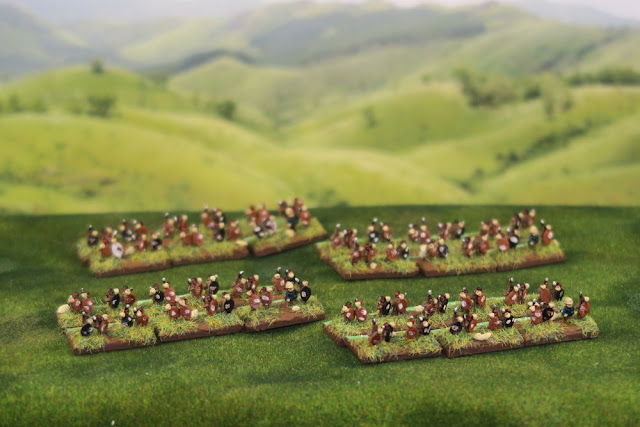
Order of Battle
British c/o Earl of Wellington (Ray & Lee)
1st Division c/o Campbell
1st Brigade c/o Fermor
1/2nd Coldstream, 1/3rd Guards, 5/60th Line and 1 Medium Gun
2nd Brigade c/o Van Lowe
1st, 2nd, 5th Line KGL and 1 Medium Gun
3rd Brigade c/o Wheatley
2/24th, 1/42nd, 2/58th, 1/79th and 5/60th
4th Brigade c/o Pocks (Portuguese)
1st (2), 16th (2) Portuguese Line, 4th Cacadores
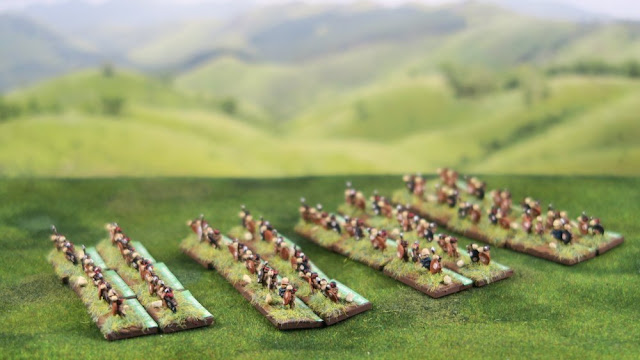
Cavalry Division c/o Stapleton-Cotto
5th Brigade c/o Alter
14th Light Dragoons, 1st Hussars KGL and Horse Artillery
6th Brigade c/o Bock
1st, 2nd Dragoons KGL
French c/o Marshal Marmont (John and Mark)
1st Division c/o Foy
1st Brigade c/o Chemineau
6th Leger (2), 69th Line (2), Medium Gun Battery
2nd Brigade co/ Berthelot
39th Line (2), 76th Line (2)
2nd Division c/o Clousel
3rd Brigade c/o Berlier
25th Leger (3), 27th Line (2) and Medium Gun Battery
4th Brigade c/o Barbot
50th Line (2), 59th Line (2) and Medium Gun Battery
Heavy Cavalry Division c/o Boyers
5th Brigade
6th Dragoons, 11th Dragoons
6th Brigade
15th Dragoons, 25th Dragoons and Horse Artillery
Light Cavalry Division c/o Curtos
7th Brigade
3rd Hussars, 13th Chasseurs a cheval
8th Brigade
26th Chasseurs a cheval, 28th Chasseurs a cheval
 |
| Deployment at start of game (click to enlarge) |
The Action
 |
| From the British perspective the enemy's plan looked fairly predictable. Their cavalry divisions would sweep around to attack our flanks while the Infantry columns would head straight for the thin line of infantry on the hill. The only question was would the French try to avoid our Guard (between the hill and the wood) or combine their attack on the hill? Meanwhile our plan (in blue) was to hold the ridge line, using my elite infantry to hold off the cavalry attack on the left flank. On the right flank our cavalry would try to see off the French cavalry to protect the Portuguese reinforcements who are marching along the road towards the centre where we think we will need them in the latter half of the battle. |
 |
| Postie explaining the game before the action starts and both sides had ten minutes to study the table and formulate a plan. |
 |
| The British position looks very vulnerable...especially looking across at the French columns! I'm particularity worried about the extreme left of our line and how on earth I am going to see off the French Heavy Cavalry which I can see across the valley. |
 |
| The French deployment is perfectly poised to attack both flanks of our position with cavalry. My end of the line is held by the 2nd and 3rd Brigades facing a potential threat from the French heavy cavalry Division. We look and feel outnumbered, especially as our 'reinforcements' (the 4th brigade) consists of relatively small units Portuguese Line infantry. |
 |
| Another view of the starting positions. The British plan is to hold the ridge and use our Cavalry Division (on the right) to counter the French Cavalry on that flank. Meanwhile my 2nd Brigade (including some Elite) is the only thing standing against the possibility of a french heavy cavalry attack on that flank. |
 |
| Meanwhile our Portuguese reinforcements race towards where we think they will be needed later in the battle. Here you can see the 6th Brigade (KGL) Cavalry crossing the road to support our flank. |
 |
| The French start their movement forwards and it looks like our assessment of their plan is bang on the money. The Heavy Cavalry begin moving round to attack our flank and the columns roll relentlessly forwards towards our very thin line n the hill. |
 |
| French infantry columns, a formidable sight and seemingly unstoppable. |
 |
| It soon becomes clear that the french are heading towards our Guards between the hill and the woods. We consider that a mistake (the guards are seriously hard!) but it does mean we can't afford to move them to support the infantry on the hill. Our original idea of racing the Portuguese to the centre will have to suffice. |
 |
Meanwhile the cavalry of our 5th Brigade charge the lead elements of the French light cavalry Division. The resultant melee is a spectacular success for the British. Our Dragoons sweep one whole brigade clear from the field and follow through into the Brigade behind. Suddenly this flank doesn't look as vulnerable as it did just a few minutes before.
|
 |
| The 7th Brigade of the French Light Cavalry Division are routed and in their panic crash through their comrades behind them. The British immediately pursue and slam into the now disorganised Chasseurs of the 8th Brigade. |
 |
| This second melee is also a resounding British victory with Mark only inflicting two casualties on each of the British units throughout this whole mad charge. |
 |
| Both French Brigades are fleeing for their lives! This is a stunning result for the British and with our cavalry still largely intact we now have the possibility of turning the French flank. |
 |
| To add insult to injury Marks 7th Brigade fail a Moral check and flee the field of battle! |
 |
| Success on the right flank has improved our moral but the game is not over yet and my part of the line has yet to be tested. Despite training my artillery on the advancing French columns they continue to advance en mass. |
 |
| The French Heavy Cavalry Division has taken its time getting into position but they are poised now to begin an attack on my flank. |
 |
| Meanwhile the Guard hold their nerve (and their fire) and calmly watch Marks columns advance. |
 |
| Crunch time is coming... |
 |
| The French columns are only a turn away from charge range and tighten up my line now that I know where the attack is likely land. Ray and I discuss our flank and we make a calculated risk deciding not to put our Elite infantry into square. We can get two turns of fire into the charging french cavalry, weakening it before it charges in... lets hope we haven't made a terrible mistake. |
 |
| With the French Light Cavalry Division swept aside we are starting to turn the flank of the French. The Cavalry of the 6th Brigade - now free of the obligation to support the triumphant 5th Brigade - turn to threaten the french infantry. |
 |
| Musketry begins to be exchanged as the lines converge and our gun batteries hammer the advancing french. |
 |
| Disaster!! One of my line units on the hill see the advancing columns heading for them and their resolve crumbles. I fail a moral check and the regiment falls back disordered! And of course the French, being utter cad's, take full advantage and swarm onto the hill. |
 |
| The Portuguese are still marching down the road towards the centre but they may arrive too late to steady the line. Meanwhile the first brigade of the French Heavy Cavalry has reach my line and charged in. |
 |
| On the other flank (Rays troops) the Guard have started to advance, and what an impressive sight they are! |
 |
| Decisions, decisions... To charge Square's or not to charge , that is the question. Both French units have taken casualties and look a tempting target. Rays chooses to charge! |
 |
| The resulting Melee is brutal. The Squares get four extra dice for being in square but don't get the usual defensive fire before the Cavalry hit. One square survives with nearly half casualties, but the other square is routed! Its not all one sides though as both British units have taken a mauling and one falls back routed. Despite the losses the French flank here has been broken down and cannot expect to stand against the Guards who continue to advance towards them. |
 |
| In addition Ray's Cavalry of the 5th Brigade, having seen off the French Light Cavalry Division earlier, are now behind the French line. |
 |
| Now for the mess that is my command. My line infantry have been pushed off most of the hill but stubbornly refuse to give up. I turn some units towards the new front (behind my original positions!) and at last the Portuguese are starting to come into action. Meanwhile my Elite infantry in the flank have defeated the first french heavy cavalry Brigade and sent them packing!!! Our decision not to form square here seems to have worked. |
 |
| Determined to repeat the strategy and get a different result the French 5th Heavy Cavalry Brigade now hit my weakened infantry on the flank. The melee is bloody for both sides but once again the French fail to break my brave boys! |
 |
| The 1/79th Highlanders in particular put up an amazing fight and rout the French Dragoons with heavy casualties. |
This was the last turn of the battle and all that remained was for the final Moral checks to be made for Brigades that fell below 50%. Having fought so hard to gain the hill the French 2nd Division had taken heavy casualties. The 3rd Brigade has taken a particular mauling, especially when they had the audacity to move a unit under the barrel of one of my batteries (canister shot really stings!) forcing a moral check. The French fail the test and the whole Division had to retreat a full move, effectively returning the hill to British control.
With Moral checks done Postie totted up the points. While the British positions looked bad we had lost relatively few units. The French however had multiple units routing and or retired by the end of the game, ceding significant points to the British. They had also lost several flags and commanders during the fighting so more points to the Brits. The end result was a convincing victory for Ray and myself.
French 11 Points - British 31 Points
Analysis
This game was a gripping encounter from the very beginning. Ray and I had our share of good fortune to be sure (his Cavalry charge for example) but I think we also read the battlefield well and were able to plan accordingly. We took some calculated risks which mostly paid off and in the end each was another nail in the French coffin.
The French columns are a terrifying and powerful weapon, and very hard to stop, but in the end this game came down to casualties and moral.


