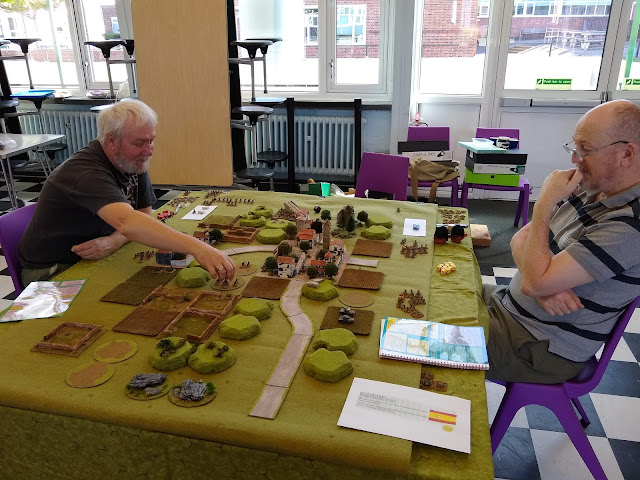
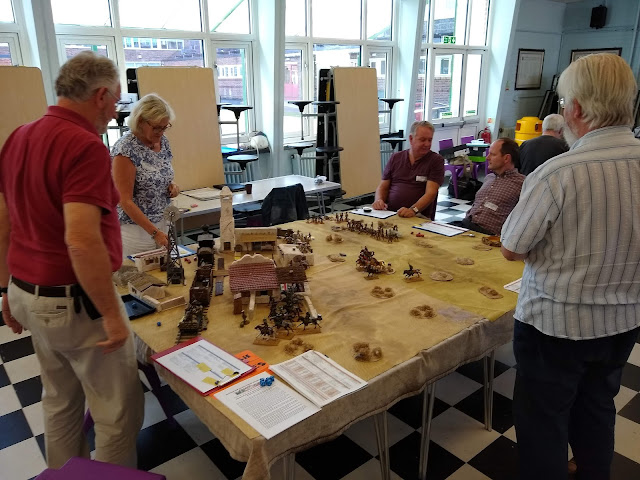
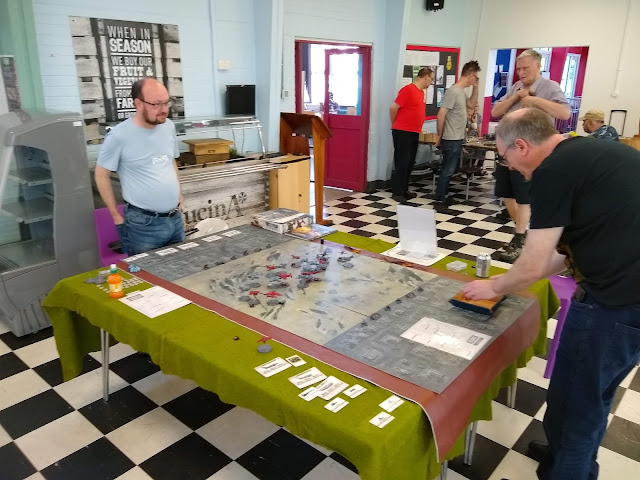
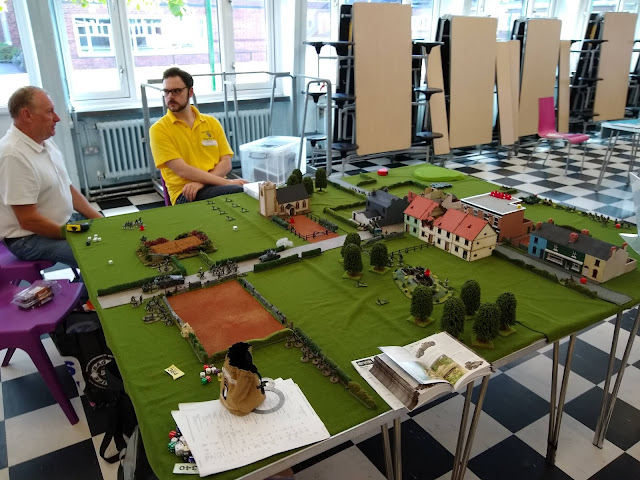
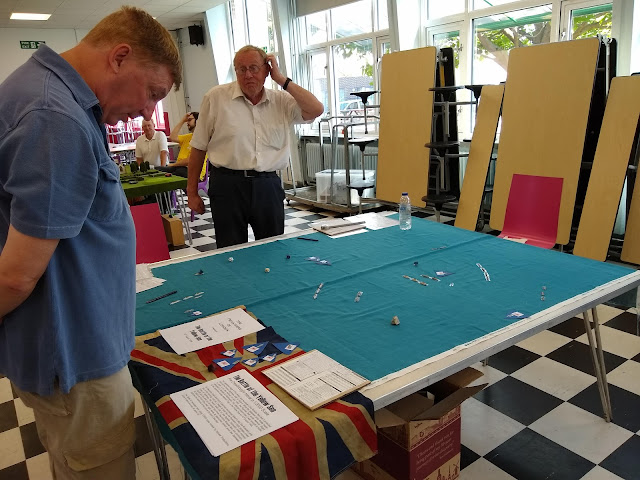
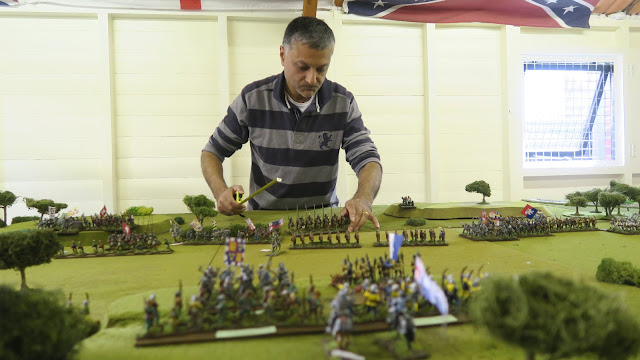
On Sunday I introduced Posties Rejects to the excellent To the Strongest rules with a refight of the Battle of Trebia. This was initially intended to be a solo game but the Order of Battle grew and grew until I had to admit this just wasn't possible to play alone. Instead, I decided to run the game at Reject HQ (the shed-o-war) as it would probably take a couple of players per side to manage the 'workload' of such large commands. None of those taking part had played these rules before so I would umpire the game, manage rules questions and keep track of lost units and when commands became demoralised etc.
The Battle of the Trebia was the first major battle of the Second Punic War. Having crossed the Alps with his army, Hannibal was eager to strike at the Romans to consolidate he position and help convince local Galic tribes to join him. There had been an earlier, smaller, clash between the two sides over a month earlier when Hannibal had attacked and nearly killed Consul Publius Cornelius Scipio in what became known as the Battle of Ticinus (which I solo played a couple of times earlier this year). Now the second consul, Tiberius Sempronius Longus, has marched his army up Italy from the south and joined forces with Scipio. Hannibal is massively outnumbered, but confident he can goad the Romans into attacking him on the ground of his own choosing.
 Both sides had been sending out cavalry to probe the enemy and scout the surrounding land and a few days earlier some of those scouts had clashed. The fight had developed and more troops were being pulled into the fight but Hannibal was wise enough to see the danger in being drawn into a full-scale battle he could not control. Instead, he pulled back his troops in good order and retreated to the relative safety of the camp. Sempronius was ecstatic. As far as he was concerned he'd just beaten the Carthaginian General and now he was spoiling for an all-out decisive battle. Hannibals spies relayed this information and the crafty Carthaginian commander saw an opportunity. Over the next few days, the Numidian cavalry probed the Roman defences, making a nuisance of themselves with minimum casualties. Sempronius was angry and frustrated so when a much more concerted raid was launched at his camp early one morning he decided to seize the initiative and attack with his whole army.
Hannibal had deliberately launched this feint attack at first light before the Romans had breakfasted (his own troops had been told to eat early, so they fought on full stomachs) confident that the impetuous consul Sempronius would take the bait and chase the Numidians back across the icy cold Trebia. The Consul responded just as Hannibal had hoped and having seen off the Numidians easily had roused his whole army, not even allow them to eat breakfast before marching after the fleeing light cavalry and fording the river. The river would have been icy cold when the Romans crossed and the ground immediately around it would have been boggy difficult going. It's likely this would have weakened the cohesion of the otherwise impeccable roman lines. Finally, they were all across the river but it took some time for the units to form up some distance from the Carthaginian invaders who were still issuing from their camp and getting into position. This was exactly what Hannibal wanted. He knew that by the time the Romans had finished getting into position, they would be soaking wet, very cold and very hungry. Hannibal also had a surprise for the Romans, which if it worked, would guarantee victory for the eldest son of Hasdrubal.
The Battle of the Trebia was the first major battle of the Second Punic War. Having crossed the Alps with his army, Hannibal was eager to strike at the Romans to consolidate he position and help convince local Galic tribes to join him. There had been an earlier, smaller, clash between the two sides over a month earlier when Hannibal had attacked and nearly killed Consul Publius Cornelius Scipio in what became known as the Battle of Ticinus (which I solo played a couple of times earlier this year). Now the second consul, Tiberius Sempronius Longus, has marched his army up Italy from the south and joined forces with Scipio. Hannibal is massively outnumbered, but confident he can goad the Romans into attacking him on the ground of his own choosing.
 Both sides had been sending out cavalry to probe the enemy and scout the surrounding land and a few days earlier some of those scouts had clashed. The fight had developed and more troops were being pulled into the fight but Hannibal was wise enough to see the danger in being drawn into a full-scale battle he could not control. Instead, he pulled back his troops in good order and retreated to the relative safety of the camp. Sempronius was ecstatic. As far as he was concerned he'd just beaten the Carthaginian General and now he was spoiling for an all-out decisive battle. Hannibals spies relayed this information and the crafty Carthaginian commander saw an opportunity. Over the next few days, the Numidian cavalry probed the Roman defences, making a nuisance of themselves with minimum casualties. Sempronius was angry and frustrated so when a much more concerted raid was launched at his camp early one morning he decided to seize the initiative and attack with his whole army.
According to Polybius, the plan was set in motion the night before the Battle. Hannibal had called his younger Brother Mago, to his tent. He asked him to pick 100 of his best cavalrymen and 100 of his best infantry and assemble them in the centre of the camp. Here Hannibal roused them with glowing oratory and sent them away to pick their own squads of 9 men each for a special detail. Mago was ordered to take this small force of just 2000 and hide overnight in the long grass of a small marshy valley beside the planned battlefield, and at the right time launch an ambush on the rear of the Roman army. As Sempronius marched his cold and hungry legionaries forward towards Hannibal's line he had no idea how comprehensively he had been played, and the scale of the disaster that was about to befall his army.
The Game Setup
Now if the players knew they were refighting Trebia then the Roman players would naturally deploy in the full knowledge that there is a Carthaginian ambush force hiding on their left flank. I decided the best way to replicate the circumstances of the battle was to be a Big Fat Liar! I took advantage of the fact that none of my players would be familiar enough with the rules to know I was fibbing when I said their forces were evenly matched, and not familiar enough with the history of the period to recognise the battle I was recreating. So I repeatedly told them in the days leading up to the game that this was a 'fictional setup' of a simple battle designed to enable the player to learn the rules.
Once the players for each side were determined I took aside each 'team' for a briefing, outlining special rules for their forces and explaining the troop types in their armies It was at this point that I told the Carthaginian players that we were refighting Trebia, that they were in fact outnumbered by a significant margin, but that they also had an ambush force hidden on the table. I told them where the force was hidden and then left the rest to them. It would be up to the player controlling Mago to decide when to launch the surprise attack and where to aim it.
Order of Battle
Romans C/O Consul Tiberius Sempronius Longus (267 Points)
1st Command - Sempronius Mounted, Detached, Senior
2x Equites Romani Cavalry, Javelin
Equites Extraordinarii Cavalry, Javelin, Veteran
Italian Allied Infantry Javelinmen
Gallic allied infantry Warriors, deep, hero
2nd Command - General Mounted, Detached
3x Velites Light Infantry, Javelin
4x Hastati/Principes Legionaries, Special
3x Triarii Hoplites, Veteran, Small
3rd Command - General Mounted, Detached
3x Velites Light Infantry, Javelin
4x Hastati/Principes Legionaries, Special
3x Triarii Hoplites, Veteran, Small
4th Command - General Mounted, Detached
2x Equites Latini Cavalry, Javelin
2x Allied Light Cavalry Light Cavalry, Javelin
Italian Allied Infantry Javelinmen
The Action
Unlike my normal battle reports the following pictures don't capture all the action. I was so busy with umpiring and running the game - and all the careful admin that went with it - that I didn't have time for more than a handful of quick pictures. If we play these rules again (and I hope the guys will want to) then it will get easier as they become increasingly familiar with the rules.
Unfortunately, the next two turns were so busy with action I didn't take any more pictures, I didn't even get a shot of the final positions! Check out Ray's blog later this week for his write up and hopefully better and more comprehensive pictures. So what happened... well both sides got stuck in! All the Roman Hastatii/Principe units had to perform a line swap but most of their shock weapon attacks were ineffective. However, in the end, they did nibble away at the Carthaginian lines and despite serious losses on the Roman side, they wore down the invaders.
By the end of the 7th Turn the Carthaginians had reached the breaking point and despite rolling up the Roman flank with Mago's attack they were unable to break the Roman war machine.
Analysis
I hope everyone that took part had a good time and in the end, the Roman win was by a small margin, with only four victory medals remaining. That being said they lost several medals down to units routing after another unit was destroyed. Given the mechanism for rout testing, I was surprised to see this happen, but it did make for a more nail-biting finish to the game.
Umpiring four newbies with such large armies was hard work, and that's no disrespect to the guys, they did very well considering how much they had to learn in a short time. I think I got through relatively unscathed although I think I may have made one questionable rules decision regarding light troops. I couldn't find the answer I needed in the rulebook but I will go hunting for it now the game is over. In the end, it didn't change the outcome of the battle so I'm chalking it up to the vagaries of war.
UPDATE - Ray has now posted his batrep here. well worth a read, especially as he has more pictures towards the end of the game.
Once the players for each side were determined I took aside each 'team' for a briefing, outlining special rules for their forces and explaining the troop types in their armies It was at this point that I told the Carthaginian players that we were refighting Trebia, that they were in fact outnumbered by a significant margin, but that they also had an ambush force hidden on the table. I told them where the force was hidden and then left the rest to them. It would be up to the player controlling Mago to decide when to launch the surprise attack and where to aim it.
Order of Battle
Romans C/O Consul Tiberius Sempronius Longus (267 Points)
1st Command - Sempronius Mounted, Detached, Senior
2x Equites Romani Cavalry, Javelin
Equites Extraordinarii Cavalry, Javelin, Veteran
Italian Allied Infantry Javelinmen
Gallic allied infantry Warriors, deep, hero
2nd Command - General Mounted, Detached
3x Velites Light Infantry, Javelin
4x Hastati/Principes Legionaries, Special
3x Triarii Hoplites, Veteran, Small
3rd Command - General Mounted, Detached
3x Velites Light Infantry, Javelin
4x Hastati/Principes Legionaries, Special
3x Triarii Hoplites, Veteran, Small
4th Command - General Mounted, Detached
2x Equites Latini Cavalry, Javelin
2x Allied Light Cavalry Light Cavalry, Javelin
Italian Allied Infantry Javelinmen
Carthaginians C/O Hannibal Barca (234 Points)
1st Command - Hannibal Great Leader, senior, mounted, heroic, detached and brilliant
2x Punic Cavalry Cavalry, Javelin
2x Numidian Light Cavalry Light Cavalry, Javelin
African Elephants African Elephants, Deep
African Skirmishers Light Infantry, Javelin, Raw
Balaeric Slingers Light infantry sling, Veteran
2nd Command - General Mounted, Detached
2x African Spearmen Spearmen, Veteran
2x Italian Allies Javelinmen
2x Iberian Scutarii Javelinmen, Shock Weapon, Veteran
3x Gauls Warriors, hero, deep, (two of the three are Veteran)
3rd Command - General Mounted, Detached
Punic Cavalry Cavalry, Javelin
2x Numidian Light Cavalry Light Cavalry, Javelin
African Elephants African Elephants, Deep
African Skirmishers Light Infantry, Javelin, Raw
Balaeric Slingers Light infantry sling, Veteran
4th Command - Mago Mounted, Detached, Senior, Brilliant
Punic Cavalry Cavalry, Javelin, Veteran
2x African Spearmen Spearmen, Veteran
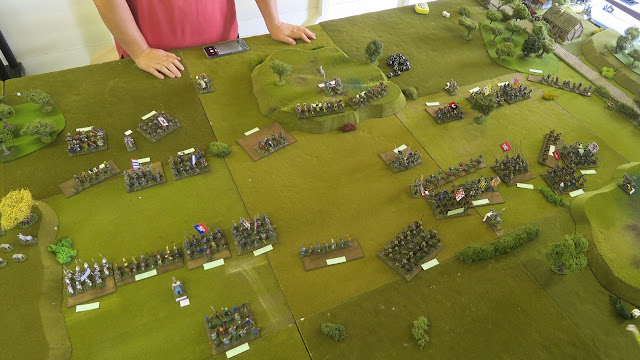
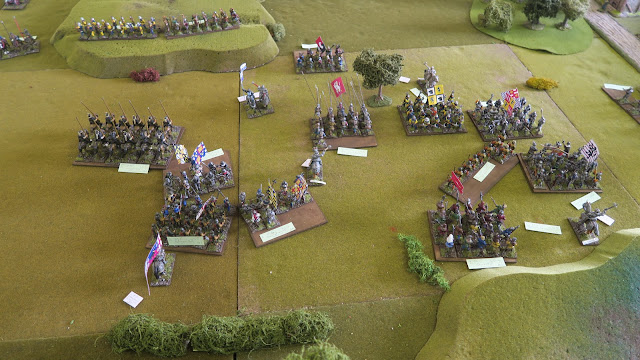
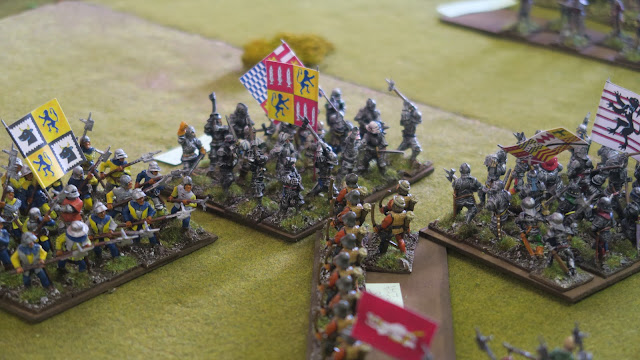
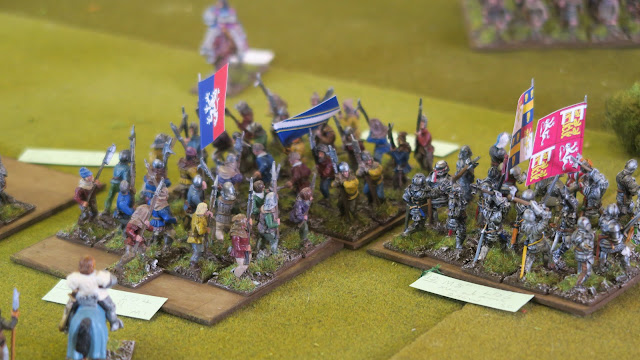
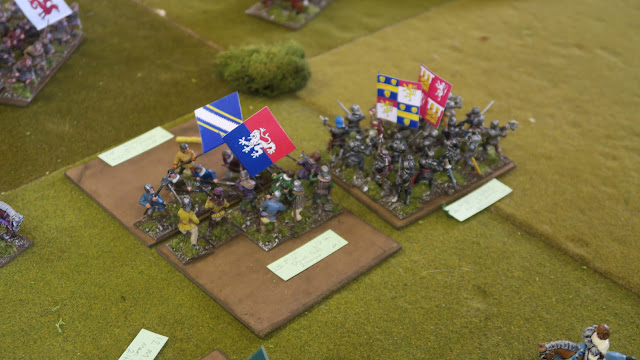
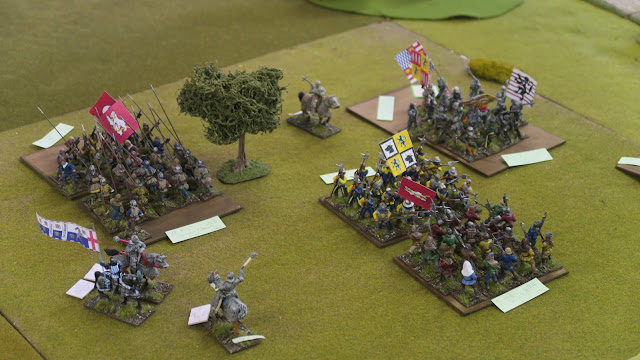
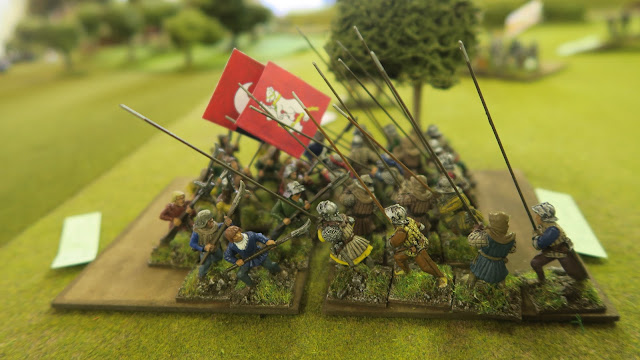
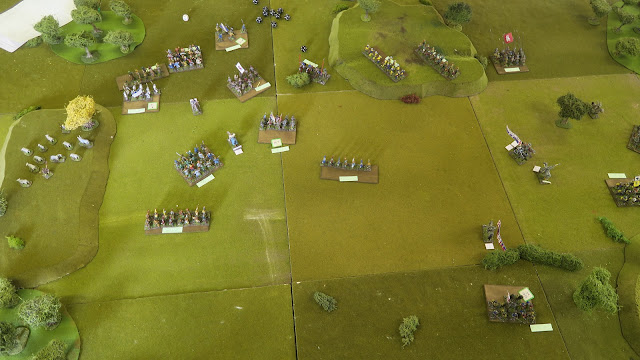
Unlike my normal battle reports the following pictures don't capture all the action. I was so busy with umpiring and running the game - and all the careful admin that went with it - that I didn't have time for more than a handful of quick pictures. If we play these rules again (and I hope the guys will want to) then it will get easier as they become increasingly familiar with the rules.
 |
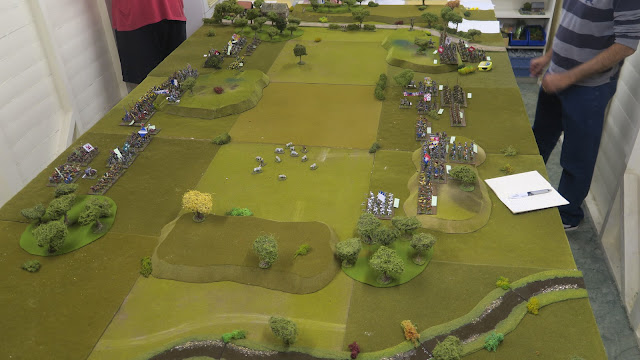
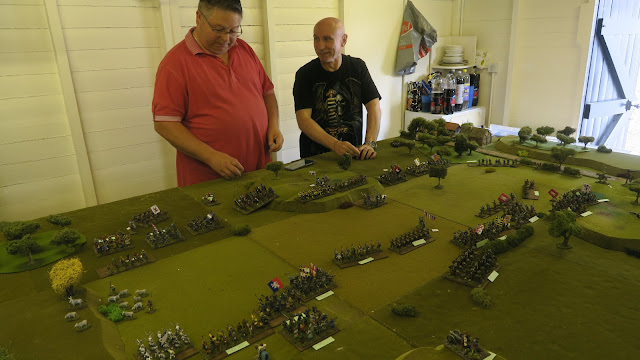
| The setup before I let the commanders into the shed-o-war - Romans on the right, Carthaginians on the left. |
 |
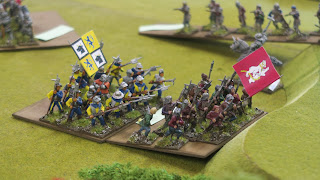
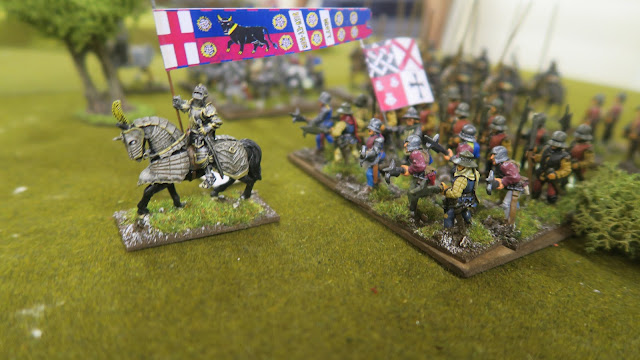
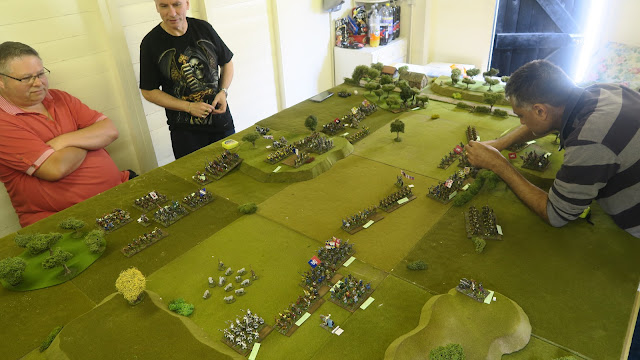
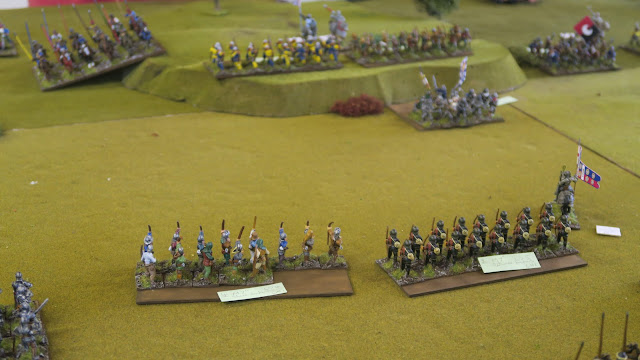
| The Roman lines. They do look rather splendid, well organised and formidable. |
 |
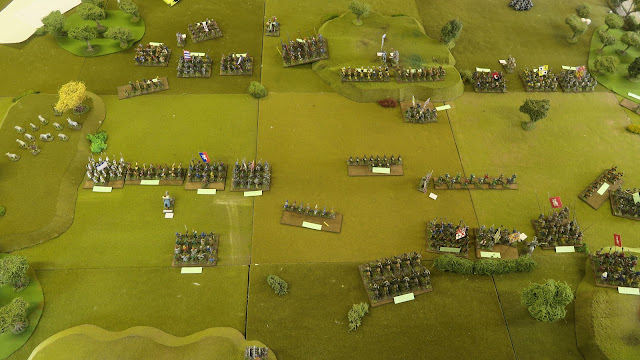
| Things still look pretty well organised...that's not going to last! |
 |
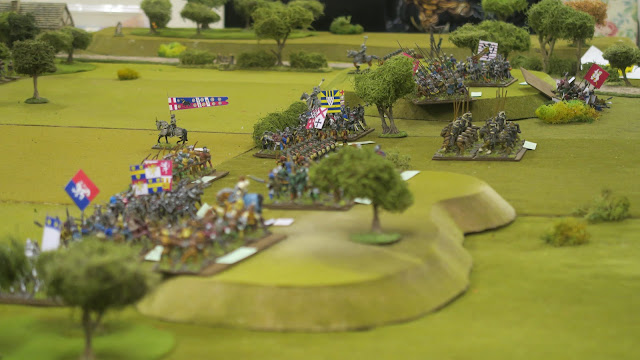
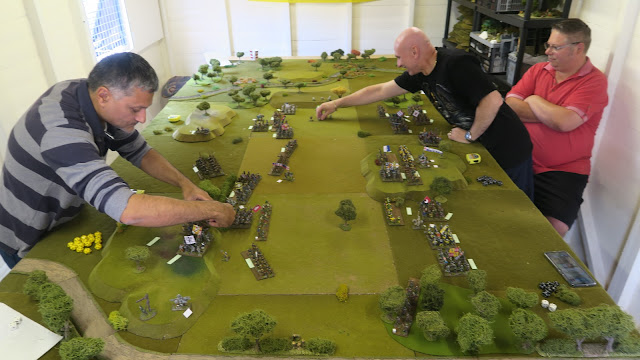
| An aerial view showing the steady and disciplined advance of the Romans |
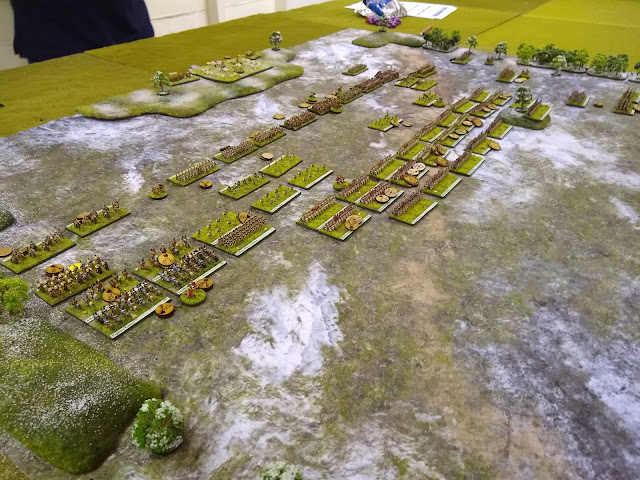 |
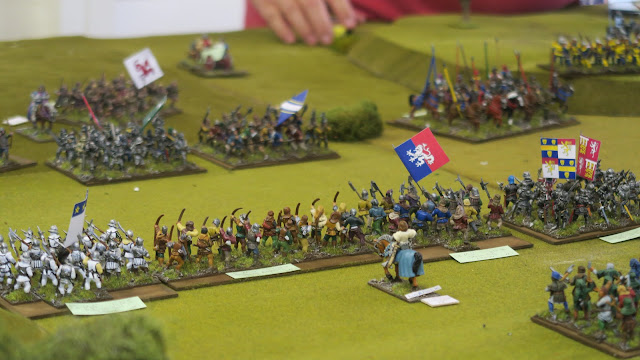
| And another view looking towards the Carthaginian camp. |
 |
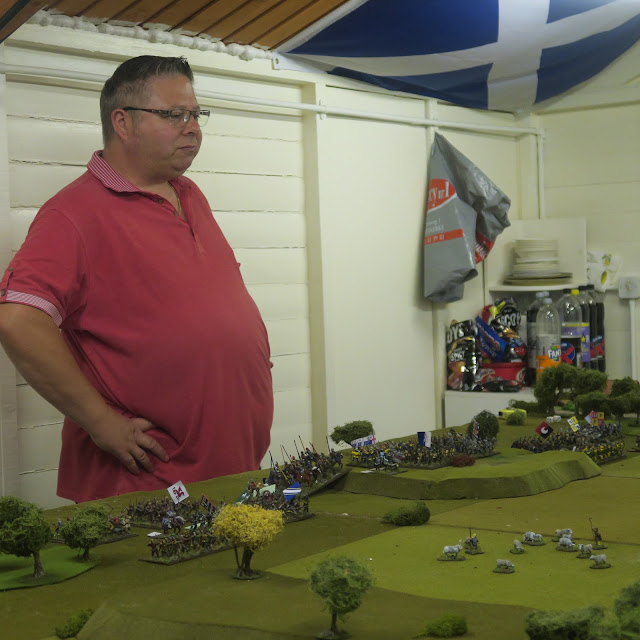
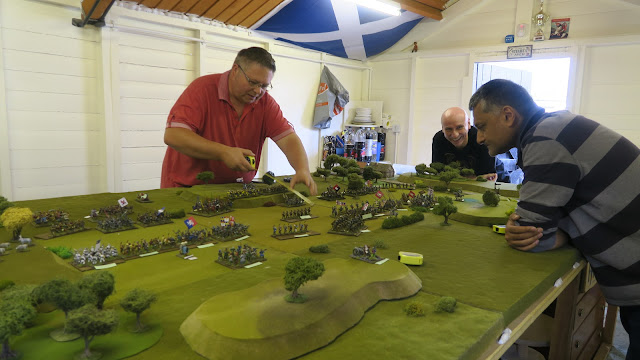
| Postie having to 'fink ard! Surjit gets more excited as his ambush on the Roman flank draws near. |
 |
| Everyone that took part had a lot to learn as none of them had played To the Strongest before. |
Unfortunately, the next two turns were so busy with action I didn't take any more pictures, I didn't even get a shot of the final positions! Check out Ray's blog later this week for his write up and hopefully better and more comprehensive pictures. So what happened... well both sides got stuck in! All the Roman Hastatii/Principe units had to perform a line swap but most of their shock weapon attacks were ineffective. However, in the end, they did nibble away at the Carthaginian lines and despite serious losses on the Roman side, they wore down the invaders.
By the end of the 7th Turn the Carthaginians had reached the breaking point and despite rolling up the Roman flank with Mago's attack they were unable to break the Roman war machine.
Analysis
I hope everyone that took part had a good time and in the end, the Roman win was by a small margin, with only four victory medals remaining. That being said they lost several medals down to units routing after another unit was destroyed. Given the mechanism for rout testing, I was surprised to see this happen, but it did make for a more nail-biting finish to the game.
Umpiring four newbies with such large armies was hard work, and that's no disrespect to the guys, they did very well considering how much they had to learn in a short time. I think I got through relatively unscathed although I think I may have made one questionable rules decision regarding light troops. I couldn't find the answer I needed in the rulebook but I will go hunting for it now the game is over. In the end, it didn't change the outcome of the battle so I'm chalking it up to the vagaries of war.
UPDATE - Ray has now posted his batrep here. well worth a read, especially as he has more pictures towards the end of the game.


