Friday 30 August 2013

FOW for 6mm Part 1 : Basing

Regular readers will know that I have been working on a 6mm North Africa 1942 campaign for several months now. From the start I decided that I wanted to have a go at using the 15mm Flames of War rules for these games but I wasn't sure if they would work with micro armour. Now that I have been able to play-test a few scenarios I am confident that FOW actually works quite well with smaller scale figures and I thought it worthwhile sharing my experiences on 'converting' the rules for 6mm Wargaming. 

Why use FOW?
I'm one of those 'odd' gamers that actually find it hard to read and learn rules alone and as I would almost certainly be working on this new project 'solo' the idea of also getting to grips with a completely new set of rules was pretty daunting. Using FOW with Micro Armour therefore appealed to me from the start because I was already familiar with these rules for my Normandy project in 15mm. So when I saw the FOW rules being used for a 6mm game at SELWG last year (the Operation Deadstick demo game run by the Maidstone Wargames Society) I felt confident that I could also adapt the rules for my North Africa project.

My aim from the start has been to keep any 'house' rule changes minimal in order to keep the essence of the game intact. I have also tried to adopt the K.I.S.S. (keep it simple stupid!) approach so when I think something is overly complicated I drop it. What I have found is that FOW adapts well to the smaller scale models and that I haven't had to make any significant changes for the game to be playable, fun and realistic. Over the next few weeks I will be posting a series of articles taking different aspects of the FoW rules and discussing my thoughts and ideas. This is all very much a work in progress and I would very much appreciate any ideas or suggestions from readers, as well as any problems or mistakes you think need to be highlighted.

I have actually had these articles partially written for some time but its taken me a long time to play-test the rules and capture the pictures I wanted to illustrate the articles. I'll also admit that the idea of being presumptuous enough to say 'this is how to convert the rules' to a wider audience has been quite daunting. But I have decided to publish and be damned and hopefully garner some useful advice along the way from older and more experienced Grognards. All suggestions will be considered and hopefully be put to good use as this project develops.


Basing
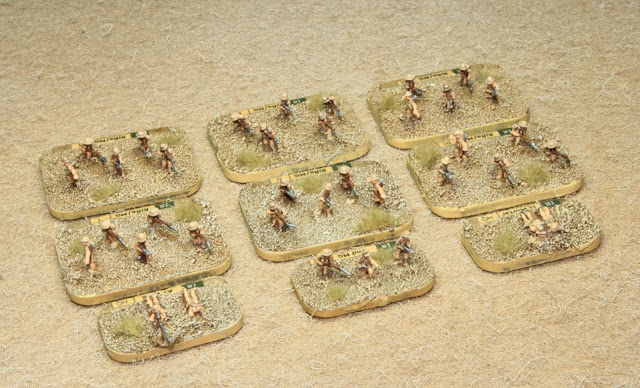
I have used the same basing protocols for 6mm that I would have used for 15mm, the only difference being that I have used smaller bases. So Instead of putting infantry and vehicle teams on a FOW Medium Base I am using Small bases instead. For Command teams I cut a small base in half. The proportions of these bases obviously don't match their larger cousins but so long as all teams are based to the same formula I don't think it makes any real difference to the game.


Unit Type
15mm Basing
6mm Basing
Armoured Tank teams
Medium Base (S)*
Small Base (S)
Unarmoured Tank Teams
Medium Base (S)*
Small Base (S)
Jeeps / Carriers etc
Medium Base (S)*
Small Base (S)
Motorcycle Recon Teams (Mounted)
   Small Mounted Motorcycle Teams
Medium Base (S)
Small Base (S)
   Small Unmounted Motorcycle Teams
Small Base (L)
½ Small Base (L)
   Large Mounted Motorcycle Teams
Large Base (S)
Medium Base (S)
   Large Unmounted Motorcycle Teams
Medium (L)
Small Base (L)
Transport Teams
   Trucks and Halftracks
Medium Base (S)*
Small Base (S)
   Jeeps
Medium Base (S)*
Small Base (S)
Gun Teams
   Man Packed Gun Teams
Medium Base (L)
Small Base (L)
   Heavy Mortar Teams
Large Base (S)
Medium Base (S)
   Small Gun Teams (4 or fewer crew)
Medium Base (S)
Small Base (S)
   Large Gun Teams (5 or more crew)
Large Base (S)
Medium Base (S)
   Additional Crew
Medium Base (S)
Small Base (S)
Infantry Teams
   Small Infantry Teams
Small Base (L)
½ Small Base (L)
   Large Infantry Teams
Medium (L)
Small Base (L)
   Small Cavalry Teams
Medium Base (S)
Small Base (S)
   Large Cavalry Teams
Large Base (S)
Medium Base (S)
* = May also be unbased
S = Facing Short Edge
L = Facing Long Edge


I am also sticking with the number of figures per base that are shown in the FOW Army lists. The proportions of the bases to models at 6mm is slightly larger than at 15mm but I think this makes the finished stands look less cluttered, especially when putting together something like a five figure rifle team. The 15mm equivalent has individual figures that are almost shoulder to shoulder and these always look far too closely bunched in my opinion.


Vehicles are also much smaller in proportion to their bases and even if you place a platoon of tanks side by side there is still some space between the models (no axle to axle formations), thereby reducing the 'FoW Parking Lot' effect.  Even large tanks like these tigers (above) have plenty of room on the base. Another advantage of basing tanks is that it affords some protection for flimsy barrels and enables vehicles to be moved by handling the base rather than the model. A further advantage for me is that I have room to add a unit label to the base, something that I think is important when playing with large formations.


My general rule of thumb when basing is that so long as all models are based using the same conventions there is no undue advantage or disadvantage conferred to any one side. I'm sure someone with a better understanding of mathematics will come along and prove I have just 'broken' the FOW system but in my play-testing I haven't encountered any issues.

The next article will discuss the terrain rules for 6mm FOW battles and look at some of the benefits and pitfalls of using these rules with micro armour and infantry. Hopefully I'll have this finished and properly illustrated to post next week. In the meantime please feel free to leave any comments, suggestions and ideas. Thanks! 

Wednesday 28 August 2013

Military Odyssey 2013

My two week 'stay-cation' has finally come to an end and I am now back at work for a bit of a rest! Our last big day out was on Monday - a public holiday here in the UK - with a visit to the Military Odyssey show at the Kent County Showground in Detling. I didn't go to this event last year and its been a couple of years since the rest of the family went so we were all looking forward to seeing how this years event shaped up. Fortunately the ground had dried up after the monsoon like rain we had on Saturday and the sun came out for a glorious last day of my vacation. 

The show seemed a little quieter this year with fewer reenactors and traders present, although that may just have been a reaction to the terrible weather on Saturday. I was still able to pick up a couple of books and we got round most of the displays and trade stands by lunchtime, meaning we had the whole afternoon to sit by the main arena and watch some excellent battle displays. As always I went camera in hand and here are a selection of pictures from this years show.

Military Odyssey covers a wide range of periods
ACW Union Drill display
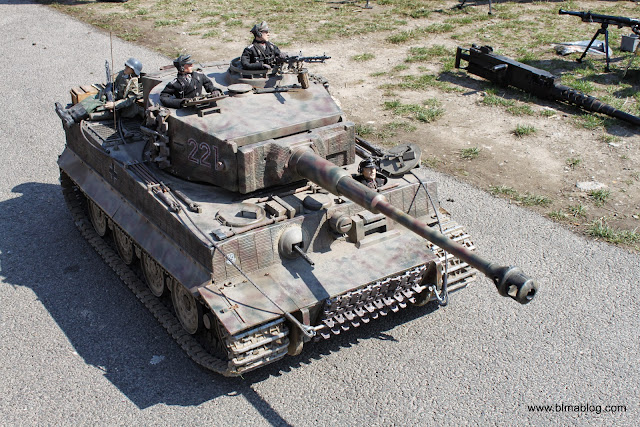
RC Tiger Tank by Armour Tek
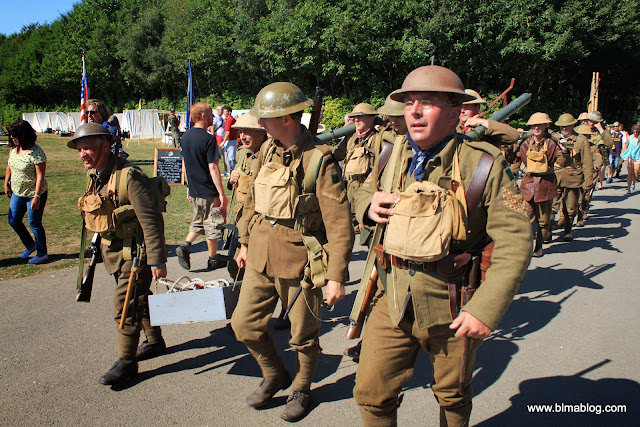
WWI British 'Tommys' marched out of the main arena
The American Civil War  re-enactment was good but there weren't many troops in the field. 
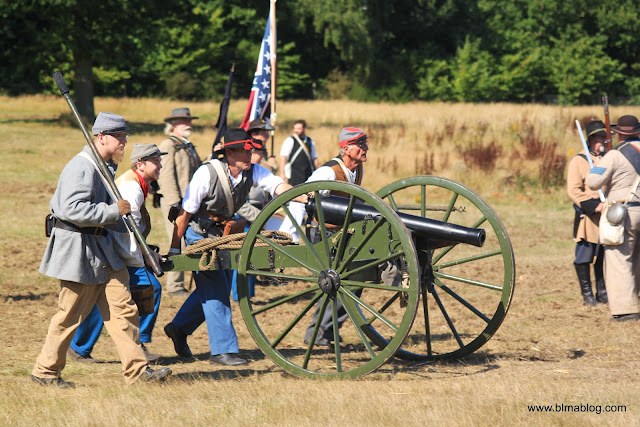
Confederate artillery moves forward as the front line shifts
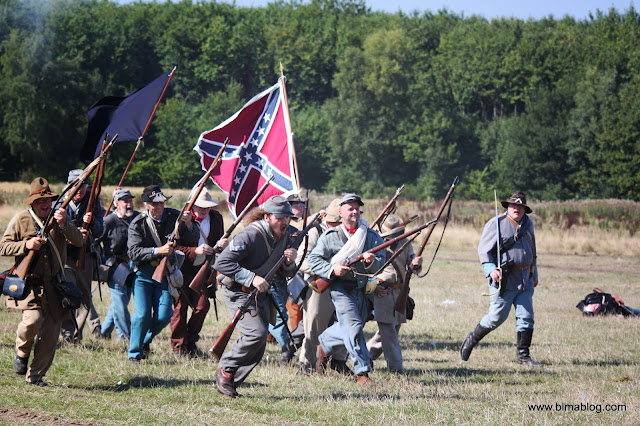
A Rebel charge!
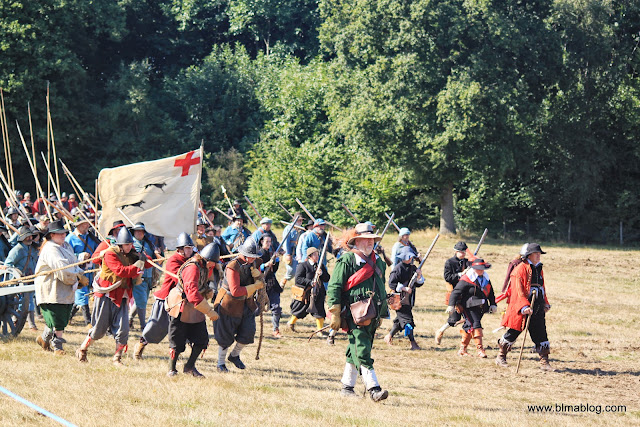
English Civil War - Royalist forces advance
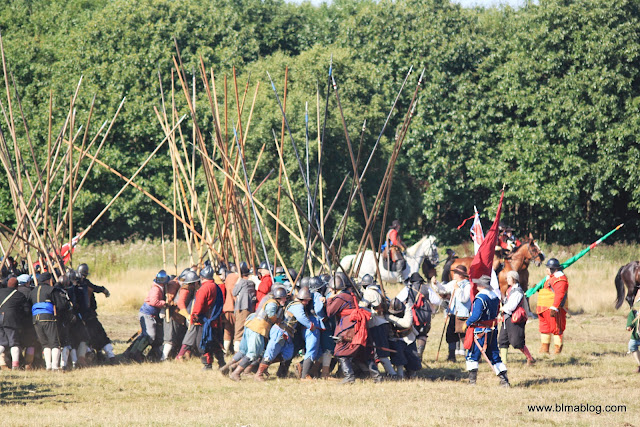
Push of Pike
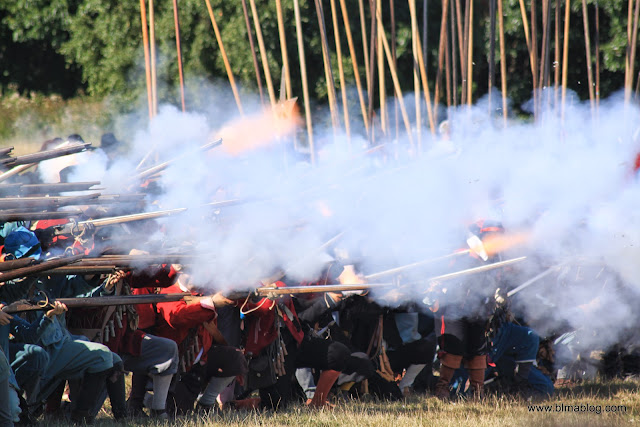
The Royalists unleash a devastating Swedish 'salvee' against the Parliamentarian forces. 
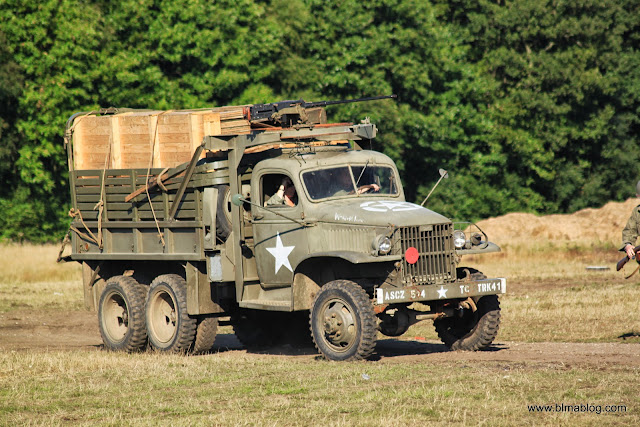
The WWII battle re-enactment started with the capture of an American GMC truck by German infantry in disguise
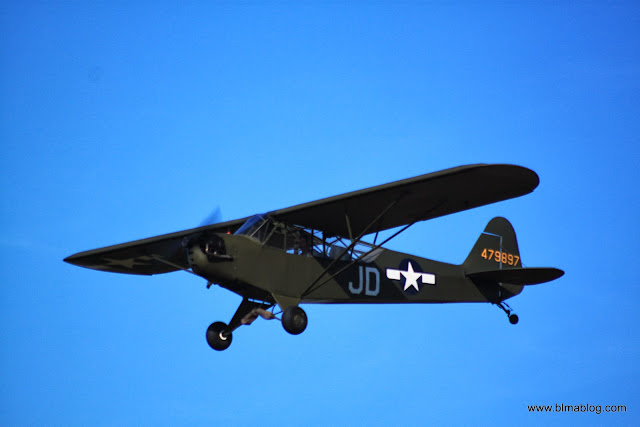
Piper Cub reconnaissance plane scans the German positions
Fellow Reject 'Smiffy' leading a squad of Fallschirmjäger on the arena 
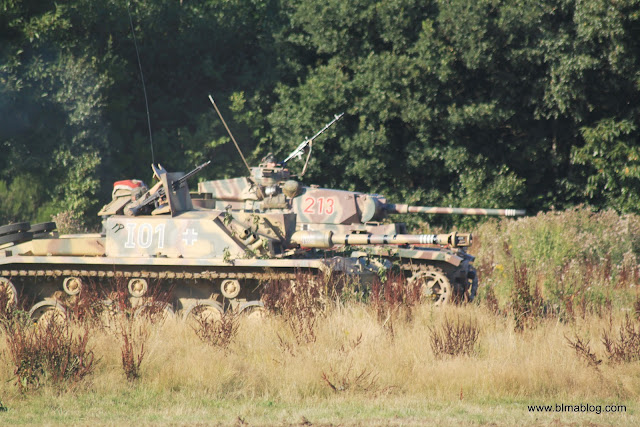
A replica Sturmgeschütz and Panzer IV move into action
The Grace Spitfire put in a stunning display of aerobatics over the battlefield
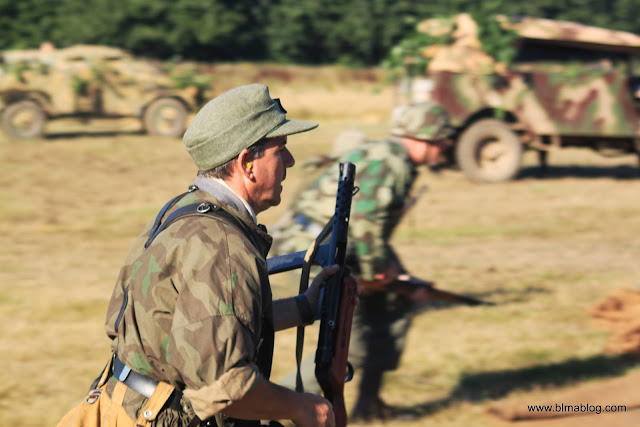
German infantry advance towards the Allies
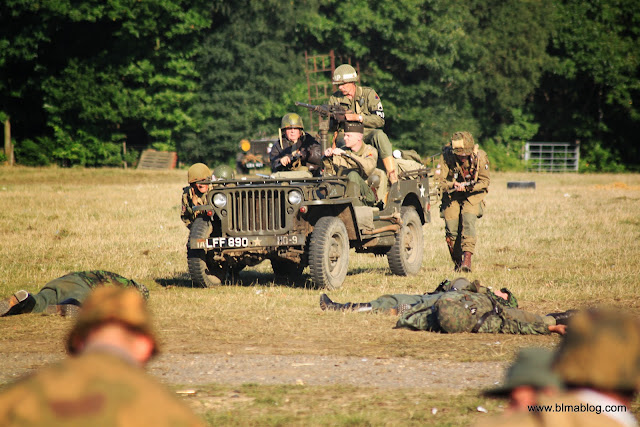
Highly mobile Jeep and half-track borne infantry deploy against the Germans
Air superiority enables the Allied troops to 'win' this re-enactment
The good weather on Monday made this a very enjoyable day combining a little bit of shopping, some activities for the kids and the battle displays in the afternoon. All in all not a bad way to end my two weeks off work.

Monday 26 August 2013

The Battle of Hollands Farm

Posties Rejects gathered on Saturday to play an ACW game using the Fire and Fury Rules. We were joined by MiniMike from the Netherlands who was over in the UK on a holiday. The weather outside was awful with monsoon like conditions sweeping across the South East of England but for those of us inside the weather was unimportant. All that mattered was the battle, which would turn into a fight to the death. 

Postie introduces the scenario and runs through the Order of Battle (detailed below).
Setting the Scene - The Battle of Hollands Farm, 2nd May 1863
Union forces are pushing south on the Confederate far right flank along the east coast. Reynolds, the Union Commanding officer, has orders to build a series of coastal fortifications as he advances to help in the fight against contraband reaching the south, which would include arms and ammunition from Britain and various other factions with Southern sympathies. 

Meanwhile General Longstreet the Confederate commander has been dispatched to halt the Union advance and capture or destroy Fort Hooker (named in honour of the previous commander of the Potomac who was recently replaced by General Meade) which is currently under construction.

The game begins with both armies advancing towards each other just South of Fort Hooker which is just off the table on the coast behind the Union left Flank. The Union must defeat Longstreet in a pitched battle otherwise the army will be forced to retreat, thus abandoning Fort Hooker to the Rebs. All the South are eagerly awaiting news of a victory. If the South loose this fight more Southern soil will be captured by the blue bellies and Southern honor will be insulted.

Order of Battle
Confederate Army (MiniMike, Dave and Ray)
1st Corps C/O – Longstreet
   1st Division – Anderson
      1st Battalion – 2nd Alabama – C*
      2nd Battalion – 1st Alabama – V
      3rd Battalion – 3rd Alabama – V*
      4th Battalion – 5th Alabama - C
      5th Battalion – 4th Alabama – V
      6th Battalion – 6th Alabama – V*
   2nd Division – Jones
      1st Battalion – 2nd Georgia – V
      2nd Battalion – 8th Georgia – C*
      3rd Battalion – 4th Georgia - V
      4th Battalion – 3rd Georgia – V*
      5th Battalion – 1st Georgia – V
   3rd Division – McLaws
      1st Battalion – 3rd South Carolina – V*
      2nd Battalion – 4th South Carolina - V
      3rd Battalion – 2nd South Carolina - V
      4th Battalion – 1st South Carolina – C*
      5th Battalion – 5th South Carolina – V
   Cavalry Division – JEB Stuart
      1st Battalion – Virginian – C*
      2nd Battalion – Louisiana – V
   Confederate Navy
      CS Atlanta – Iron Clad
      CS General Lee – Monitor (Captured)

Union Army (BigLee and Richard)
1st Corps C/O – Reynolds
   1st Division – Wadsworth
      1st Battalion – 3rd New York – C*
      2nd Battalion – 2nd New York – V
      3rd Battalion – 1st New York – V
   2nd Division – Robinson
      1st Battalion – 1st Pennsylvania - V
      2nd Battalion – 4th Pennsylvania – G
 2nd Corp C/O – Couch
   1st Division – Hancock
      1st Battalion – 2nd Michigan - V
      2nd Battalion – 4th Michigan - G
      3rd Battalion – 3rd Michigan – V*
   2nd Division – Gibbon
      1st Battalion – 1st Illinois - V
      2nd Battalion – 3rd Illinois – V
   Cavalry Division – Stoneman
      1st Battalion – New Jersey – V*
      2nd Battalion – New Hampshire - V
   Union Navy
      US Cricket – Paddle Steamer
      US Winnebego – Monitor
      US Seawitch – Small Craft (towing two barges containing a US Marine Battalion)

(V-Veterans  C-Conscript  G-Green  *-Exceptional Leader)

The Action
The Confederate players look across the Battlefield and review their deployment.
All divisions started in column but some made less progress than others because of poor dice rolls.
The Union small craft Sea Witch pulls two barges filled with Marines. It took most of the game for the marines to land and not before the Sea Witch itself was destroyed by enemy fire. 
I moved all my Artillery onto a small hill overlooking most of the Union Left Flank.
Confederate cavalry lead by JEB Stuart try to outflank the Union on the right. 
The evil Postie brings on the Confederate Ironclad CS Atlanta. At this stage all I had to fend it off was the Sea Witch.
The Union right flank stifles the outflanking move of JEB Stuart. In the end the day was saved by the green 4th Pennsylvania who repulsed one cavalry battalion and mauled another.
Back on the Union left flank the Rebs have advanced onto a ridge of high ground and prepare to assault the Union troops who have formed up in strong line under the protection of their guns.
Meanwhile the Union Paddle Steamer Cricket appears on the coast and tries to shield the barges carrying the Marines.
A wider shot showing the Union line and the steady advance of most of the Confederate forces.
A bold move by two battalions of the Union forces strikes out in the center. They remained out there, disrupting the Rebel advance for the rest of the game.
The Rebels crash into the union lines along the edge of the woods and in front of the Union guns on the left flank
Disaster! My dice rolling was appalling as usual and after seeing off one infantry Battalion the Rebs follow through and crash into to artillery batteries. By the end of the melee both guns were lost and the Rebels held the ground.
Meanwhile two Monitors arrive off the coast. The Confederates make use of a captured ship, the CS General Lee, while the Union ship, the US Winnebago, moves to target the Ironclad. 
The Union Left (actually the centre of the Battlefield) holds on against mounting pressure from the rebels. Richards dice rolling was excellent and made up for the terrible dice from my half of the army. 
My troops on the Union left flank were still a strong fighting force at this stage and I decided to launch a counter assault of my own to disrupt the Rebel advance..but more bad dice ruined that plan. 
The ships continued to exchange blows of the coast but the US Paddle steamer
was taking heavy damage and would soon be sunk leaving the Ironclad free to
bombard the shoreline and the Union battalions on their left flank.
Fresh from sweeping aside the Union Artillery the rebels press their assault against the union troops they pushed back earlier in the battle. More terrible dice rolling ensured another Union defeat and this time the whole battalion is pushed back off the table edge. 
My dice rolling was so bad that it was beginning to remind me of my earlier disaster in the Battle of Hal last year.
The Union are being pushed back but the Rebels still don't look all that happy. Casualties were mounting on both sides.
Another view of the Union center (right) showing the rebels have made little headway in their advance.
Now the Dice Gods are just laughing in my face. Four guns from the Monitor against the Rebel Ironclad...and I roll three ones !!!! Needless to say I swore a lot at this point. 
The Rebel Ironclad now starts to bombard the Union troops on shore and there is little they can do about it. 
Fresh Confederate troops are now advancing towards the Union right flank and there it little left to fend this off.

Man of the Match - Richard
Analysis
By the end of the game both sides had taken a mauling but both I and my fellow Union player Richard were convinced it was a resounding confederate victory. When the points were added up they had indeed won but much more narrowly than we had anticipated.

Confederates – 25pts
Union – 21pts 

This is counted as a Confederate Minor Victory but really they had won the ground and effective control of the coast with reserves feeding into the front line. The Union position was untenable and if the game had progressed a few more turns we would have been forced to retreat no matter how much we fought the inevitable. I think we gave the Confederates a bloody nose, but ultimately my uncannily poor dice rolling and their domination of the coast proved too much. Kudos has to go to MiniMike and Dave who both fought tenaciously and pressed their advantage throughout the battle. Well done lads.

So once again my dice rolling was utterly utterly awful. I still enjoyed the game but I am beginning to believe I am cursed. Maybe if I could roll the dice without touching them I may have better luck.... nah, I don't believe that either!

Friday 23 August 2013

War Games at the Museum of Childhood

The family 'stay-cation' rumbles onward and this week we have been focusing on exploiting the good weather with plenty of outdoor activities and a few trips to the beach. But yesterday we had a busy day with a trip to the Theatre in the morning followed by a visit to the Museum of Childhood in Bethnal Green in the afternoon. I have been wanting to revisit this great little museum for a while because they are currently running a special exhibition called War Games which explores the sometimes complex relationship between war and children's play. It contains a wide and interesting range of toys that have been influenced by warfare from 1800 to the present day, included a few that have a special place in my past (you know your getting old when your childhood toys appear in a museum!).

I shot a load of photo's as usual and here is a small selection of my pictures to give a flavor of what to expect.

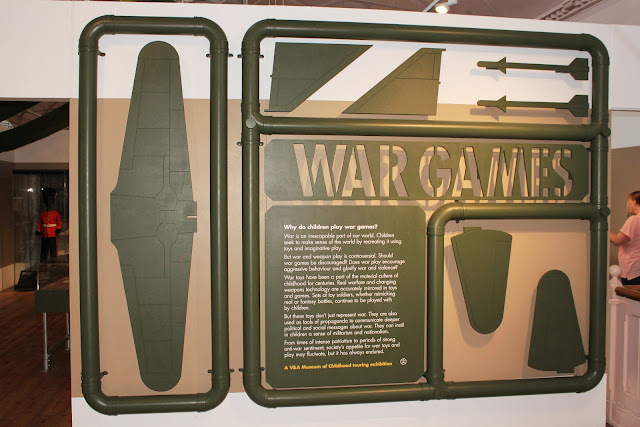
The War Games Exhibition at the Museum of Childhood at Bethnal Green
Toy Catalogue dated to 1840-42 in Germany
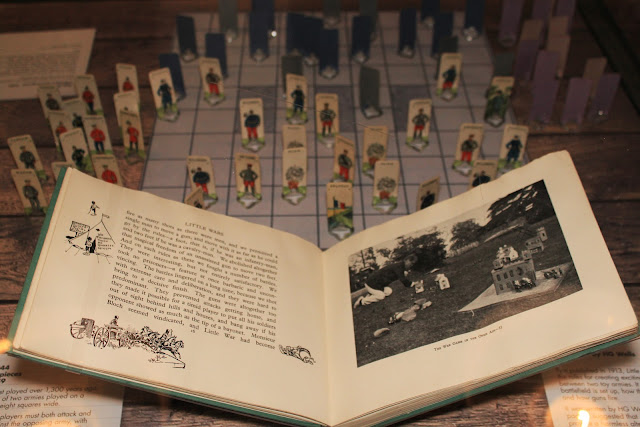
Copy of Little Wars by H.G.Wells
The Strategy Game 'Risk'
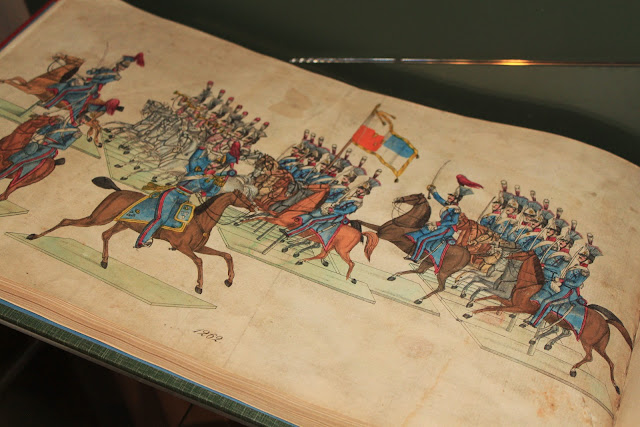
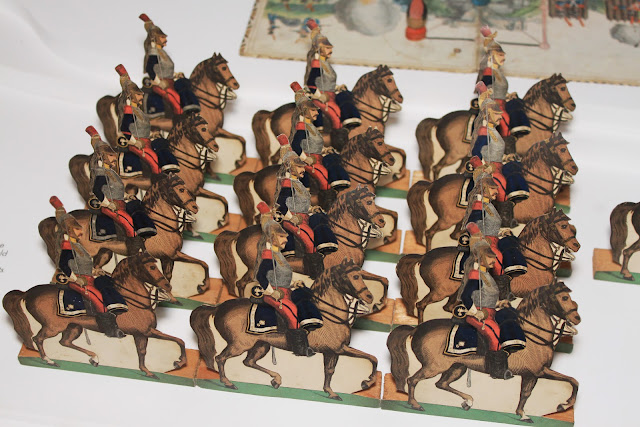
Cardboard Prussian Cuirassiers from 1870
The Battle of El Teb soldiers 1890 - German 'Tin' Flats
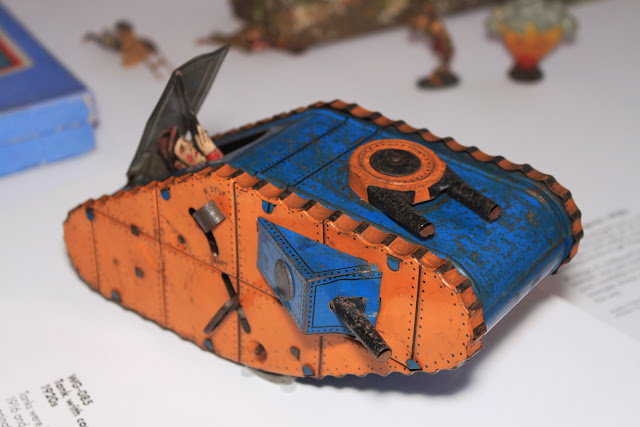
Model Toy Tank with concealed Sniper - by Louis Marx & Co USA in the 1920's
German Lancers from 1920's
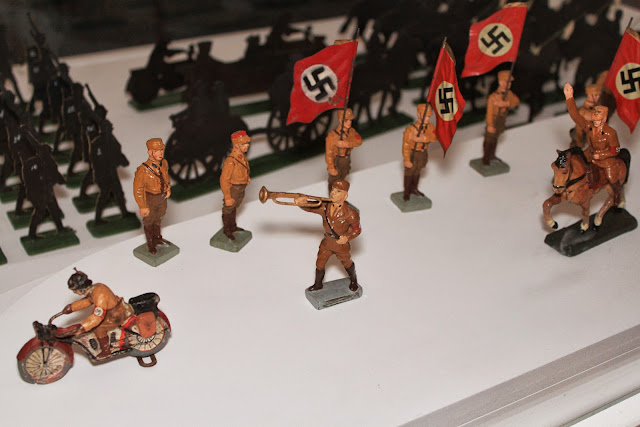
Marching Nazi Sturmabteilung Troops (Brownshirts) - Made by Hausser in Germany 1930's
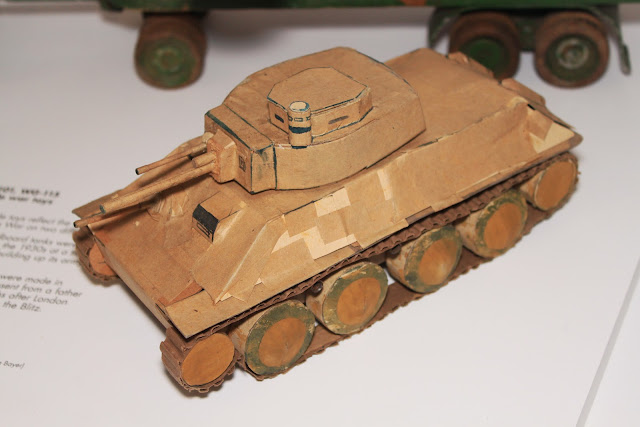
Home made war toys - German Cardboard Tanks from 1930's
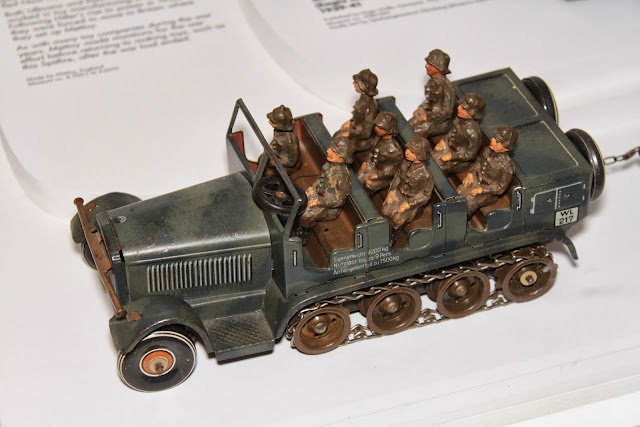
Anti-Aircraft Gun - Made by Tipp & Co Germany in the 1930's
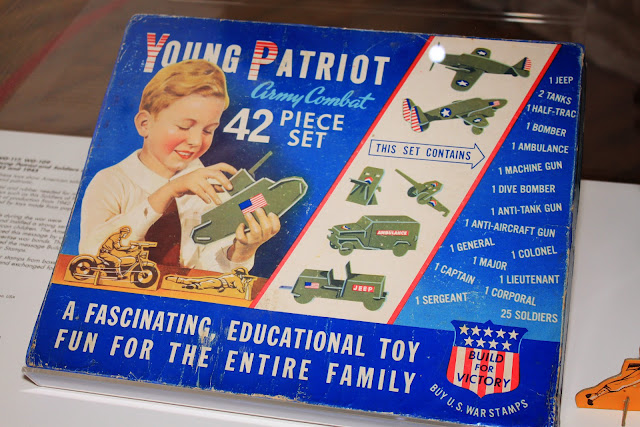
'Young Patriot' Made by Colorgraphic Inc in the USA in 1942
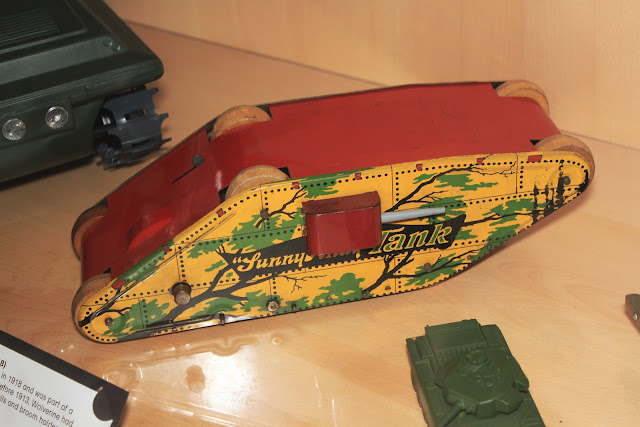
Sunny Andy Tank by Wolverine in 1918
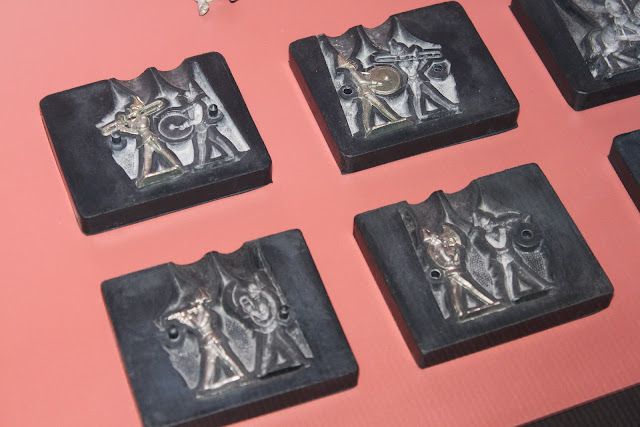
Home Casting Kits made in Germany in 1978 by Westfalische Zinnfuguren
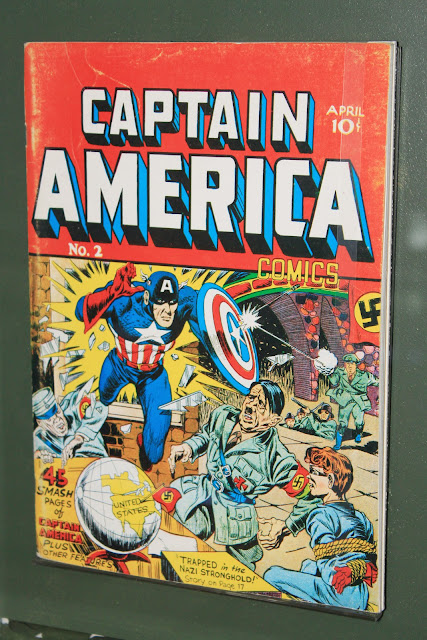
Captain America comic dated 1969 (first published in 1941)
Inside the Bethnal Green Museum of Childhood
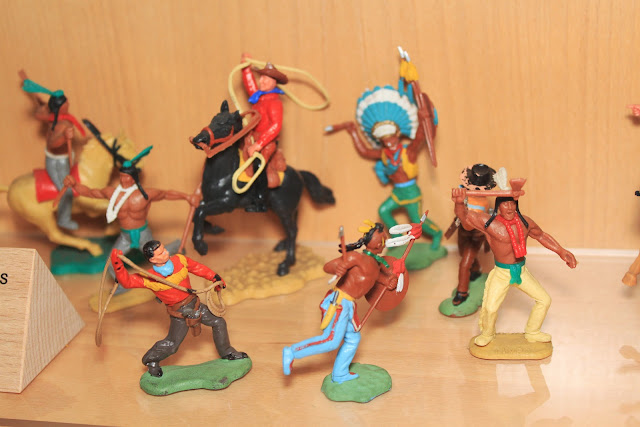
Plastic Toy Soldiers from the 1950's
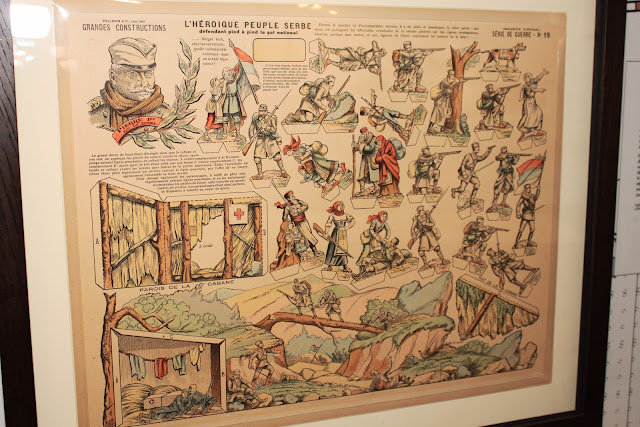
French Propaganda 'toy soldier' Poster
I went with both my kids in tow and I'd recommend that if you do intend on visiting you need to take a kid along or you'll look a bit strange walking around the rest of the museum alone! If you get a chance this exhibition is well worth a visit.