Friday, 14 March 2014

Panzer III N's & IV F1's

Yet more 6mm tanks are rolling off the production line here at BLMA, this time more mid-war German ones for my North Africa project. This will be my last regular entry to the Painting Challenge (all I have left now is the final bonus round) but marks the beginning of a new phase of expansion for my Desert collection as I have just bought more British and German vehicles to create two new companies. Unfortunately I don't have time to get these finished for the Challenge so I'll hold onto them for a couple of weeks before commencing with the rest.

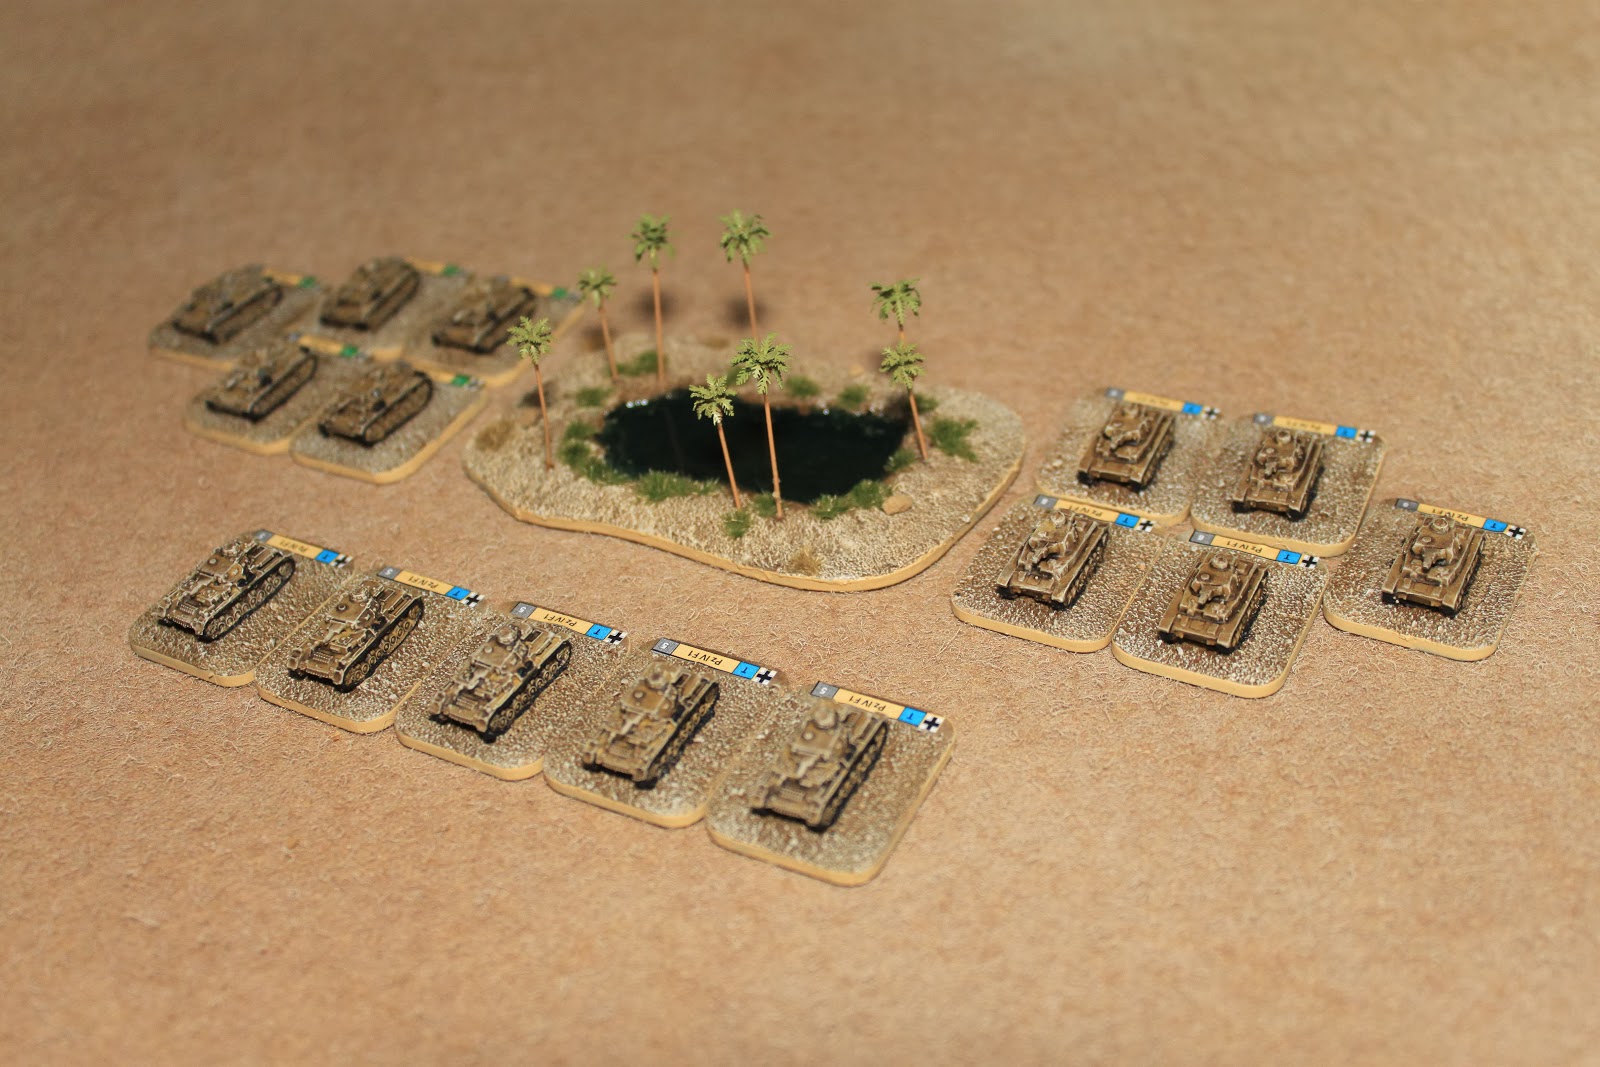
Three platoons of German Panzers
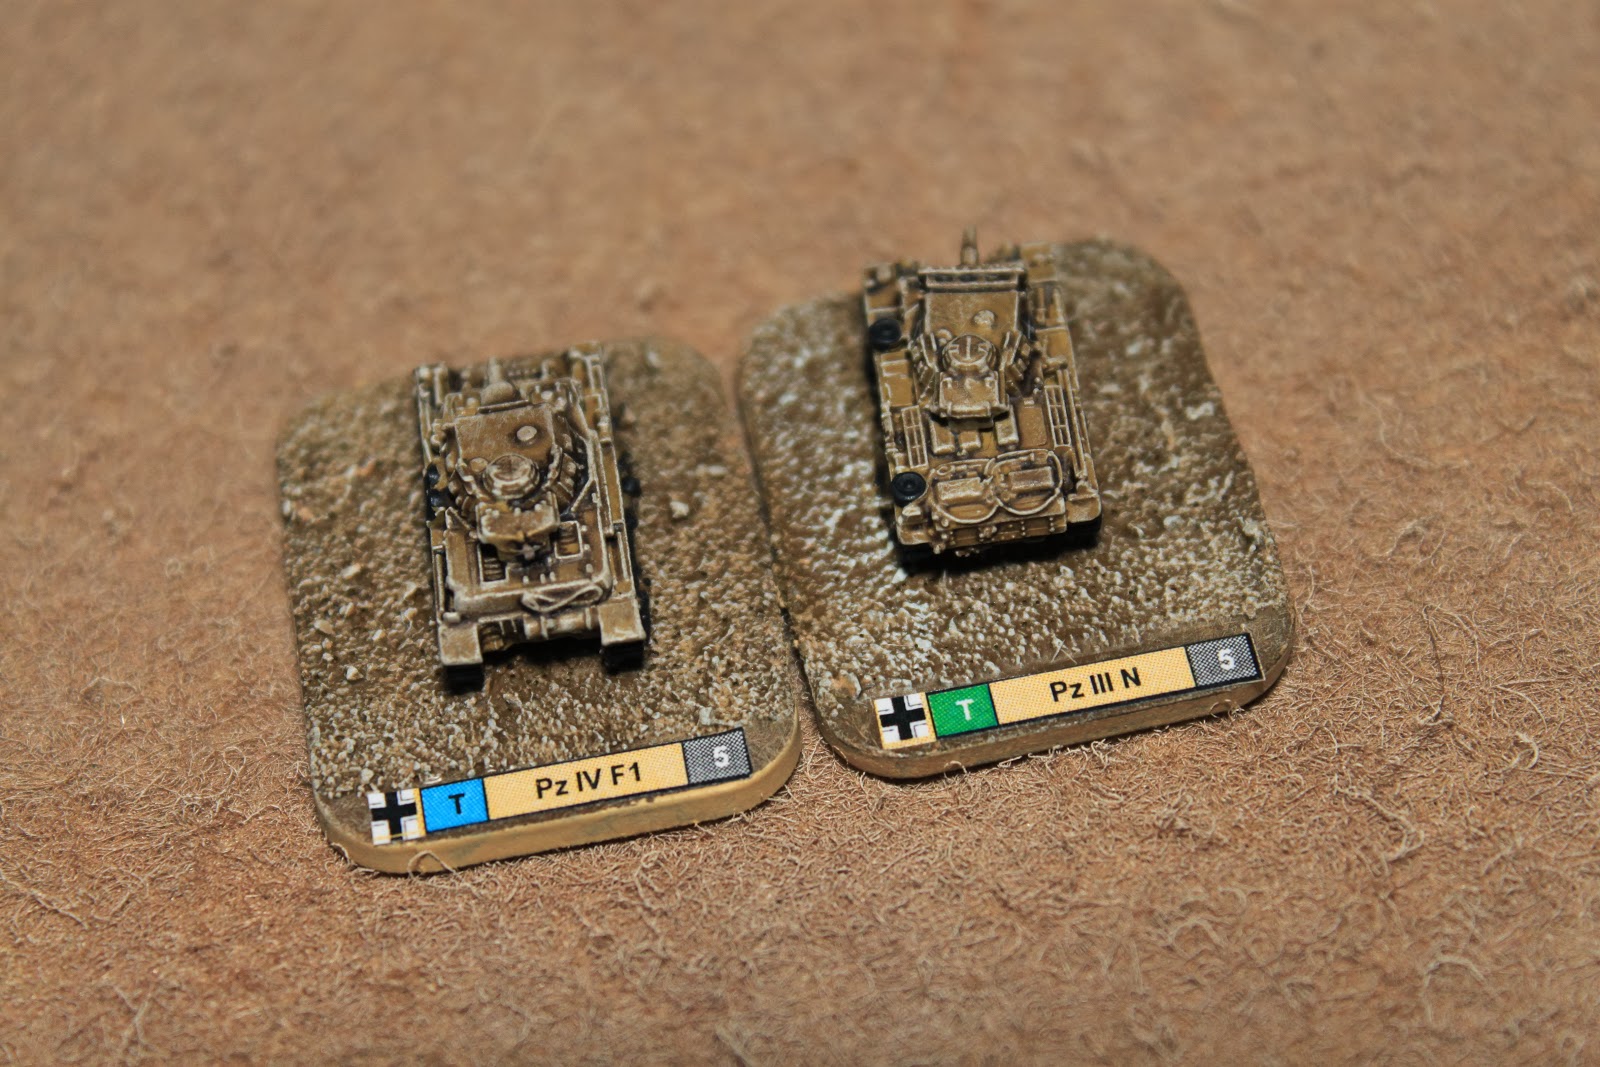
There are a mix of models in this formation. First off a platoon of Panzer IV F1's by GHQ. As usual the quality of these models is superb and with the right amount of highlighting and pigmented wash all the detail can be seen. Then I have some Panzer III N's again by GHQ. I'll need to buy several more platoons as these form the backbone of my panzer forces for late 1942. Lastly some more Panzer IV F1's but this time from Scotia. I came across these particular models by chance at a show recently and decided to give them a try. They are less detailed and slightly smaller than the GHQ examples, but at less than a third of the cost they are a much cheaper alternative. I'll assign the two platoons of Pzr IV F1's to different companies and my players probably won't even notice the difference. 

Models by GHQ & Scotia
The sharp eyed amongst you will also notice that I have changed my base labels. I'll post a more detailed explanation of what the labels mean another time but the main changes are that I am now including a national flag and a regimental number. I'll be going back and replacing all the unit labels on my North Africa collection over the next few weeks as I reorganise them into new companies. This is something I should have done before I even started this project but better late than never and now that I have made the decision I'm confident I can re-label all my models in short order.

Incidentally the Oasis model is also a newly completed project although I can't enter it into the Painting Challenge because terrain isn't allowed. The palm trees are from Timecast and the irregular shaped mdf base from Warbases. I then built up the edge with plaster leaving a 'pool' in the centre. The whole model was then sealed with PVA for strength and then painted. I then mixed a little green and blue paint into some gloss varnish and poured it into the recess which would form the pool. The varnish is less than 1mm thick and dried to a slightly translucent dark glossy blue/green over several days and I think it looks pretty good. Once the water had dried I drilled holes for the palm trees around the edge of the pool, trimmed the metal 'trunks' to the right lengths and epoxied them into position. 

Monday, 10 March 2014

The Wild West via Dagenham

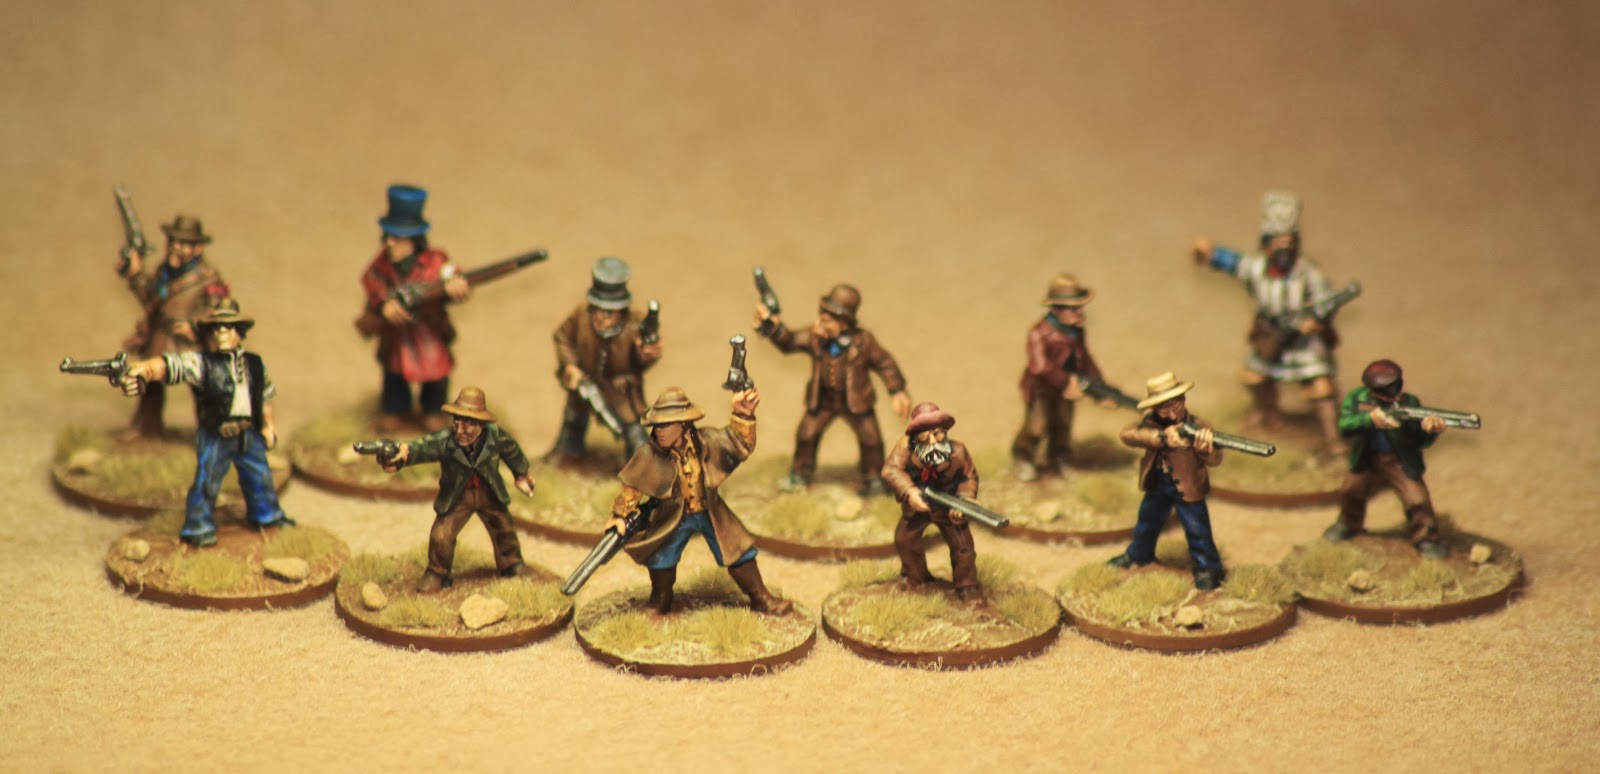
We are in the last week of the Winter Painting Challenge and I am racing to finish several projects in time for the final bell. My latest contribution consists of a dozen characters from the ugliest corner of the wild wild west...one of which is my entry figure for the challenge. 

My wild bunch - A dozen well armed bad guys
I bought these models at Blog-Con in Nottingham last year which was hosted at Wargames Foundry. Being surrounded as I was by all those packets of shiny metal figures my self resolve didn't stand a chance and I left with a big bag of models and no clear reason why I bought any of them!

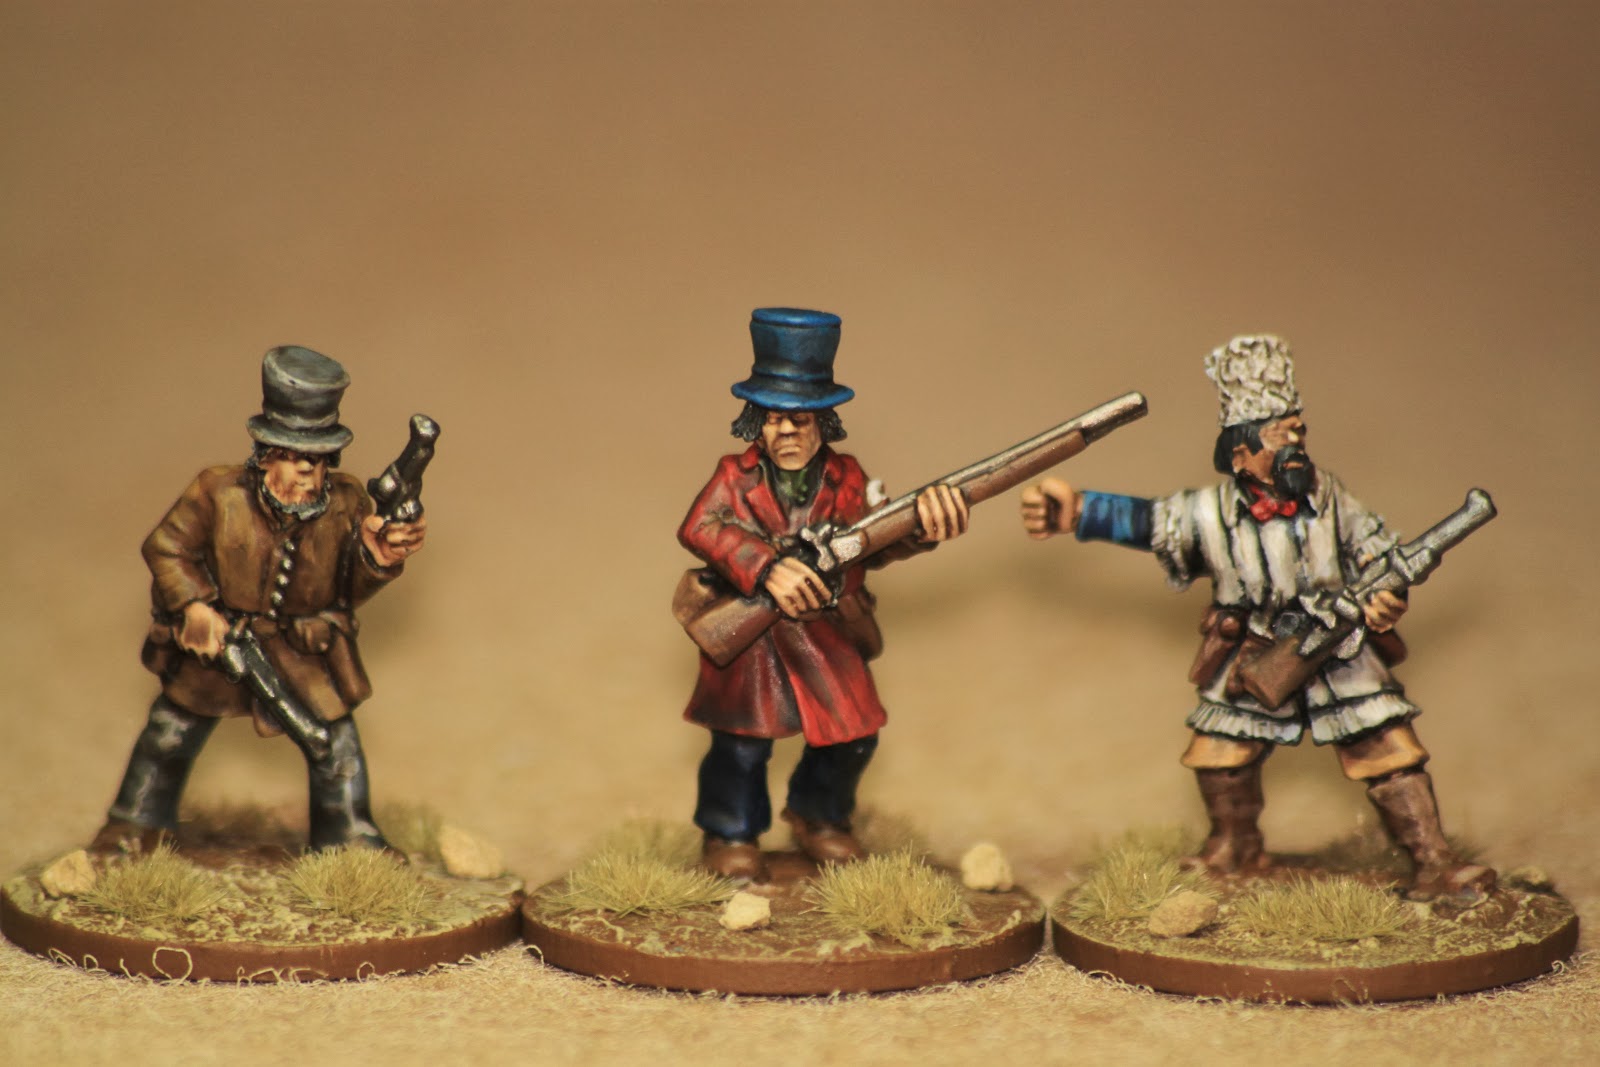
A bunch of exotic - or eccentric - characters.
Thanks to the Painting Challenge I have actually managed to put paint on metal to pretty much everything I bought on that day, and you never know, I may even get to game with these at some point. This bunch of wild west bad'un's have great character and were a real pleasure to paint. I would have submitted these a few days ago but when I finished I realised I only had eleven figures in my gang. The twelfth man was still on the run in nout but his undercoat and was found in a hideout behind the water bottle on my desk. 

The middle figure is my entry model for the challenge and I'll be posting that to Curt shortly. The figure on the left (in the white shirt and waistcoat) looks like Charles Ingalls from Little House on the Prairie! 
Now I just have to make that last big push to get my final few figures finished so I can reach my target of 600pts. 

Slaughter somewhere in Vietnam

This weekend the Rejects got together in the Shed-o-War to fight a rather bloody skirmish in the forests and clearings of Vietnam. This game was put on by Mark who has been collecting and painting his 15mm Vietnam figures for a while now. This game was a test of marks rules and a first outing for the models and on the whole it went very well.

Initial Setup
The Viet Cong, supported by the NVA are setting up a base in a small village somewhere is the south of the country. A US Long Range Reconnaissance Patrol has been watching the area and now a small collection of units have been gathered to take out this base and kill as many Viet Cong and NVA as they can...if they can find them that is.

Order of Battle
US/UN Forces - Commander Staff Sargent Lewis
  2 US LRRP Patrols (Total 9 men)
  1 US Army Rifle Squad (10 Men)
  1 US Marine fire team
  1 Australian Rifle Squad (10 Men)
  1 US Army Mortar & Crew
  1 ARVN Rifle Squad (9 men)
  1 .50cal HMG and Crew

Communist Commander Lieutenant Huang
Viet Cong
   3 Squads (total of 18 men)
   1 82mm Mortar & Crew
NVA Troops
   1 Squad (12 men)
   1 12.7mm HMG & Crew
   1 57mm Recoilless Rifle and Crew

The Action
All deployment and initial movement was hidden so the table started pretty empty. 
The only troops visible at the start of the game, three Viet Cong patrol the village. 
All deployment and initial movement was plotted on maps with the use of erasable markers. Units only became visible once they were within Observation range after a dice roll. 
My Squad of Australian Rifles moves through the woods on the left flank and gets into position ready to assault the village from the west. These guys came within inches of an NVA bunker and never saw it until it opened fire! 
The bunker itself wasn't exactly small but worse still it concealed a 57mm Recoilless Rifle.
The Australians and a squad of US Marines converge on the village from two sides. Taking the village was a lot easier than holding onto it and by games end there are a lot of bodies littering the streets. 
The Australian Rifles are slaughtered, almost to the last man. Meanwhile a squad of poorly equipped ARVN's enter the fray. These were supposed to be a reserve force but ended up in front line hand-to-hand combat with the enemy. 
Bodies begin to pile up in the village and slowly the US Marines are killed one-by-one. 
The Viet Cong and NVA players fought a good battle, drawing the American's and Australian's deeper into an enveloping ambush. 
Fresh but poorly equipped Viet Cong now attack the ARVN's in the flank. Had this been a regular game I would have thrown in the towel at this point (our victory objectives were unachievable now) but as this was a 'test' of the new rules we fought on to the bitter end and an even bloodier crescendo in a round of vicious melee. 
The Americans and Austrians were annihilated pretty much to the last man. The most deadly weapon on the battlefield has to go to the Recoiless in the hands of the NVA. Having failed to spot it the Australians walked themselves into a trap and were unable to hit back before they were wiped out. The consequences for the rest of the force were dire. 
The Tactical map showing our opponents positions. We literally missed spotting that bunker by a few inches and that sealed our fate. 

Analysis
Well that was a complete disaster for the Americans and Australians. On reflection there were three factors that sealed our fate. Firstly we (the players) failed to properly grasp the observations rules and were far too cautious with our movements early on in the game. As a result we missed an opportunity to 'sweep' the woods more fully. Secondly the scenario didn't give the US players any of the big hardware (Helicopters, Artillery and Air Support) that could have turned the battle in their favour. And Thirdly we were unfamiliar with both the period, the equipment and the rules while also trying to grasp the hidden movement rules and so were were not as focused on the tactical side of the game as we could have been. 

On the whole I thought Mark's rules worked really well and we all thought the tactical challenge that hidden movement brought to the game was unique and interesting. Having said that I did think the size of this first game put a huge 'administrative load' on the four players (maintaining the tactical maps, passing orders and tracking the woulds and equipment used on 40+ individually equipped soldiers and was hard work!) and maybe in future games we could use smaller forces or utilise more people so that each player only has to keep track of one or two squads for instance. It may be a good idea for the commander to do the tactical maps and issue orders but leave the movement and individual team records to his players. That would certainly make it easier to handle the workload better and allow players to utilise the full range of equipment within their teams. Also a few clipboards and some extra dry wipe pens would have helped make things flow a little better, but that's a minor issue and easily resolved next time. 

Tuesday, 4 March 2014

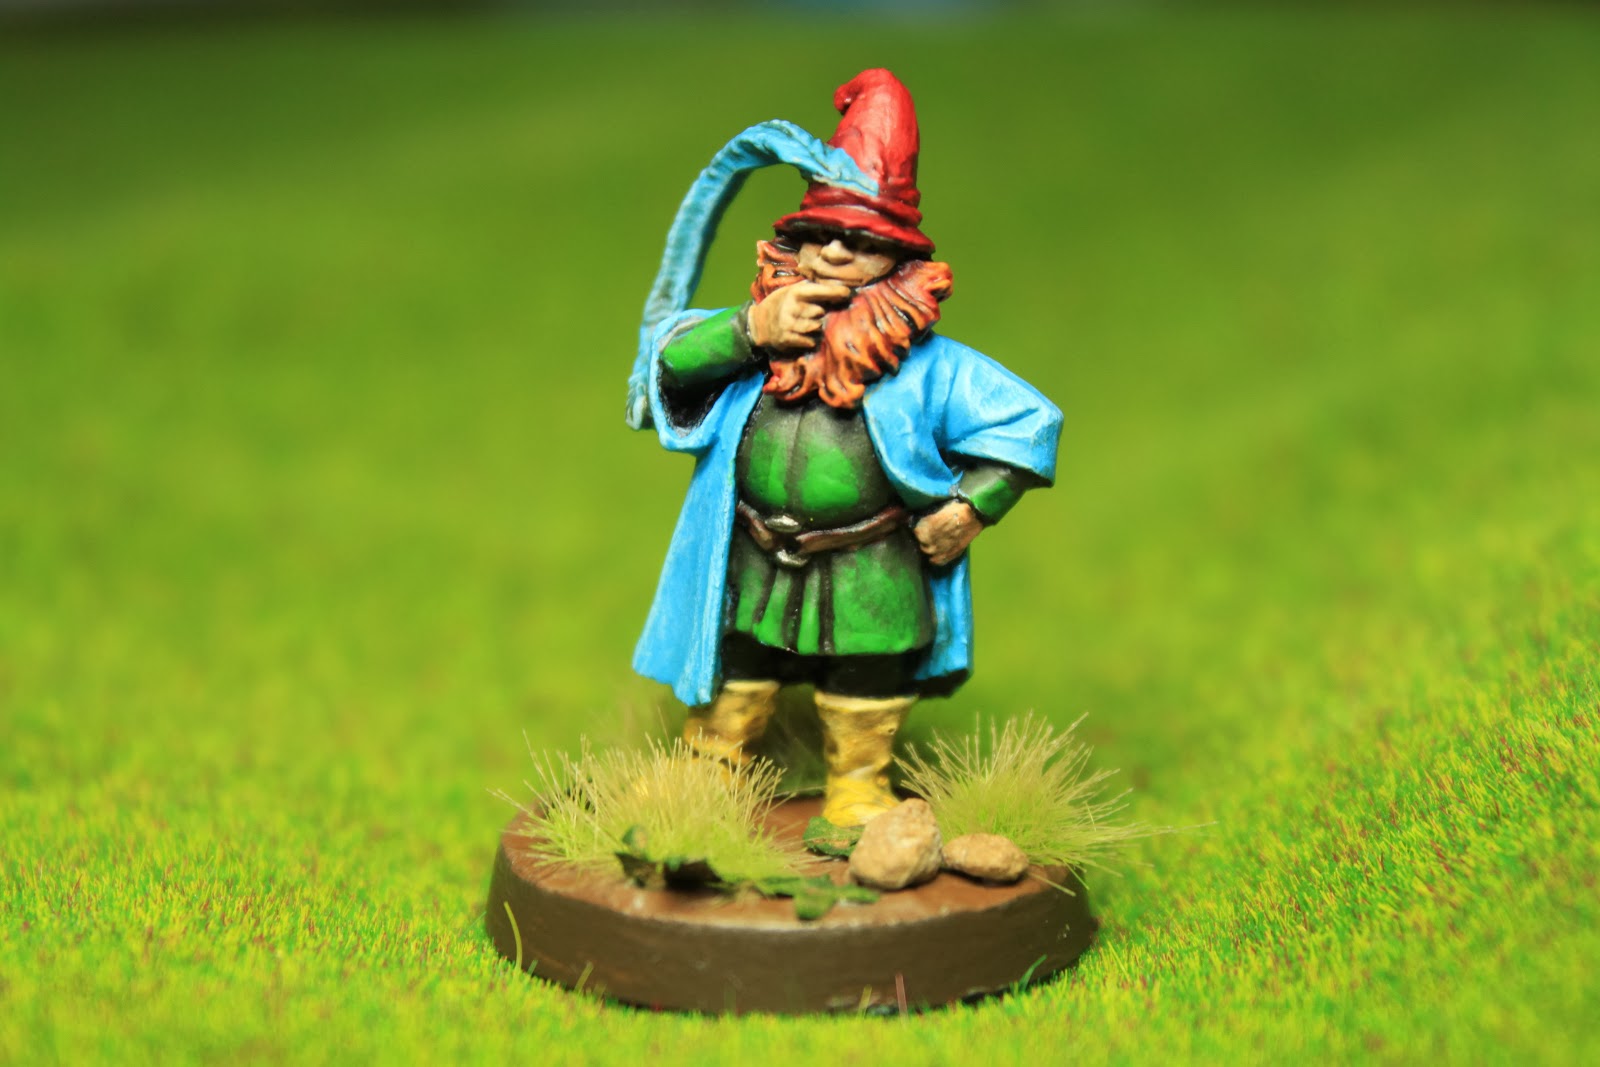
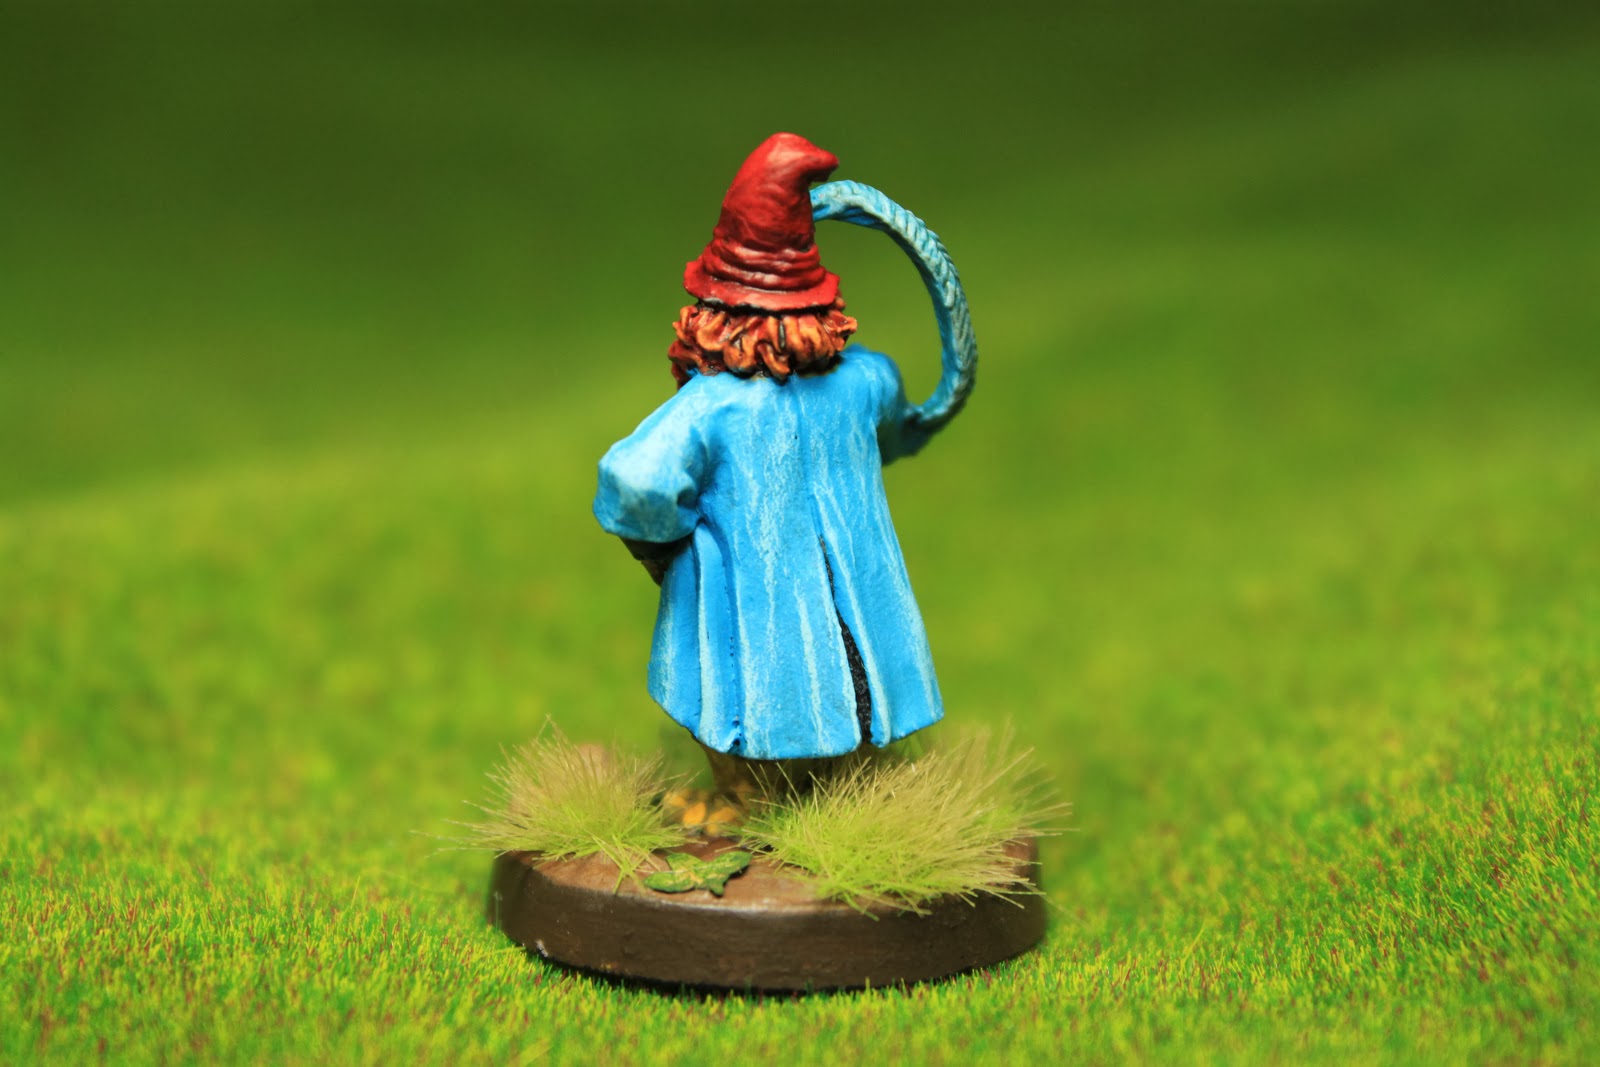
Tom Bombadil

My entry for the Favourite Character from History or Fiction bonus round in the Painting Challenge is Tom Bombadil from JRR Tolkeins Lord of the Rings. Like many of my Bonus Round entries this is another model that 'called to me' via the time honoured medium of shinybloodyitus. I love the model but once I got it home my initial enthusiasm to paint it waned and it ended up joining many other miniatures on the upper slopes of my Lead Mountain. One of the great things about the Painting Challenge is that models like this no longer need to stay on the mountain and I'm really glad I finally got to paint this mini. 

Tom is an enigmatic and powerful character that appears in the first book, rescuing the hobbits several times from dire peril. He's a complex and somewhat 'odd' character and as a result did not make it to the screen in Peter Jackson's adaption of the books. 


The origins of Tom Bombadil are very old indeed. "Eldest, that's what I am...Tom remembers the first raindrop and the first acorn...he knew the dark under the stars when it was fearless — before the Dark Lord came from Outside." The suggestion is that he is one of the Maia, similar to the Istari (Wizards). He is known by the Elves as Iarwain Ben-adar ("Oldest and Fatherless" in Sindarin), and dwelt in the valley of the river Withywindle, east of the Shire.


The description of Tom in the books is a little vague but he himself says "Tom Bombadil is a merry fellow! Bright Blue his jacket is, and his boots are yellow!" His great power is manifested through his words, either spoken or sung in stress-timed metre (7-beat lines broken into groups of 4 and 3) all of which makes him a unique and strange character that seems somehow deeply part of, yet detached from, Middle-Earth. No wonder then that Peter Jackson found it so hard to work Tom into his cinematic version of books!


The figure of course is 28mm and is part of the Games Workshop LoTR's range.