So I need to start this Battle Report with a huge apology. I was so invested in the game that I hardly shot any pictures and certainly didn't have time to make notes, so this is more like half of an AAR. That being said I did get a couple of cracking shots that I thought worth sharing and hopefully, Ray will have a fuller write up on his blog Don't Throw a One.
So this battle sees the action shift to the Lower Rhine (our earlier games took place in Italy) and the Austrian commander Archduke Charles has handled the Imperial army well, plays a careful game of manoeuvre with the French Army under General Moreau. The Austrians realise it is important to prevent a French breakthrough from the Rhine to the Danube and thus force an Austrian defeat. The French have however managed to bring about an engagement although the final position of the battle has yet to be determined (more on that in a moment).
The French meanwhile have been trying to fulfil the orders of the Directory and push the Austrians back to the Danube to link up with the Army of Italy. This would force the Austrian Emperor to make peace. Archduke Charles has been successfully avoiding a pitched engagement but now the French have finally brought him to battle.
The Pre Game Phase
Surjit and I took command of the French Army of the Rhine and for reasons completely unknown to myself, Surj trusted me with most of the troops in the centre of our line (I'm not known for my prowess with Napoleonic troops!). This effectively put me in charge as I would be taking on the bulk of the fighting and Surjits units had to coordinate with my attack. It has to be said we didn't necessarily know that when the game started because Richard introduced a clever mechanism for deployment and a chance to change the terrain, representing the two sides jockeying for position.
Both sides were given cards each representing a Brigade plus a couple of dummy cards. We then had to decide where to place these along our sector of the table edge. This done, both sides were then given another pack of cards with a range of options written on them. We each had to choose 12 cards from the deck and two sets were then shuffled into a 24 card deck. Three cards were then dealt with each side. Each turn of this 'probing phase' we drew an extra card from this deck and had to play one card from this set of four. The cards included things like: Placing a Farm or hill on the Tabke; Removing terrain items; moving terrain elements sideways or across the table; Moving units (we still didn't know which were real and which were blank at this stage). This continued until either one side had picked up two 'disadvantages', or both sides agreed to stop, or when the main deck had been used up. The result was that neither side had total control over the terrain or their own deployment.
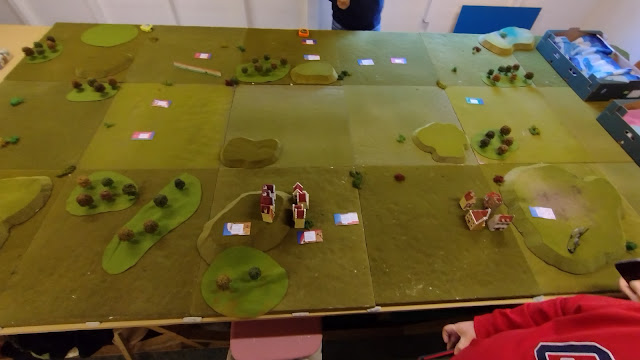
With this phase over Richard then set up the Brigades where our unit cars indicated and both sides were then given a frantic ten minutes (and not a second longer!) to change formations or shift the orientation of units. The earlier phase meant that most of our units need up in a single 2ftx2ft square and it was so cramped it looked a bit like Picadilly Circus! We had a plan though, and so long as we didn't get our units muddled up, or hesitate with our moves, we were confident we could win the game.
The French Plan
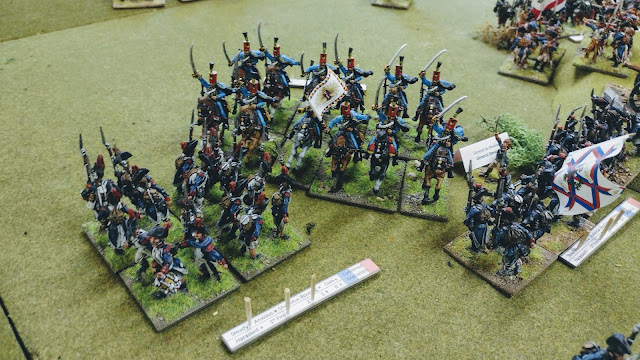
So our plan was simple. Form as many units into Attack Columns as we could, with some regiments in skirmish formation to the front to shield the columns behind. Then we pointed ourselves at the enemy and marched as fast as our little french legs would carry us towards the Austrian line! Unfortunately where we were positioned necessitated a slight diagonal march to reach the part of the enemy line we wanted to hit but in the end, we only lost one turn of movement to get all our units aligned for a simultaneous attack.
My command was the main attack with five Regiments in attack column pointed at the centre of the Austrian line. Surjit was assigned to protect my right flank and I had some cavalry on my left that kept the Austrian flank sat in position for most of the game. Of course, no plan survives contact with the enemy and the Austrians were not idle in allowing us to do whatever we wanted. Initially, our plan worked, hitting the enemy in a coordinated attack that threw them back from their positions. The follow up was less well coordinated due to casualties and moral reductions...but I'm jumping ahead of myself a little.
The Austrian Plan
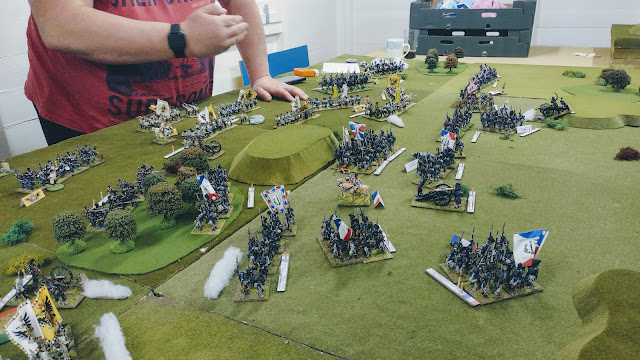
Well, it's hard to put words in their mouth but given the way they were deployed, I think it is fair to say they took a defensive posture from the start. Using a line of forest and hills (and some late-appearing wall) they lined up and dared the French to attack!
The Action
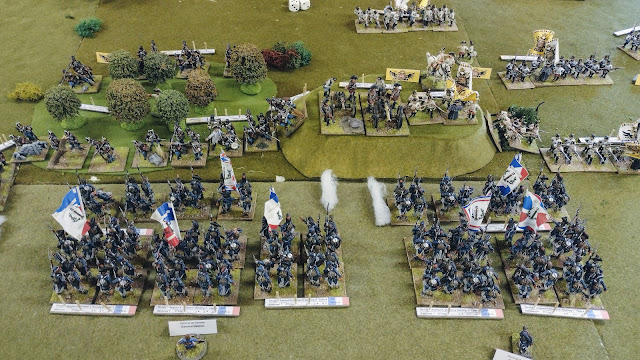 |
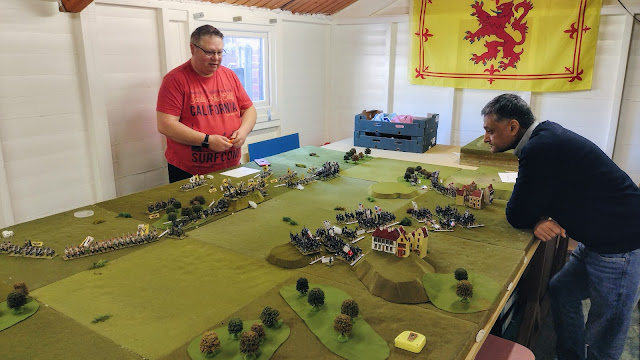
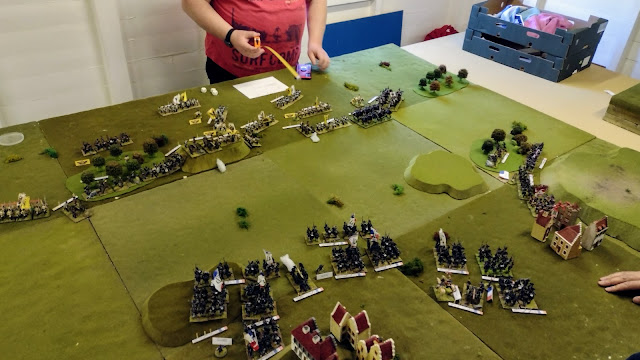
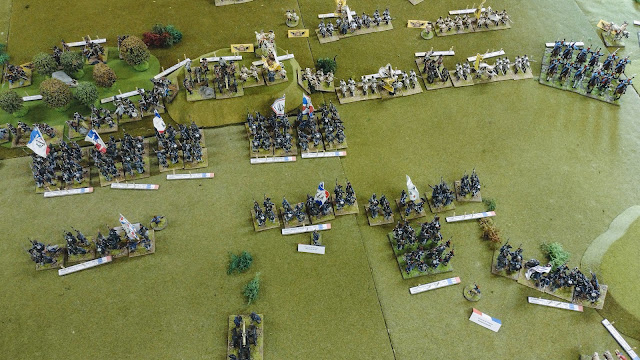
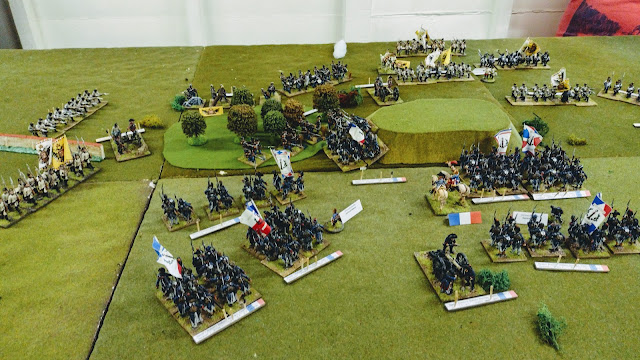
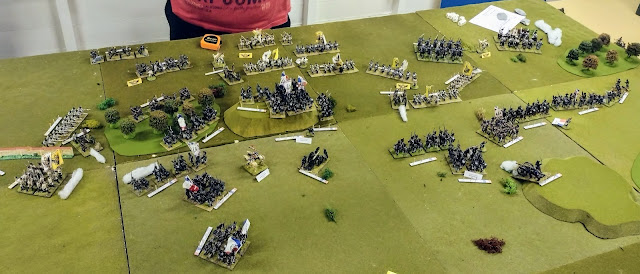
| By the end of the second turn, my brigades were in a position to smash into the Austrian line. My Skirmish units had done their job and the attack columns behind were largely unscathed. |
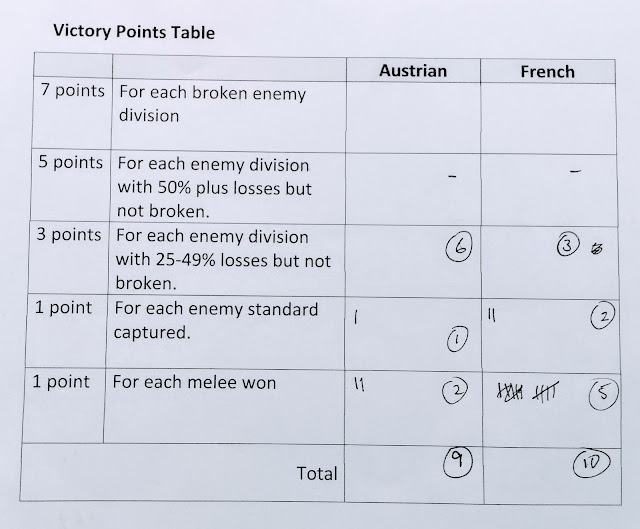 |
| A narrow French Victory. The points for melee's fought and casualties taken are a testament to the intensity of the fight in the centre of the line. |
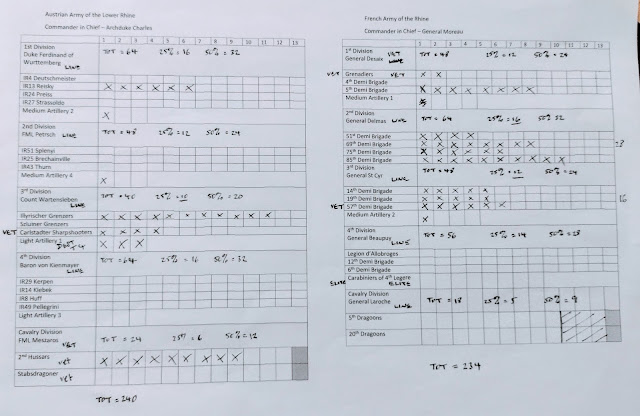 |
| Not sure if you can actually read this, but these are the Orders of Battle for both sides and the record of casualties taken. |

A superb report Lee. 2022 has seen a definite change in your wargaming fortunes. Well played.
ReplyDeleteThank you. I've sacrificed to the Dice Gods and the Planets are aligned. Lets hope it lasts!
DeleteYep, totally agree with Richard. Is this a new and improved Lee? I do hope not, bring back the old Lee!!! (Only when you're on the opposite side of course!)
ReplyDeleteIts only taken a decade playing with the Rejects for my luck to change, so about time!
Delete