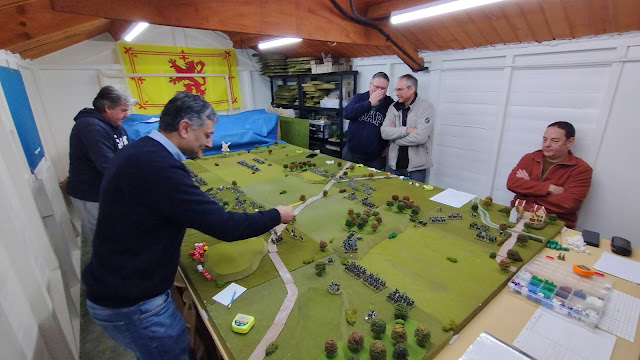
The Rejects gathered at the weekend for our first in-person game of the year. Six players joined Stuart in the Shed-o-War for a Napoleonic game using Postie's own hybrid rules. Despite being pretty cold outside the shed warmed up nicely in what turned out to be a fun game, although it took a long time for anything to happen. For much of the game, both sides approached each other like two prize fighters, sizing each other up and waiting for the right moment to land a punch. When the fighting did start it was over in just two turns out of 9 played.
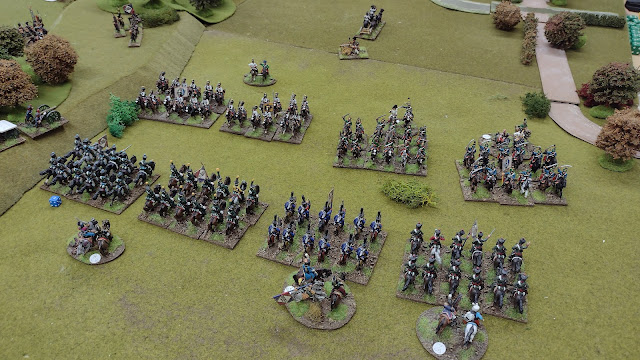
Order of BattleI would normally replicate Stuart's Order of Battle here but I was once again struggling to read his spider script so here's a summary of the two forces instead.
French - C/O Ovdinart - Part of 2nd Corp (c/o Surjit, 2iC Mark, 3iC Lee)
One infantry division consisting of three Battalions
One heavy cavalry division (c/o Nansouty) also of three Battalions of Cuirassiers & Carabiniers)
And one light cavalry division (c/o Lasalle) of two Battalions of Chasseurs a cheval & Hussars)
Austrians - C/O Kallowrath - Part of 3rd Corp (c/o Richard, 2iC Ray, 3iC David)
One infantry division consisting of three Battalions
One heavy cavalry division consisting of three Elite Cuirassiers
One light cavalry division consisting of two Battalions of Dragoons, Chevaualeger & Hussars
The Action
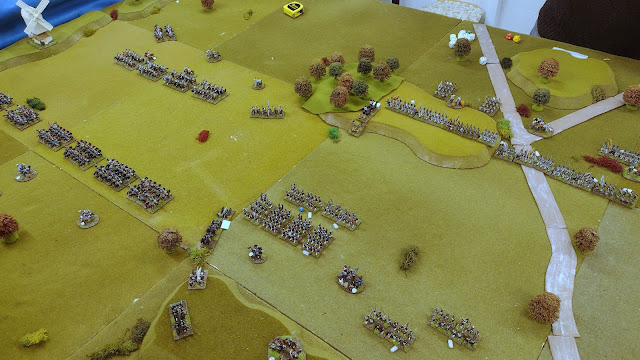
As indicated in the introduction, not a lot happened in the first seven turns of the game. Both sides edged toward each other looking for an advantage. Both sides exchanged artillery fire. Then in turn 8, all hell broke loose...
 |
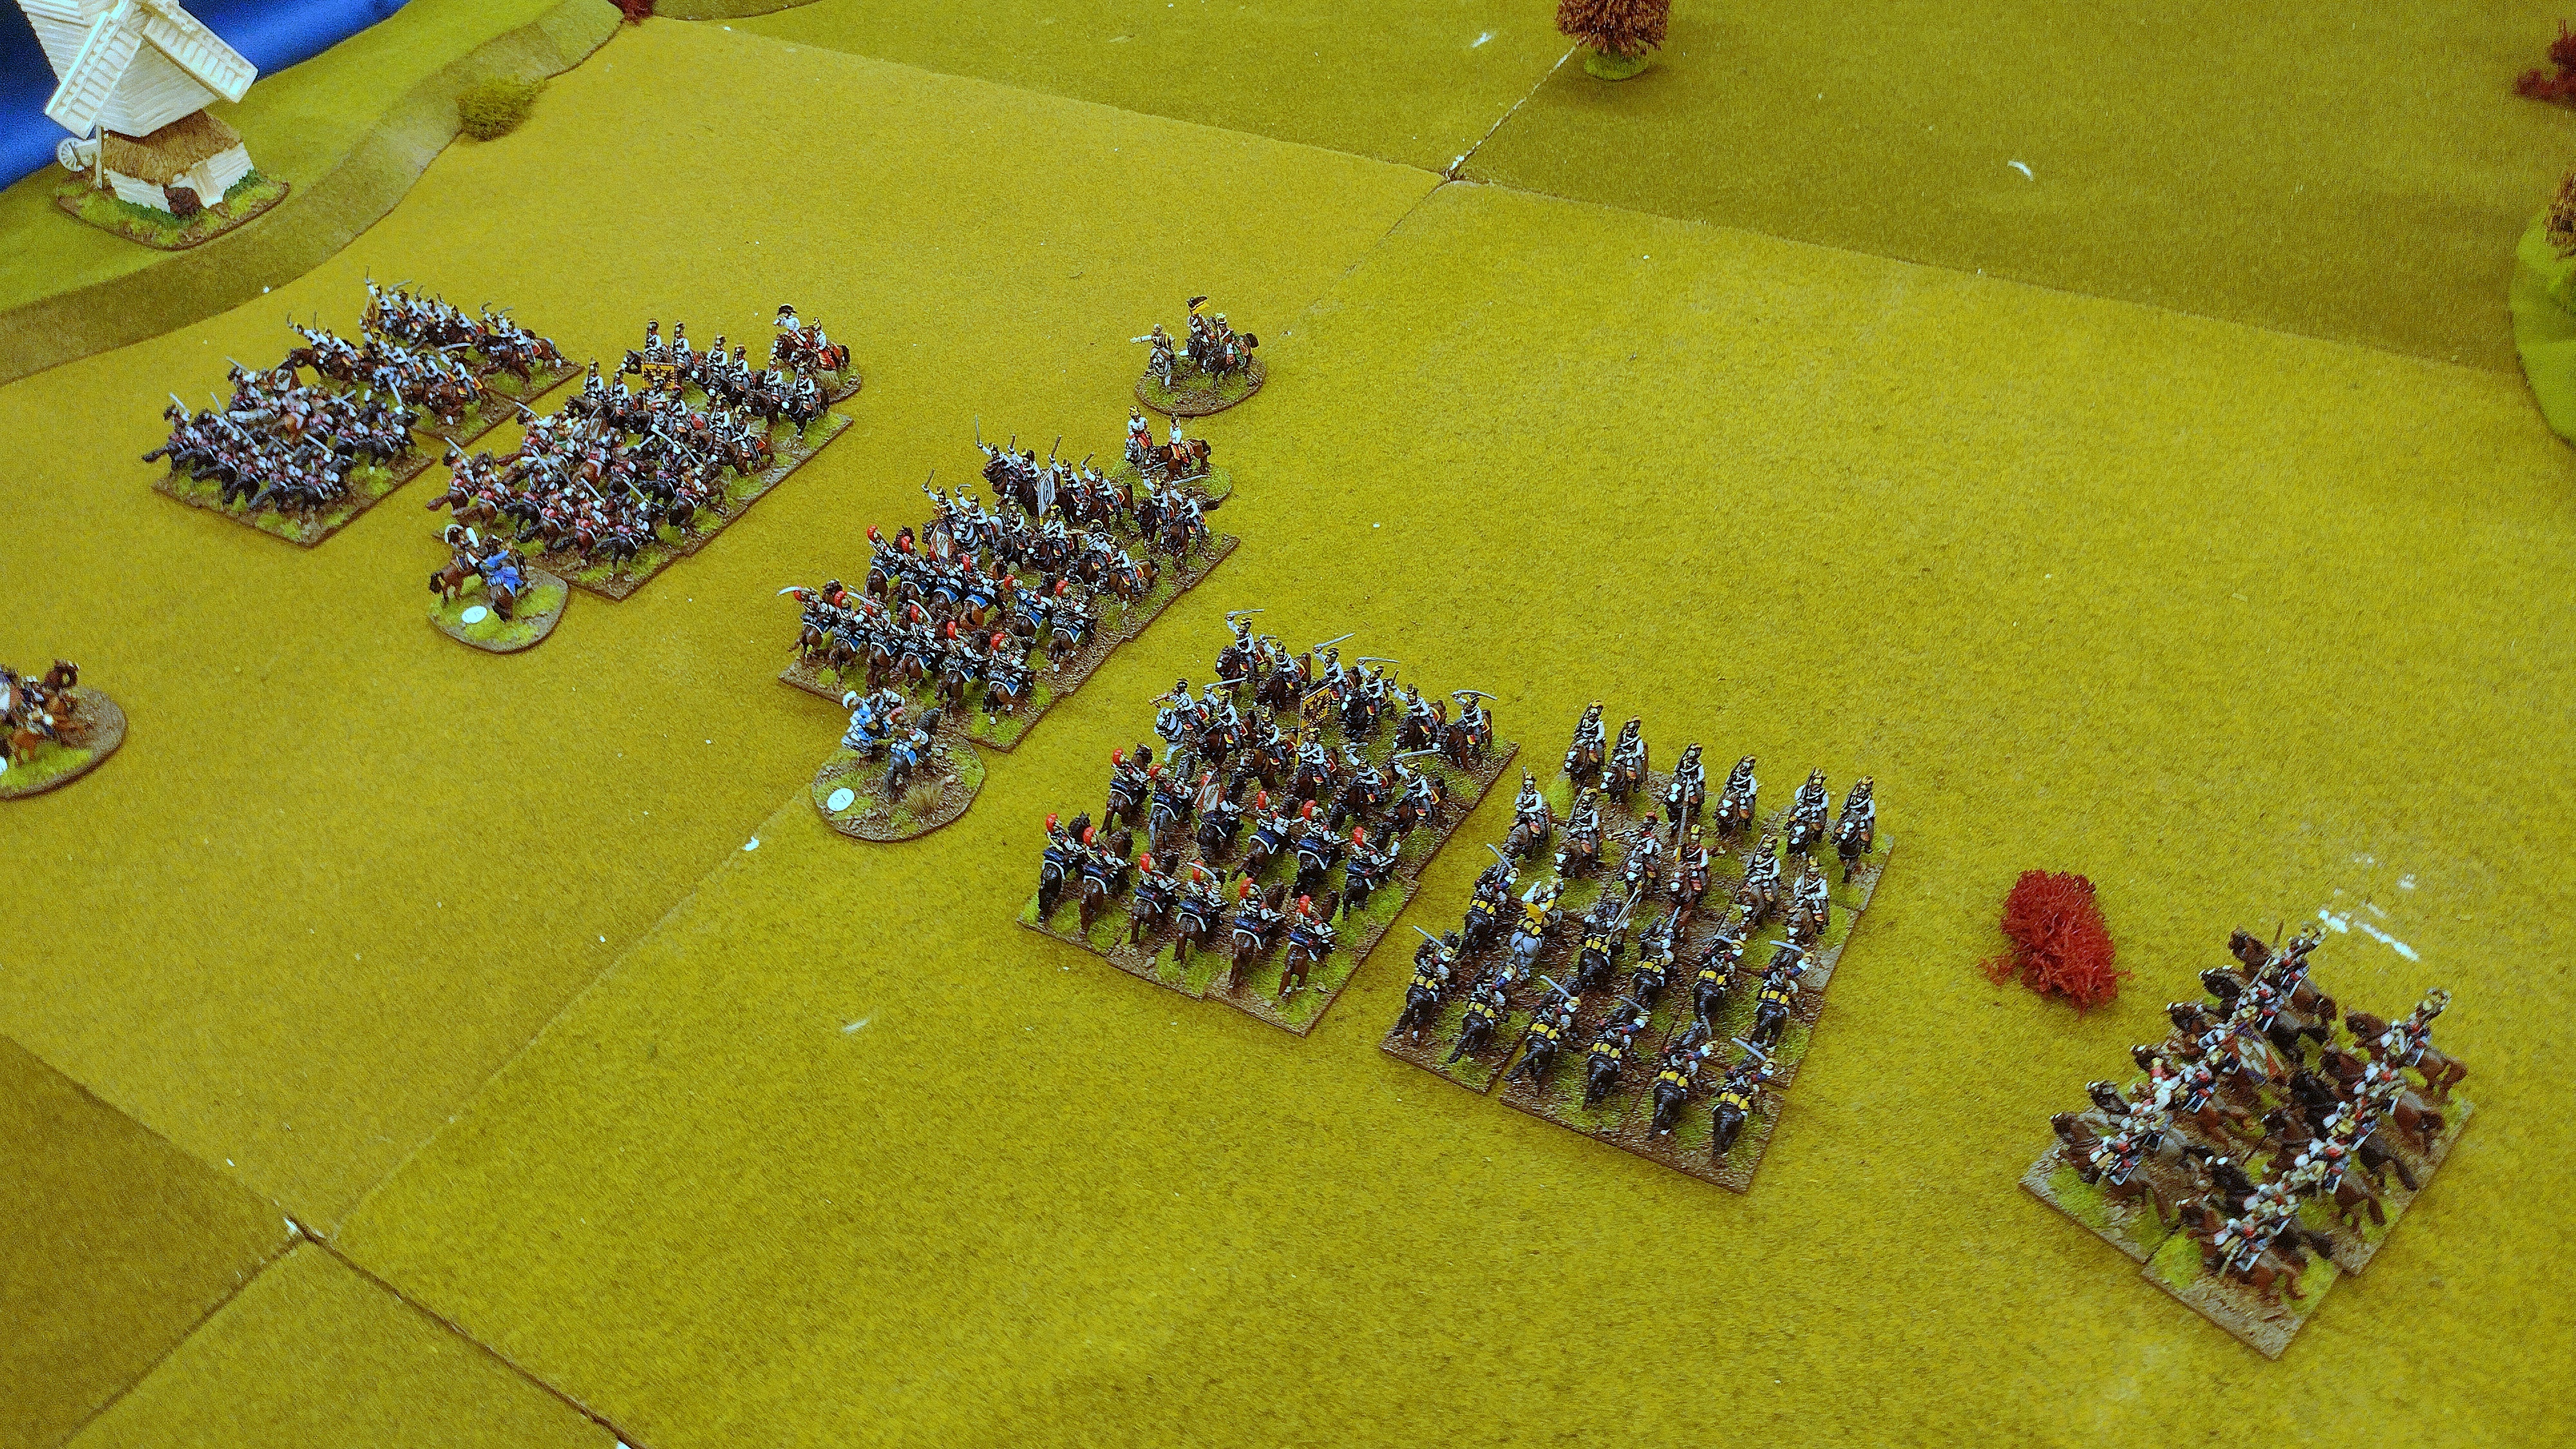
| The initial moves were cautious and reserved as each side weighed up the other. Both armies were well-matched and deployed fairly equally so neither side had a clear advantage at any given spot. |
 |
| The first few moves were small, cautious, and very very tentative. |
 |
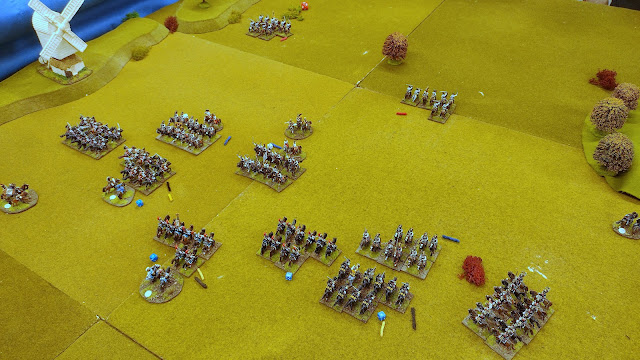
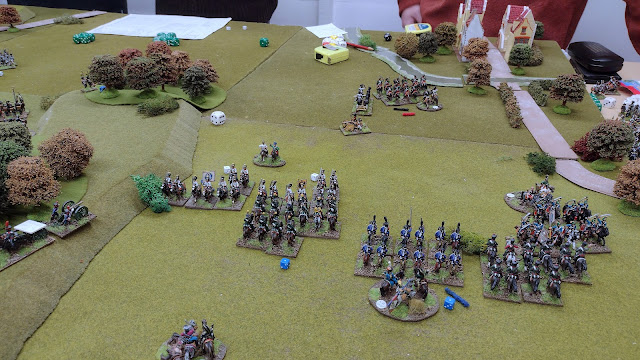
| The first significant action of the day occurred when Dave's Uhlans charged Surjits Legere. The Legere passed their morale test and, because Dave had so far to charge, were able to form up from skirmish and fire. In the end, the Uhlans were just an 8th of an inch short in their charge, felt the full force of the Legere's defensive fire, and were sent packing. |
 |
| Marks Heavy Cavalry has managed to deploy successfully from a poor position, and while his horse faces Elite Austrian Cavalry, supporting gunfire from our Heavy Artillery has weakened one enemy Battalion and evened the odds in our favor. |
 |
| On the other flank, my Light Cavalry has been patiently waiting. I have been using my Horse Artillery to intimidate the Austrians across from me and have held the flank secure without wasting a single French life. But now I begin to move forward. I know I am facing better cavalry and want to even the odds as much as possible. I'm in no hurry to rush into a charge if it leaves me at a disadvantage. |
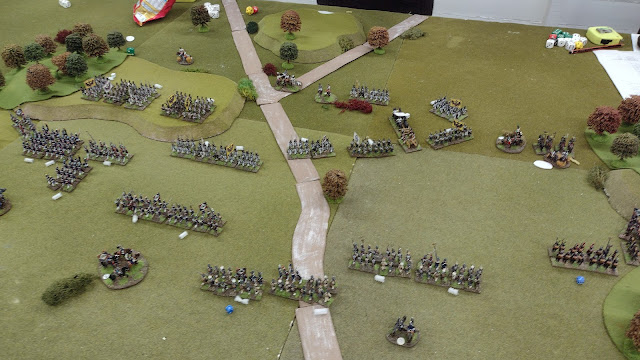 |
| By the end of Turn 5, our Infantry Division has moved forward to attack the Austrian positions. This is the signal for both cavalry wings to also press their attack. |
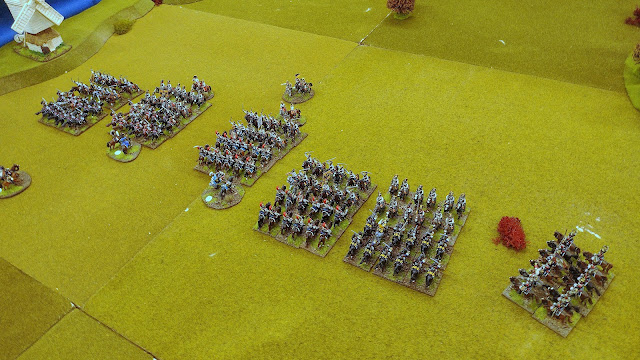 |
| Mark and Ray's Heavy Cavalry Divisions smash into each other and both sides collectively hold their breath. |
 |
| My Light Cavalry moves forward. Some of the Austrian cavalry (encumbered as they are by cuirasses!) can't charge as fast as my cavalry. If Dave does not attempt to charge my line I certainly will charge him, so he moves forward. This gives my Horse Artillery a chance to put fire Cannister into their flank. That evens up the odds considerably! Now if we (the French) win the initiative next turn, I will charge in before Dave has a chance to countercharge. From a rules perspective, this will give my cavalry an extra dice in melee, improving my odds considerably. |
 |
| The tension is rising but everyone is enjoying the game.... |
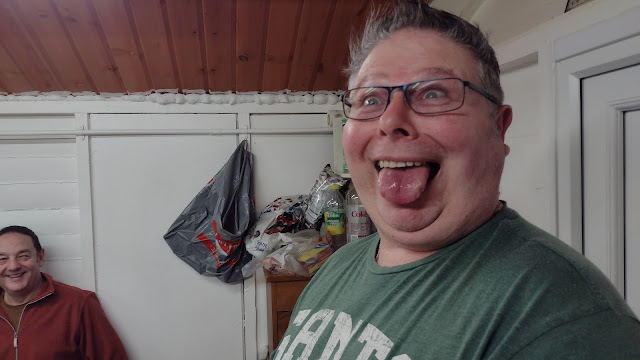 |
| Some people are enjoying it a little too much. |
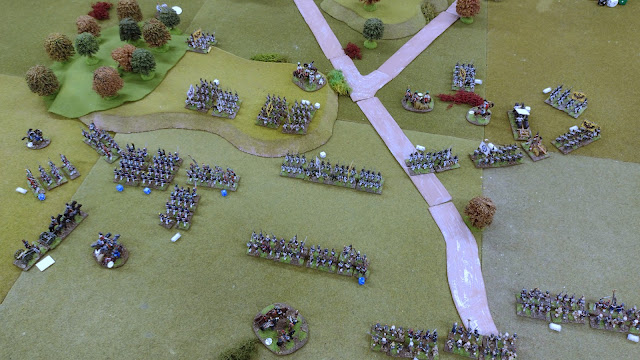 |
| In the center, the two sides begin to exchange musketry |
 |
| The Cavalry battle on the left flank has been a mixed bag. Despite losing several melee's, Mark passed his morale rolls with flying colors. While this meant that several possible rout or retreats were avoided (two Austrian units did Rout though) it didn't stop him from losing several sets of colors to the Austrians. |
 |
| On my flank, I charge into the Austrian Cavalary. Because we were so close they didn't have a chance to countercharge (as I had hoped) and this has significantly evened the odds in terms of the number of dice thrown by each side in the ensuing melee. |
 |
| Those extra dice made the difference I think. Two draws (ongoing melee in next turn), one victory, routing the Austrian Brigade, and one loss, forcing one of my Brigades to retreat. I had hoped for better, but on roughly even dice that wasn't a disastrous result. |
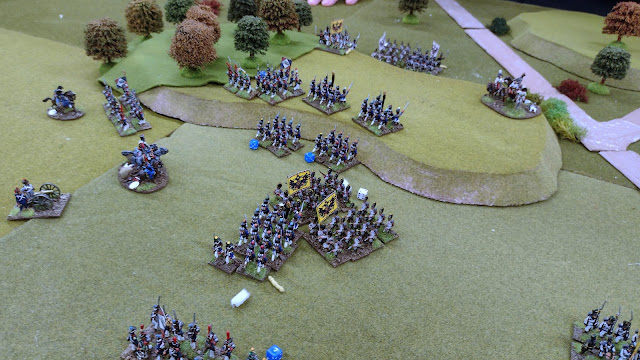 |
| French Infantry surged onto the hill sweeping Austrian units before them. But then Richard counterattacks with his own columns further down the line. I didn't get a photo (sorry) but the ensuing melees were a mess, sending four of our Infantry Brigades into a full rout and disordering others. But by the end, both sides had taken a mauling and I don't think there was a single undamaged brigade left. |
 |
| Follow-up charges on the flanks more or less saw the remaining Austrian Heavy Cavalry destroyed. This could be the decisive part of the battle. |
 |
| Neither side now has the energy (or the units) to fight on and it looks like this is going to go down to a point decision based on damage inflicted rather than ground taken. |
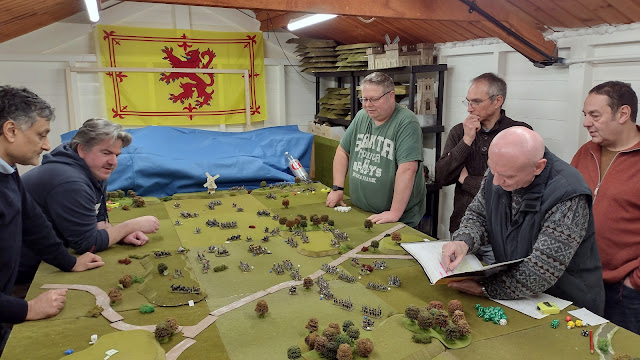 |
| We all wait anxiously as Stuart works out which Brigades have been destroyed, routed, or reduced to half-strength. He counts the number of flags captured (mostly French) and leaders killed (mostly Austrian) and we hold our breath expecting it to be very close... |
Victory goes to....
Stuart carefully tabulates victory points and announces that the Austrians have scored 15 points...and the French have 27 points! A French victory. None of us expected it to be so clear cut but the Austrians lost a lot of leaders in battle and several battalions were destroyed or routed by the end of the battle.
As usual, we all shook hands, congratulated each other on a battle well fought, and then retreated inside for tea, cake, and some post-game analysis.


Great looking game, Lee, and enormous too! Good to see action returning to Postie's Shed. The lancers came up a 1/8 inch short of contact? I would have allowed them to plow right on into the legere. That photo of Ray is not one I can unsee...
ReplyDeleteLee, which part of the historical battle of Abensberg does this action represent?
DeleteA smashing report of an entertaining game.
ReplyDeleteI have just read Richard's report too and can only say, neither of you expected such a clear-cut win for the French and neither did I, from the equally battered state of both armies by the end of the engagement! Another loss for the Austrians ....sigh! No one apart from Iain (Caveadsum) is giving me any motivation to get mine out of their boxes again any time soon!
ReplyDeleteGreat report Lee, who's the handsome chap in the green t-shirt?
ReplyDelete