Tuesday 31 December 2019

Ships of the Desert

The fortuitous combination of Bank Holidays and my regular day off means I have had almost a whole week off work over Christmas, without having to use any holiday up. That's lucky in two ways; first I don't have many days leave available to start with, and secondly, it means I have had lots of time to get stuck into painting for the Challenge. On the less happy side, my poor wife has been quite ill over the holiday and while she has spent the last week and a half laying on the sofa watching TV, I've been free to occupy myself with my miniatures. I have to say that even I'm champing at the bit to get outside and painting these two ships of the desert is just stocking that need to be outside.


I'm not 100% sure where I got these (Britannia Miniatures I think?) but I do know they almost made it into Challenge IX. I started painting them but ran out of time and I wasn't at all happy with how they looked, so I stripped them, re primmed them and put them aside for another year. Now, at last, they are back on my desk and I have managed to finish them off as my entry fee to Challenge Island. It won't take a genius to guess who I had in mind for these figures, but they could go to any of those that make it to the Snow Lords Peak. I decided not to rebase them, with the idea that if I kept the original cast metal bases they could be adapted to fit into any suitable force with a little groundwork. 


I have already finished my first location-based entry to Challenge Island but I'll submit that later, once my fee figures have been posted. So two camels should net me 10 points, plus the entry fee bonus of 25points will give me a tidy 35 points from this entry. Onwards and upwards! 

Monday 30 December 2019

Frozen Tower

I wasn't expecting to enter this last-minute entry for the first week of the challenge but once I got started I had to finish it - the bug just took me. So I'm planning on playing a lot of Frostgrave later this year and I need quite a bit of terrain to replicate the frozen city. The Young Padawan is still playing 6mm ancients games with me but in return, I have agreed to her request for some fantasy wargaming. I already had a lot of old D&D figures that I have been able to repurpose for Frostgrave but what I haven't got is much in the way of terrain. So one of my projects for this Challenge is to scratch build and paint as many buildings as I can. And first to be completed is this ruined tower. 


I may make another, larger, tower later on but this was my first attempt at using bluefoam for model building. My recently completed Operations Room means that for the first time in decades I have a space dedicated to my hobby and that means I can work on larger projects that take weeks not hours to complete...an important consideration back when I had to 'borrow' the dining room table for model terrain construction. My Operations room is now in a right mess, but it's my mess and I love it! 


This tower is built around a central core...the versatile Pringles Tin. I made the choice from the beginning not to build the tower from individual bricks but rather from concentric 'pineapple rings' of foam that would fit around the core and bur glued and shaped one course at a time. I'm not convinced I made life any easier for myself as the rings invariably came out different sizes and I had to make several adjustments as I worked my way upwards. None the less I'm pretty happy with this first foray into the world of foam model making and I'm already working on more complex stuff for later in the Challenge. 


The tower stands about 6" tall and has a diameter of about 4" so not quite a full cube of terrain (I'll leave the determination of points to the umpires mercy!). I built in a partially collapsed spiral stairway so that characters in the game can use the tower for some elevation, maybe gaining an advantage over the other side, or getting a clearer view of the path ahead. 

Saturday 28 December 2019

Pauravan Indian Longbowmen

I'm fascinated by the story of Alexander the Great and have been since I was a kid. Over the years I have read plenty of books about this giant of history and have long been fascinated by the fact that these Greeks made it all the way to India in a time when the sub-continent was largely unknown outside of myth to most Europeans. I've been toying with the idea of building a Classical Indian Army for a long time but other projects have kept me busy. Now, at last, I'm ready to make it a reality. I'm not sure if I'll ever get to game with this army, but I'm looking forward to painting it none the less. The order of battle I have gone for broadly corresponds to that fielded by King Poros at the Battle of the Hydaspes and that means lots and lots of bowmen.


It's worth noting that most of the information I have gathered regarding this army has come from the WRG publication The Armies of the Macedonian and Punic Wars by Duncan Head. However, I have also tried to refer to original source materials such as the translated works of Arian wherever possible. The interweb has made this process much easier of course and I have been able to track down magazine articles and other sources as well. Few Indian sources survive and I have struggled to find the translated versions, although I will continue looking (and suggestions are welcome!). What we do know of Northern India in the 4th century BCE was that it was divided into many small tribal monarchies and that war between them was probably common.


Indian Infantry wore sandals and a simple high waisted kilt, usually made of white cotton. The longbow was probably as long as the later English Longbow but made of Bamboo; it's unclear how powerful they would have been in comparison. Arrian suggests they were very powerful but I have not been able to find more contemporary sources to corroborate this. The bow was strung with hemp or sinew and given the damp conditions prevalent in this region for much of the year its hard to say how effective these weapons would have been. The arrows were 4ft 6in long and made of cane or reed. The real strength of these units was probably not the weapon so much as the quantity of firepower that could be directed at an enemy that would normally be as lightly protected as those firing.


The core of the Army of King Poros at the Hydaspes was the Longbowmen and I have opted for eight units of these - a total of 288 infantry figures which should earn me 144 points in the Painting Challenge and get me firmly started towards my target figure. 

Tuesday 24 December 2019

Happy Bazookamas!

So the holiday season is finally here...fells like has already been 'here' for months! My first entry to this year's Analogue Hobbies Painting Challenge is an alternative take on Christmas. I like to think this guy is taking aim on the over-commercialisation of the season... or maybe the radio station that keeps playing the same f'ing songs over and over and over again.... Yes I know, Bah Humbug!


Don't get me wrong, I really do enjoy Christmas - socialising with friends and family is one of the highlights of this time of year - but when the 'season' starts in the shops in September, I'm more than a little fed up with it by December. My colleagues - bless em - like to have the radio on in the office and by now I've heard enough Christmas songs to last a lifetime.


The model is from Wargames Foundry and is rather large 28mm, actually standing 30mm tall. Just for good measure, I put it on a resin base to make it a little taller still. This was a quick and easy first entry that has kept me busy between a much larger submission (in 6mm) for later in the week.


That's it, my opening shot in AHPC X. Good luck to everyone taking part in this year's Painting Challenge. And despite my previous grumblings, I really do wish everyone a very Happy Christmas. 

Friday 20 December 2019

Ready for Action - Challenge X

In a little over nine hours the Tenth Analogue Hobbies Painting Challenge begins signalling the start of three months of frantic painting. Other than some modelling projects I have hardly picked up a brush since Challenge IX ended in March so I'm eager to get cracking on my projects for this event. I've spent my last night of 'freedom' tidying up my paint desk, reorganising my paints and breaking out a new set of brushes (Winsor and Newton Series 7's of course). 


I am hoping to have my first little project done relatively quickly but of course, the plans of mice and men often go awry and I can feel the start of a cold coming on. Predictably just in time for the starting pistol! 

Good luck to everyone taking part.

Wednesday 18 December 2019

High density foam mess

No sooner have I sorted my Operations Room out than I start making a mess in it. And what a wonderful mess! For the first time ever I have space to work on multiple large projects at the same time. Up until now, I have had to co-opt the dining room table, and then only for limited periods at a time. Now I can spread out, make a mess...and leave it there as long as necessary. So what's on my table? Well, currently lots of high-density foam. I've spent the last couple of weeks busily cleaning and priming miniatures ready for the start of the Challenge in a few days time, but now I'm beavering away on lots of foam terrain. 


I've never worked with this material before so I'm learning 'on the job' so-to-speak. Much of the terrain you see here is pre-cast resin stuff that I picked up at Warfare a few weeks ago but the first bits of homemade wall can be seen, along with a Tower. This latter piece was very much a test item as it was the first thing I had a go at. I learned a lot about the properties of this material, and how to work it. Future buildings will hopefully be more elaborate and ambitious in scale. Expect to see a lot of this in the Challenge, as I need enough buildings to cover this table (when it isn't being used as a workbench). I probably should have started practicing with this material much earlier, but at least I'll have some of the resin stuff to paint early in the competition, and my home made stuff will follow later on. 

Tuesday 10 December 2019

The Battle of Beaumont Castle - War of the Roses

Saturday saw the Rejects gathering with the return of another one of our long lost members in what will probably be my last game of the year. John moved up north a couple of years ago and was down this weekend to see friends, so we planned this game several weeks ago. Stuart put on a War of the Roses game and this time it was a biggie. The stakes were high for me because my track record this year has been appalling and I desperately needed a win to lift my flagging spirits. 


The Setup
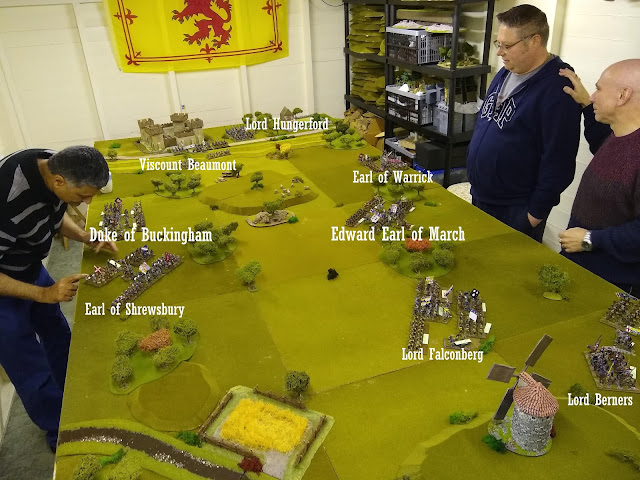
The Yorkist army moves to besiege Beaumont Castle but Lancastrian reinforcements arrive before they get into position. With the castle troops sallying out the Lancastrians are poised to deny the Yorkists the high ground they need to bombard the castle.

When Ray, Surjit and I saw our deployment we were initially worried that we would have a tough fight on our hands. We were told that if we had sole control of the hill in the centre it would increase our breakpoint by one, however, we fully expected the Lancastrians to have a similar order. In the end, we decided to let the enemy advance onto the hill where we could concentrate our archery fire from two sides. Only when they were sufficiently weakened would we close into hand to hand combat. The flanking battles (under Warrick and Falconberg) were to hold the enemy in check while we ground them down in the centre. Things didn't work out exactly as planned though...


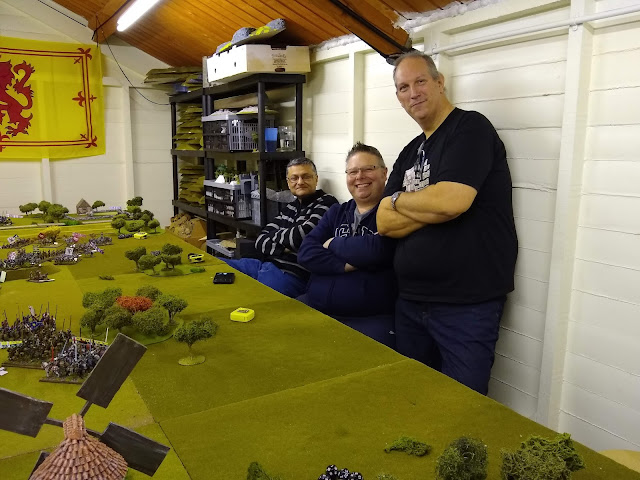
Postie reassures Ray about our initial deployment. 
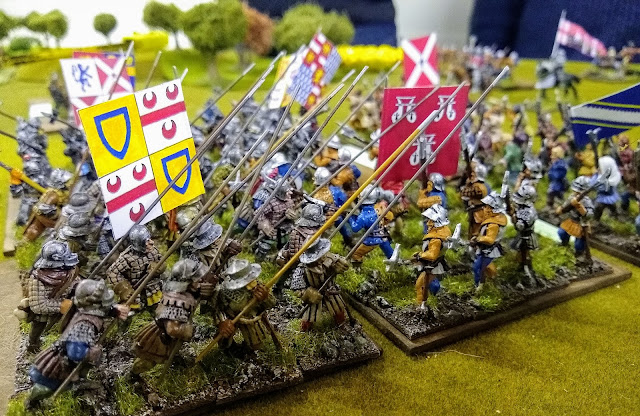
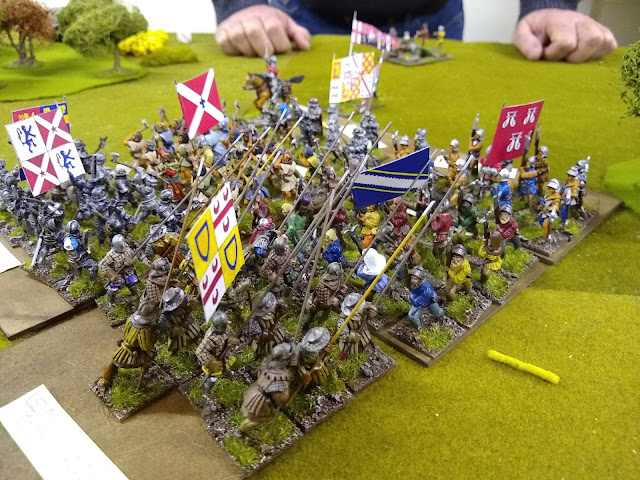
Order of Battle
Yorkist Army
C/O Edward Earl of March (Brilliant)
  Men-at-Arms, Retinue Archers, Shire Archers, Retinue Bill, Shire Bill, Light Gun
2ic Earl of Warrick (Buffoon)
  Men-at-Arms, Retinue Archers, Retinue Bill, Shire Bill, Pikemen
3ic Lord Falconberg (Efficient)
  Men-at-Arms, Retinue Archers, Retinue Bill, Shire Bill, Pikemen, Light Gun
4ic Lord Berners (Brilliant)
  Mounted Men-at-Arms, Mounted Curraurs, Mounted Hobilars

Lancastrian Army
C/O Duke of Buckingham (Buffoon)
Men-at-Arms, Retinue Archers, Shire Archers, Retinue Bill, Shire Bill, Light Gun
2ic Earl of Shrewsbury (Plodding)
Men-at-Arms, Retinue Archers, Retinue Bill, Shire Bill, Irish Bonnachts, Light Gun
3ic Viscount Beaumont (Plodding)
Men-at-Arms, Retinue Archers, Retinue Bill, Shire Bill, Welsh Spearmen
4ic Lord Hungerford (Efficient)
Mounted Men-at-Arms, Mounted Curraurs


The Action
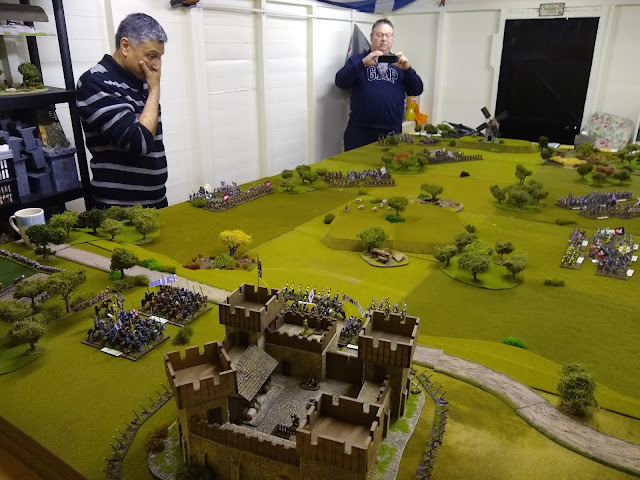
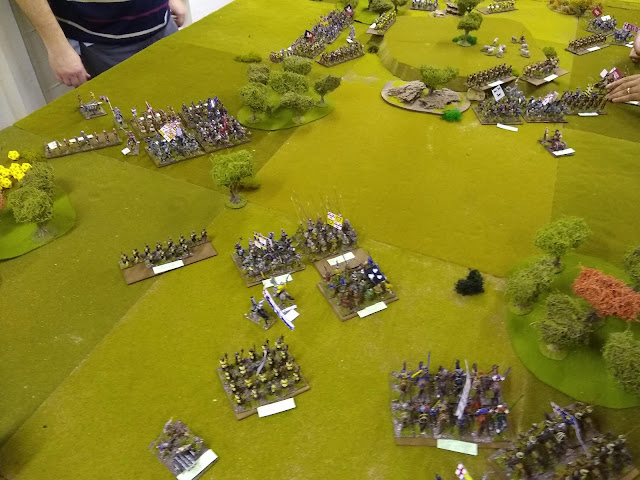
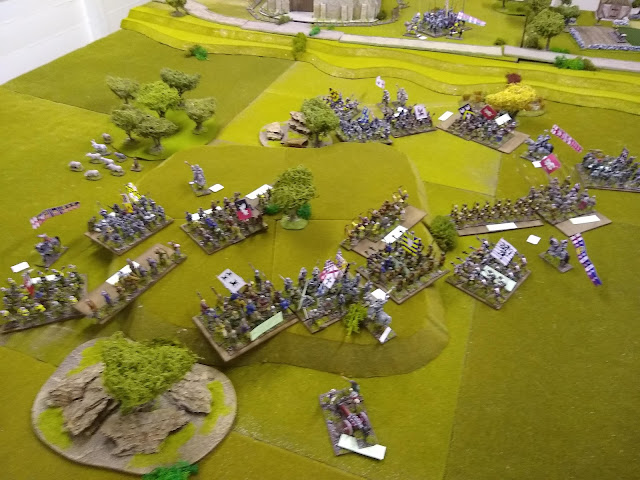
Our deployment was a bit awkward and certainly posed a tactical puzzle for us. We decided not to challenge for the hill initially, instead letting the enemy walk into our massed archery fire. 

The first turns. My troops (Falconberg's Battle) were to advance and hold Johns troops (Shrewsbury) in place. This advance would also allow our Cavalry (Berners) room to pass behind and into the centre. We weren't sure how they would be used at this stage, but the imperative was to keep them away from the enemy until their archers had been neutralised. 

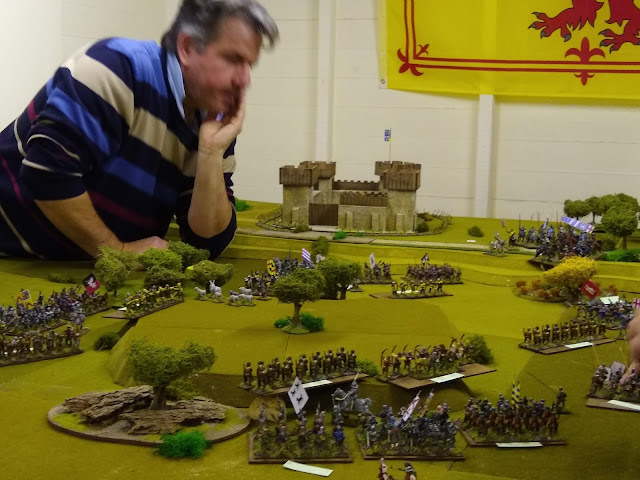
The contractual shot of our lord and master, Postie. 

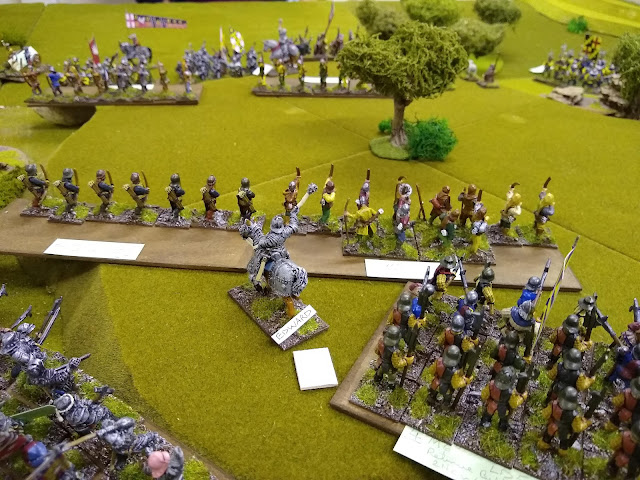
Falconbergs troops advance but I moved my archers a tad too far forward and they took fire from Johns archers first. Fortunately, despite firing after casualties are removed, my shooting was better and I gave as good as I got. In the centre, Ray moved his archers forward to dominate the hill. 

My infantry line up to hit Johns infantry, but first I need to deal with their archers. Fortunately, they fail a morale check and have to retreat a full move and cannot fire for a turn. 

In the centre, Ray's archers move onto the hill and start to fire on the enemy units. 

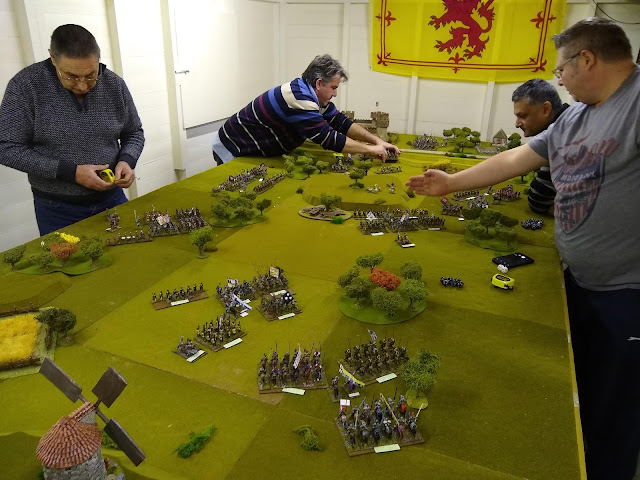
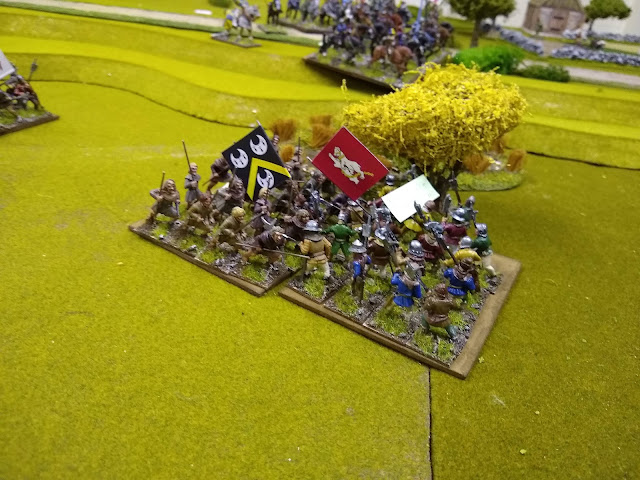
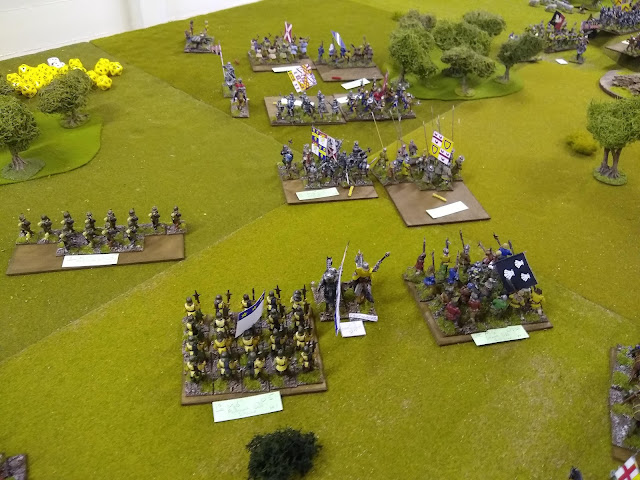
Mark ponders what to do with Beaumont's troops from the Castle and advances them towards the hill. There is some rough ground in the way but the gap between it and some woods looks big enough to get through. When they arrive at the gap its not big enough and Mark has to rethink. 

My archers continue to damage Johns archers and with time on our side change ti fire on the Lancastrian Men-at-Arms. 

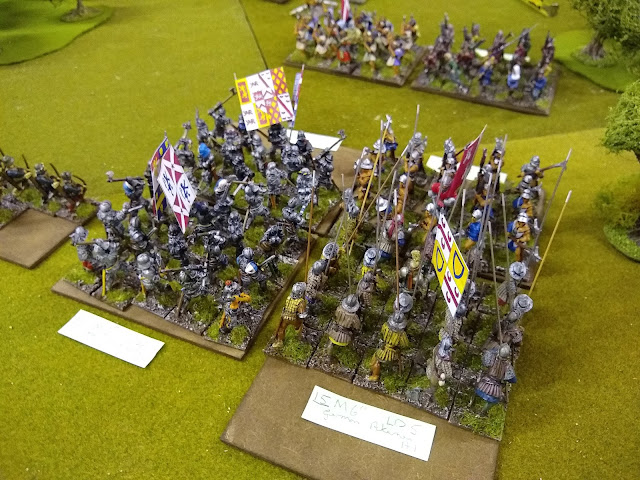
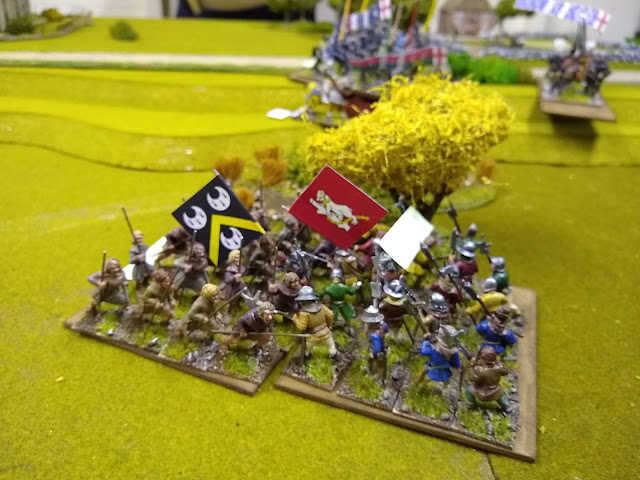
Now my infantry get stuck in. My men-at-arms charge into Johns in an equal fight...but my dice rolling is better. Meanwhile my Pikes - probably the best troops on the table - hit johns billmen. Meanwhile, john moves his supporting infantry right up behind these troops...possibly a mistake if his infantry lose the melee. 

I move my Cavalry under Berners round towards the centre. We still don't know how best to use these but we know from previous games that they need to be kept away from archers. 

In the centre, Ray & Mark are engaged in an archery battle that seems to be evenly matched. We win initiative most of the game (thanks in no small part to a better quality general, rolled for at the start of the game) and this gives us an edge. On the flank, Surjits troops (Warrick) are in a melee with some of Beaumonts troops. John has decided to bring his cavalry around the threaten this flank but in doing so he has brought them within archery range of Surjits longbowmen. 

Upon the hill Edward encourages his troops. 

Surjits Retinue Billmen engage with Johns Welsh Spearmen. Surj wins the melee sending the enemy spilling back ar=cross the field.

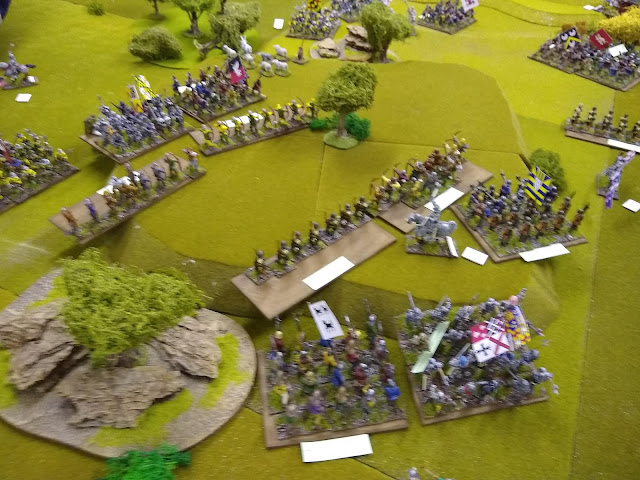
On the hill the archery duel continues and Ray manoeuvres his infantry to follow up. 

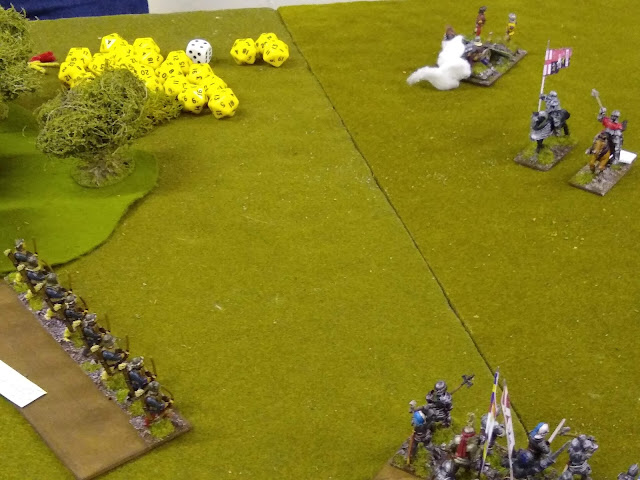
The Lancastrian Cavalry move to hit our flank but Surjit's Longbowmen have them firmly in their sights. This mistake is going to be painful! 

Meanwhile my Pikemen are locked in melee with Johns Billmen. I have the advantage as these troops count the first three rows while the billmen only count the first two. 

A few minutes later. The Pikes won by a comfortable margin, as did my men-at-arms in the melee next to them. Both Lancastrian units are forced back and have to pass through the supporting units behind them, disordering all of Johns Troops. Meanwhile, my victorious units push forward in a follow-up charge and hit the now disordered men of Johns beleaguered command. 

I rolled sixteen dice and hit the enemy with 12 of them! Annihilation! 

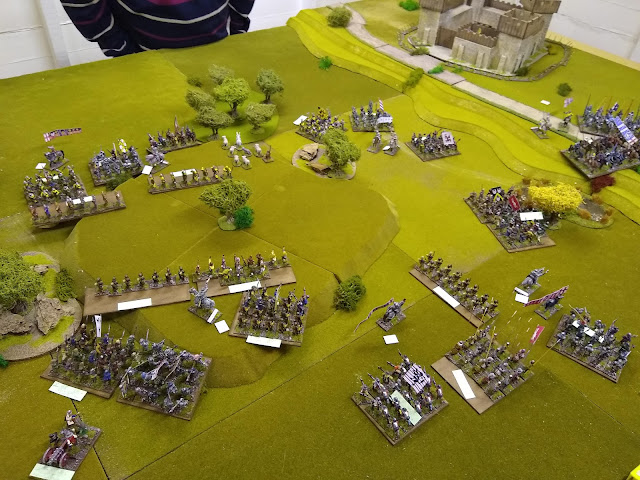
Johns command is now in utter disarray. His archers have been destroyed and all of his infantry are either routing of retreating in disorder. Next turn there will be some nail-biting morale checks to be made but for now, my fresh units behind move forward ready to exploit the success. 

Bloody hell! Three units fail their morale and flee the field! We are suddenly very close to breaking the enemy. 

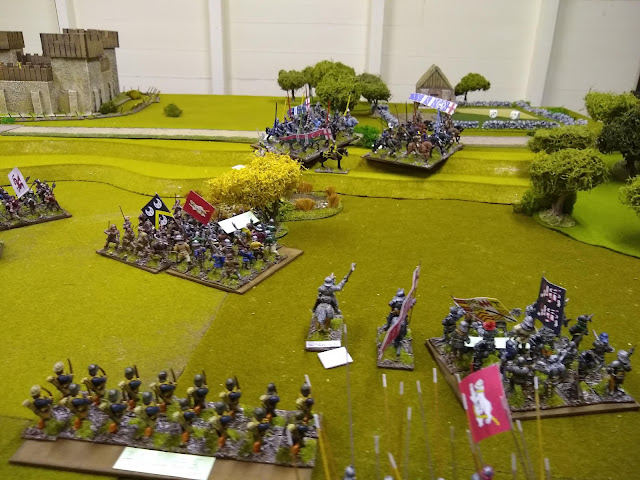
Over on the other Flank, Surjit is also having a good day. His archery fire on the Lancastrian Cavalry was so effective that the rest of that commend wisely runs for the hills. They are still on the battlefield (so don't count as lost for the purposes of determining victory) but are effectively out of the game. 

In the centre Rays, troops continue to push onto the hill and have destroyed another enemy archery unit. The Lancastrians must be close to breaking now surely? 

But they aren't finished just yet. With Johns archers removed his gun finally has a direct line of sight on my Bowmen, dealing four casualties! 
 
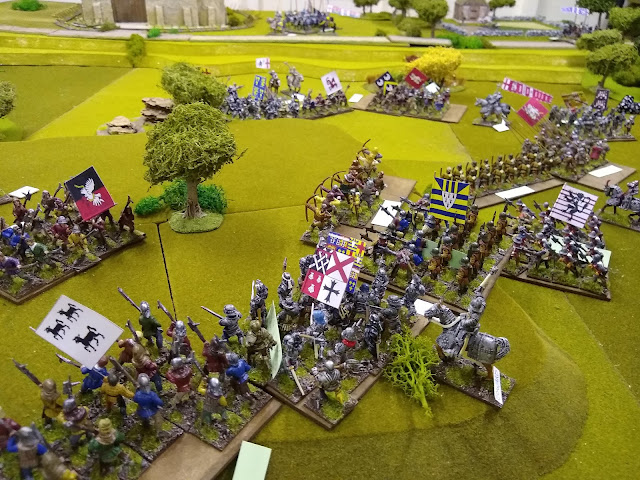
We now dominate the central hill and prepare to close with the enemy and remove them from our real-estate. 

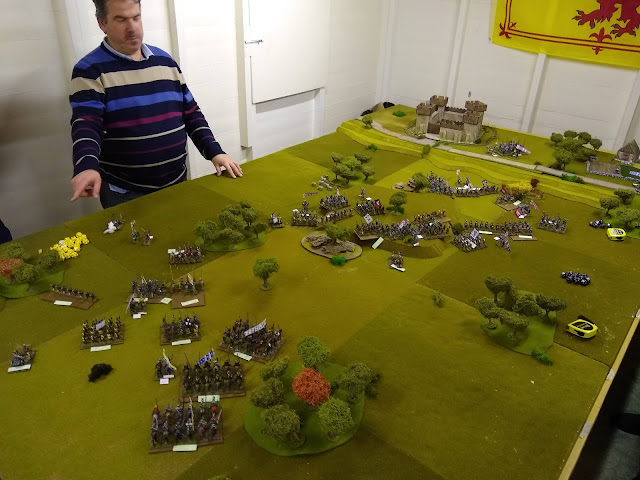
Before we can commit to the final push Postie announces that the Lancastrians have reached their breakpoint and the game is over. The Yorkists have won! 

The victors!

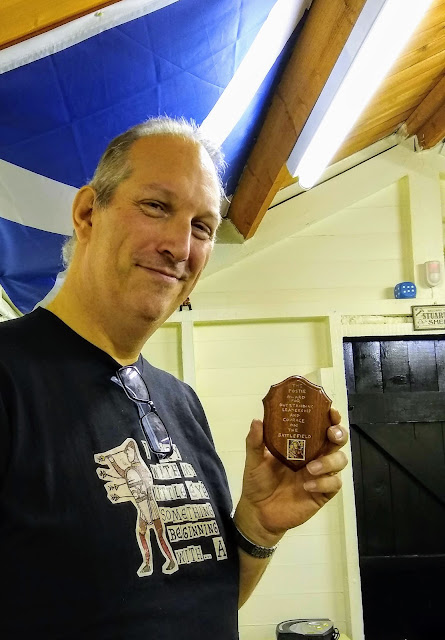
I was awarded for my efforts, my troops having destroyed four of
the seven enemy units needed for victory. 

About time, after the year I've had. It was very pleasing (to say the least) to end on a victory. I guess I won't be giving it all up to take up golf after all!!
Analysis 
Well, I can unashamedly say I bloody enjoyed that game. For a change, my dice rolling wasn't awful and as a team, we had a good plan that worked perfectly.  Our opponents fought well but in the end, just couldn't monopolise on what looked like good deployment at the start. It's a  pity poor old John came all the way down south for a defeat, but thems the breaks I guess. 

Wednesday 4 December 2019

National Maritime Museum, Greenwich

The wife and I both work part-time now (I jokingly refer to it as semi-retired!) and have been trying to get out and about together on our shared Tuesday off. We have had several trips out to museums and galleries, just the two of us, something we haven't been able to do regularly since the kids were born. Yesterday we visited the National Maritime Museum in Greenwich. Its been a long time since I was last here and I had forgotten what an excellent museum it is and the amazing collection of very famous pictures it holds. 


The Battle of Barfleur (19 May 1692) by Ludolf Backhuysen - The English and Dutch Fleets stop a planned French invasion during the Nine Years War. They won two linked battles, off Barfleur and La Hoguq and destroyed many enemy ships. This picture shows the French flagship, the Soleil Royal, under attack. 

The Destruction of 'L'Orient' at the Battle of the Nile, 1 August 1798 by George Arnald. The explosion was so shocking that both sides stopped firing in the immediate aftermath of the explosion. Fragments of the ship were scattered across Aboukir Bay and Nelson kept a piece (on display in the museum) of a masthead as a souvenir.  

The fall of Nelson at the Battle of Trafalgar, 21 Oct 1805 by Denis Dighton - The sailors and Royal Marines on a ships upper deck were extremely exposed to enemy fire. This painting of the Victory at Trafalgar shows the fierce fighting with the French warship Redoubtable close alongside. Nelson is shown falling wounded to the deck. 

The Death of Nelson by Arthur William Devis is probably the most famous picture to come from the Battle of Trafalgar. It portrays the death of Horatio Nelson at 16:30 on 21 October 1805, below decks on his flagship HMS Victory during the Battle. The artist spent several weeks on board the Victory, sketching the location and making individual studies of the persons featured in the final work. The painting takes liberties with the actual setting and people present. The place of death on the ’tween-deck was actually far shorter than depicted, and Captain Thomas Hardy (standing behind Nelson) was not actually present at the moment of death. 

In addition to the gallery dedicated to Nelsons Navy, I had specifically wanted to visit the Polar Exploration gallery. (this isn't military history related, so you may want to skip this bit). I have long had a fascination with this romantic period of our history and in particular the Shackleton's Imperial Trans-Antarctic Expedition of 1914–1917. The expedition ship Endurance became trapped in sea ice and was eventually crushed, forcing the crew onto the frozen sea. The story of their trek across the ice and eventual rescue is for my money one of the greatest survival tales of all time. If you have never seen the pictures of the expedition photographer Frank Hurley I urge you to seek them out, they are truly spectacular and some of the best images ever taken during this period of exploration. 

Endurance among ice pinnacles by Frank Hurley. Shackleton expedition, February 1915. 

Perilous Position of HMS Terror by Admiral William Smyth - On his final Arctic expedition George Back's ship, HMS Terror, got trapped. Squeezed by the pressure of the ice, it drifted for 200 miles before finally floating free. It was so badly damaged that it barely made it back across the Atlantic. The Artist was at the time a first lieutenant on the voyage. 

They forged the last links with their lives by William Thomas Smith - Franklin's entire crew perished during their attempt to navigate the North-West Passage. In 1859, searchers found a boat with human remains, believed to belong to the crew. This scene is imagined here. Lady Franklin supported the idea that her husband had found the route, although, in reality, this was not the case. 

We also had a wander around Greenwich but we will probably come back at a later date to visit the Cutty Sark and some of the other museums here. 
Not sure what our plans are for next week, but if the weather stays dry we'll probably find somewhere else to explore.