On Saturday
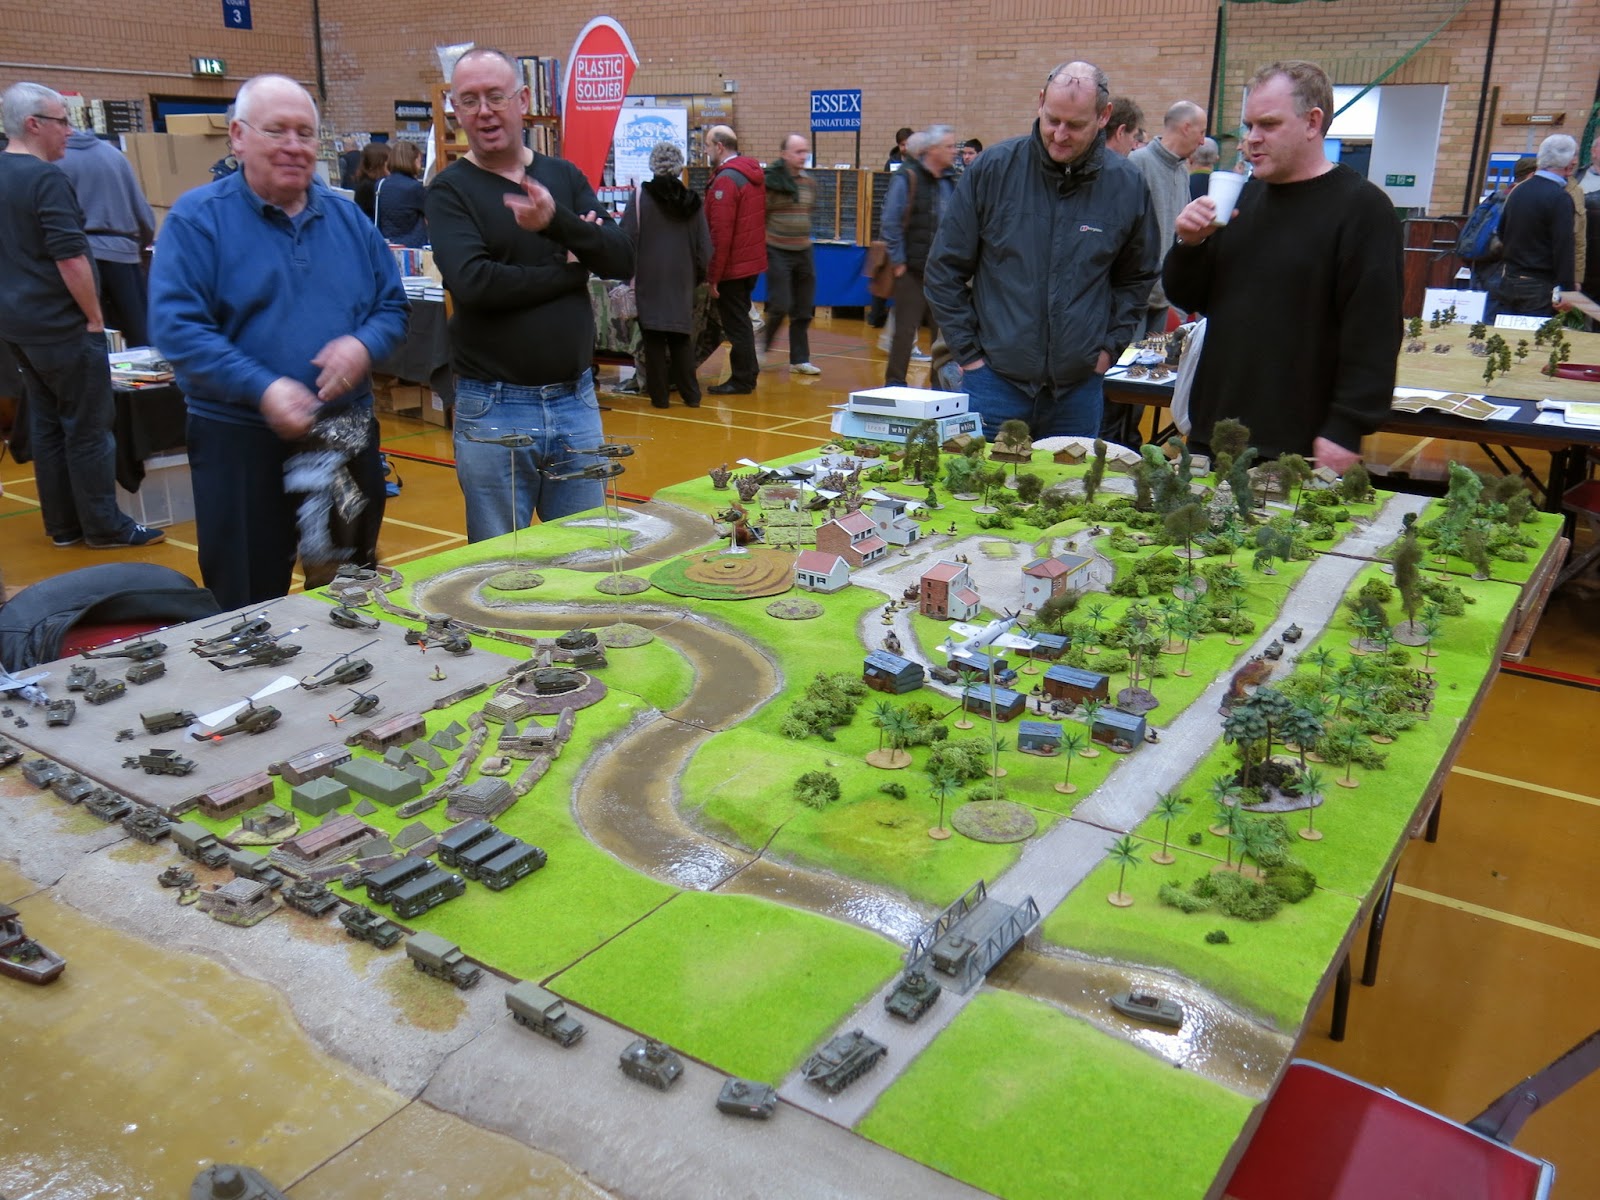
Posties Rejects gathered in a very cold shed-o-war to fight an Anglo-Zulu War game with our hosts 6mm collection. We would be fighting a what-if scenario based on actual forces and topography from the period.
The Setup
On 21st January 1879 the advancing British No 4 Column built and garrisoned a stone fort overlooking the crossing known as Tinta's Drift on the White Umfolozi River. From this base of operations the garrison sent out strong patrols. However upon learning of the disaster at Isandlwana the fort was vacated and the column fell back to a fortified camp at Khambula. Our scenario asks what would have happened if the British had instead tried to hold and reinforce the Garrison rather than abandon it?
Order of Battle
Zulus - Approx 15500 Warriors
Head/Loins - C/O Ntshungwayo Kamahole (Dave)
Commanding five 'regiments' of warriors including one Veteran Unit
Right Horn - 3 i/c Godide Kandlela (John)
Commanding four 'regiments' with one Veteran Unit
Left Horn - 2 i/c Zibhebhu Kamapitha (Lee)
Commanding four 'regiments' with two Veteran units
British - 2050 Men and 4 Artillery Pieces
Fort Tinta Garrison - Major England (13th Foot) (Surjit)
13th Foot - 4 C
ompanies
1 Gun 11/7 ½ 2nd Section
1 Rocket Team
Weatherbys Border Horse - 2 Troops
Woods Irregulars - 1 Battalion of 5 Companies of Swazis
Captured Zulu Cattle
Supply Column Reinforcements - Colonel Evelyn Wood (90th Foot) (Mark)
90th Foot - 8 Companies
2 Guns 11/7 1st Section
Frontier Light Horse - 4 Troops
Uyo's Burgens (Boer Sharpshooters) - 1 Troop
6 Wagons (2x Rifle Ammo, 2x Artillery/Rocket Ammo, 2x Food and Water)
The Action
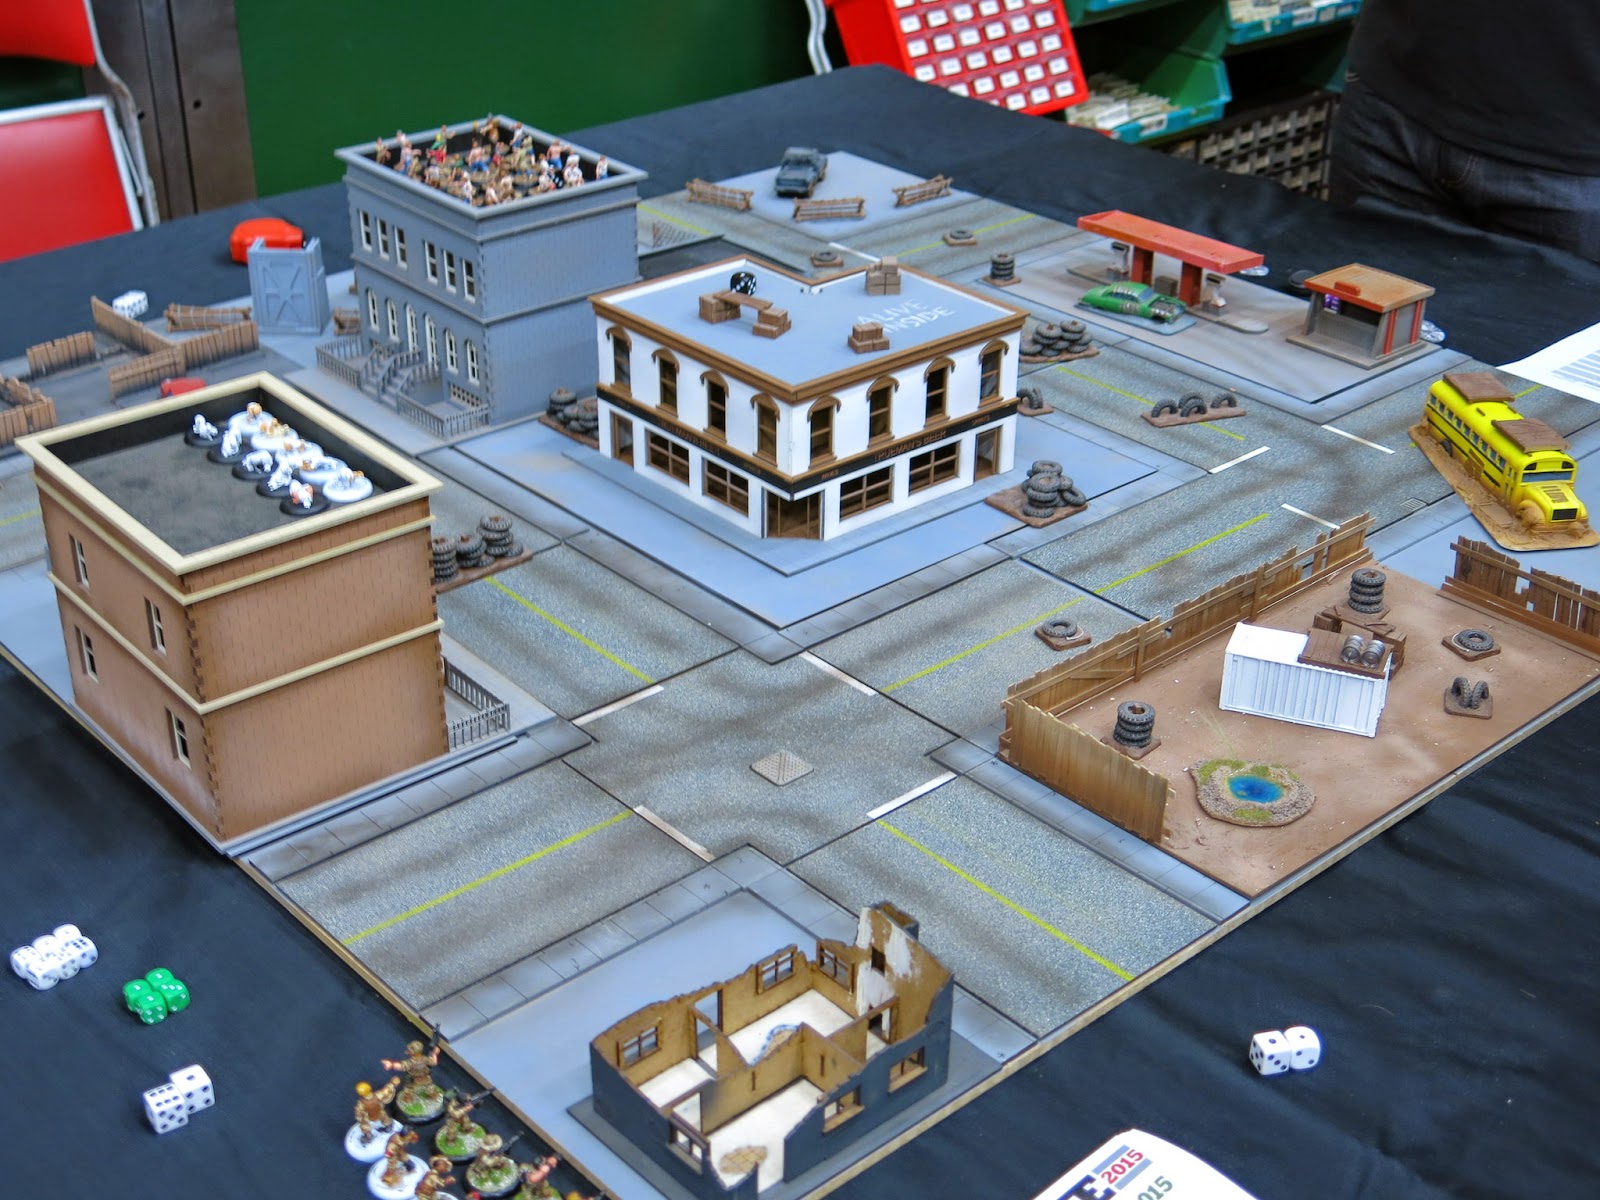
 |
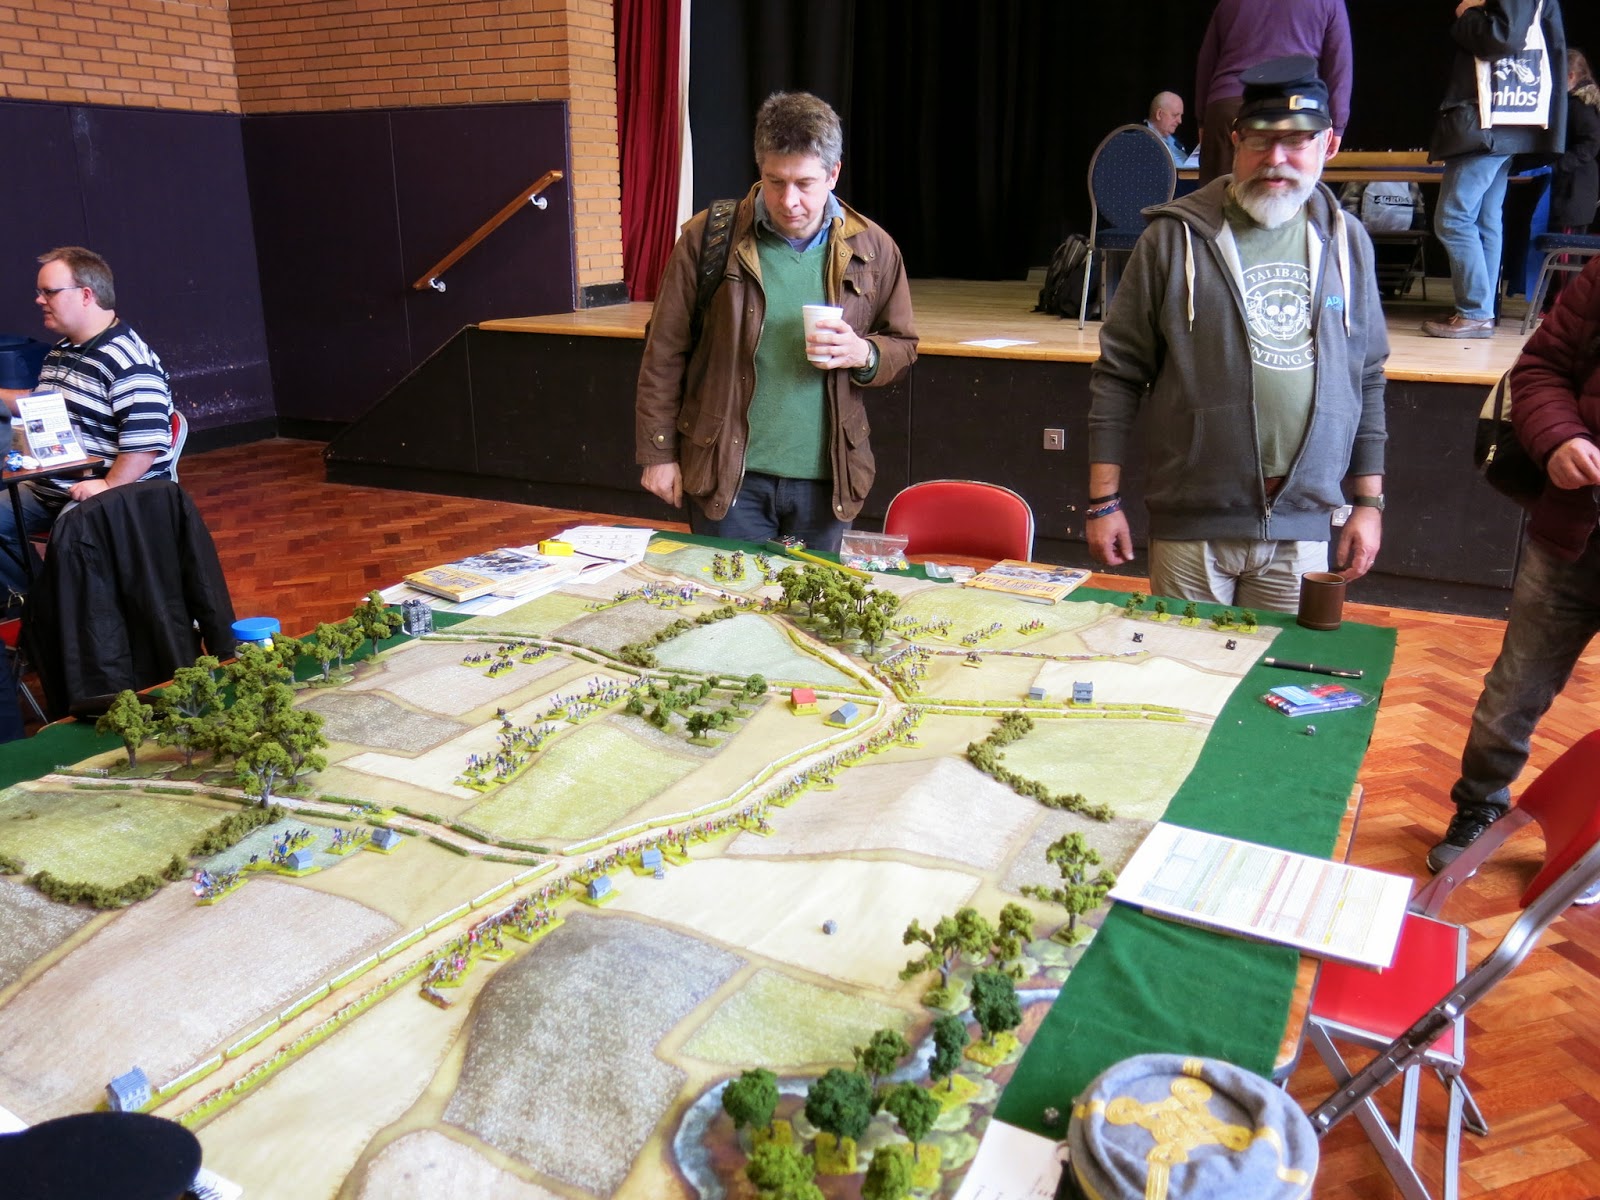
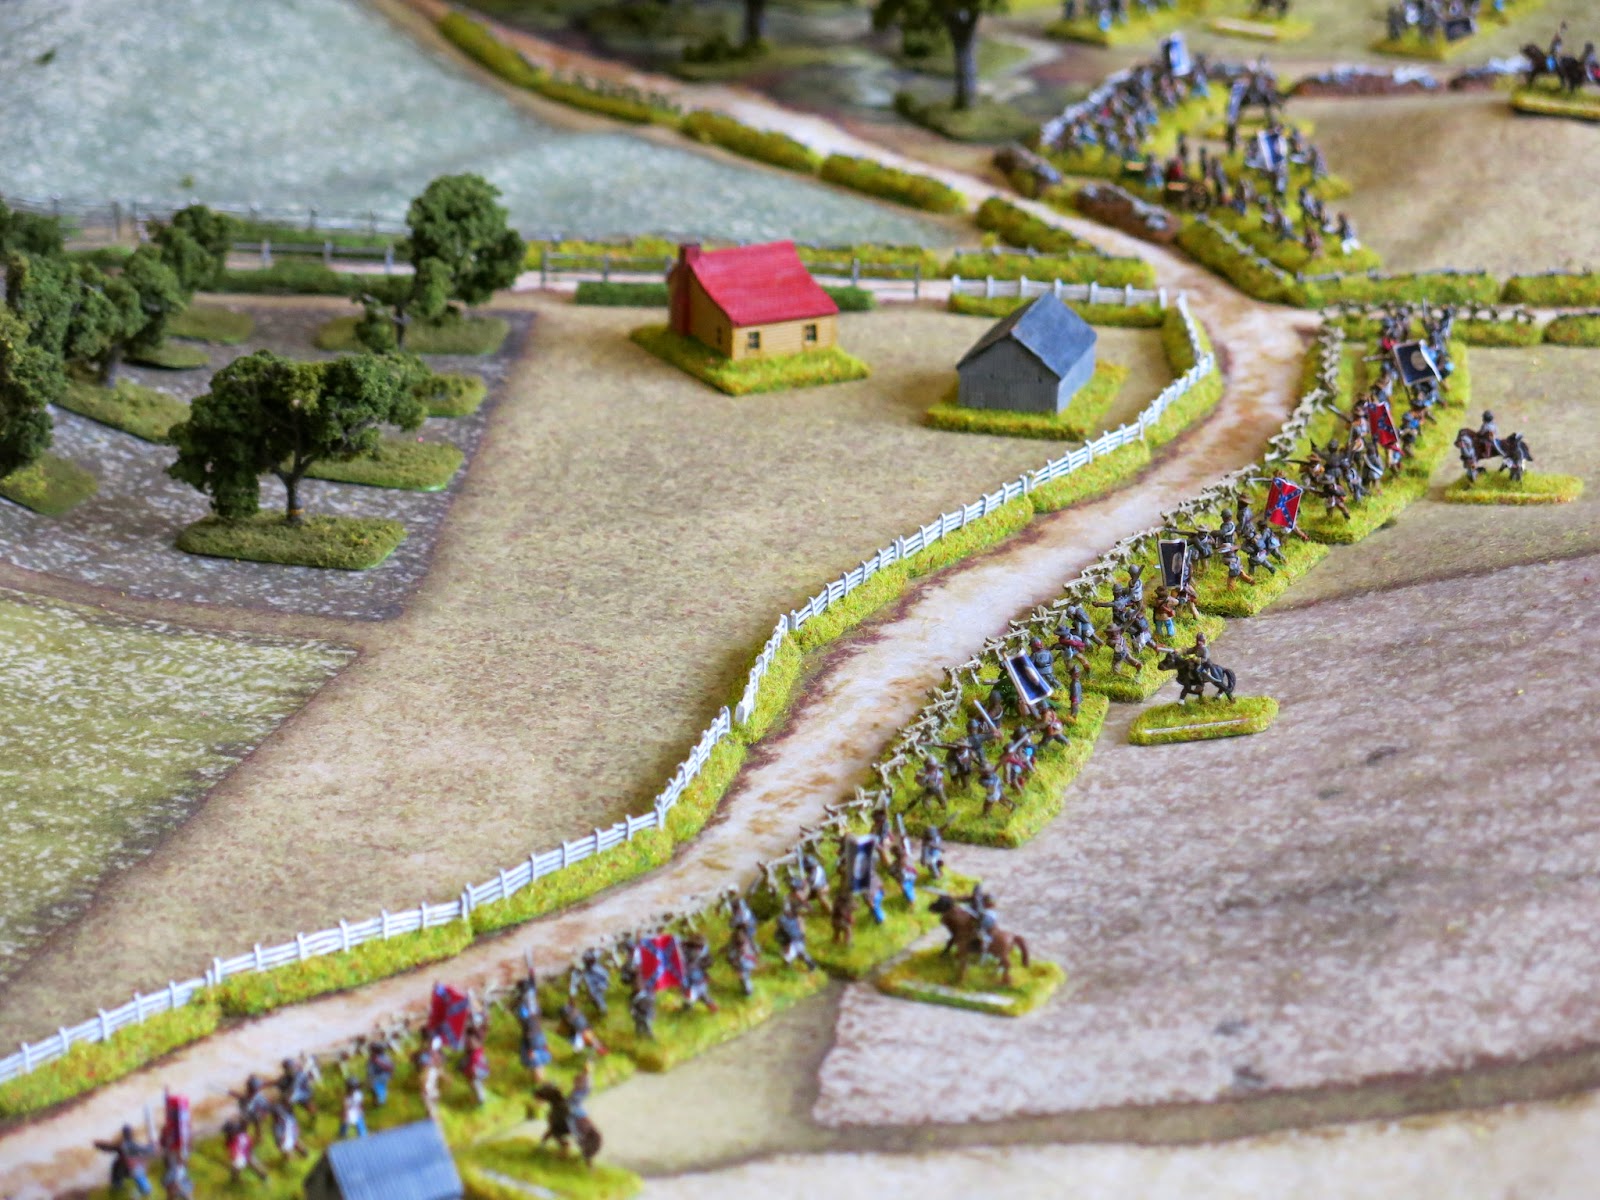
| The initial setup with Fort Tinta in the centre, overlooking the Drift and surrounded by hills and grassland. |
 |
| Fort Tinta is little more than a forward base of operations but it commands excellent fields of fire in all directions. |
 |
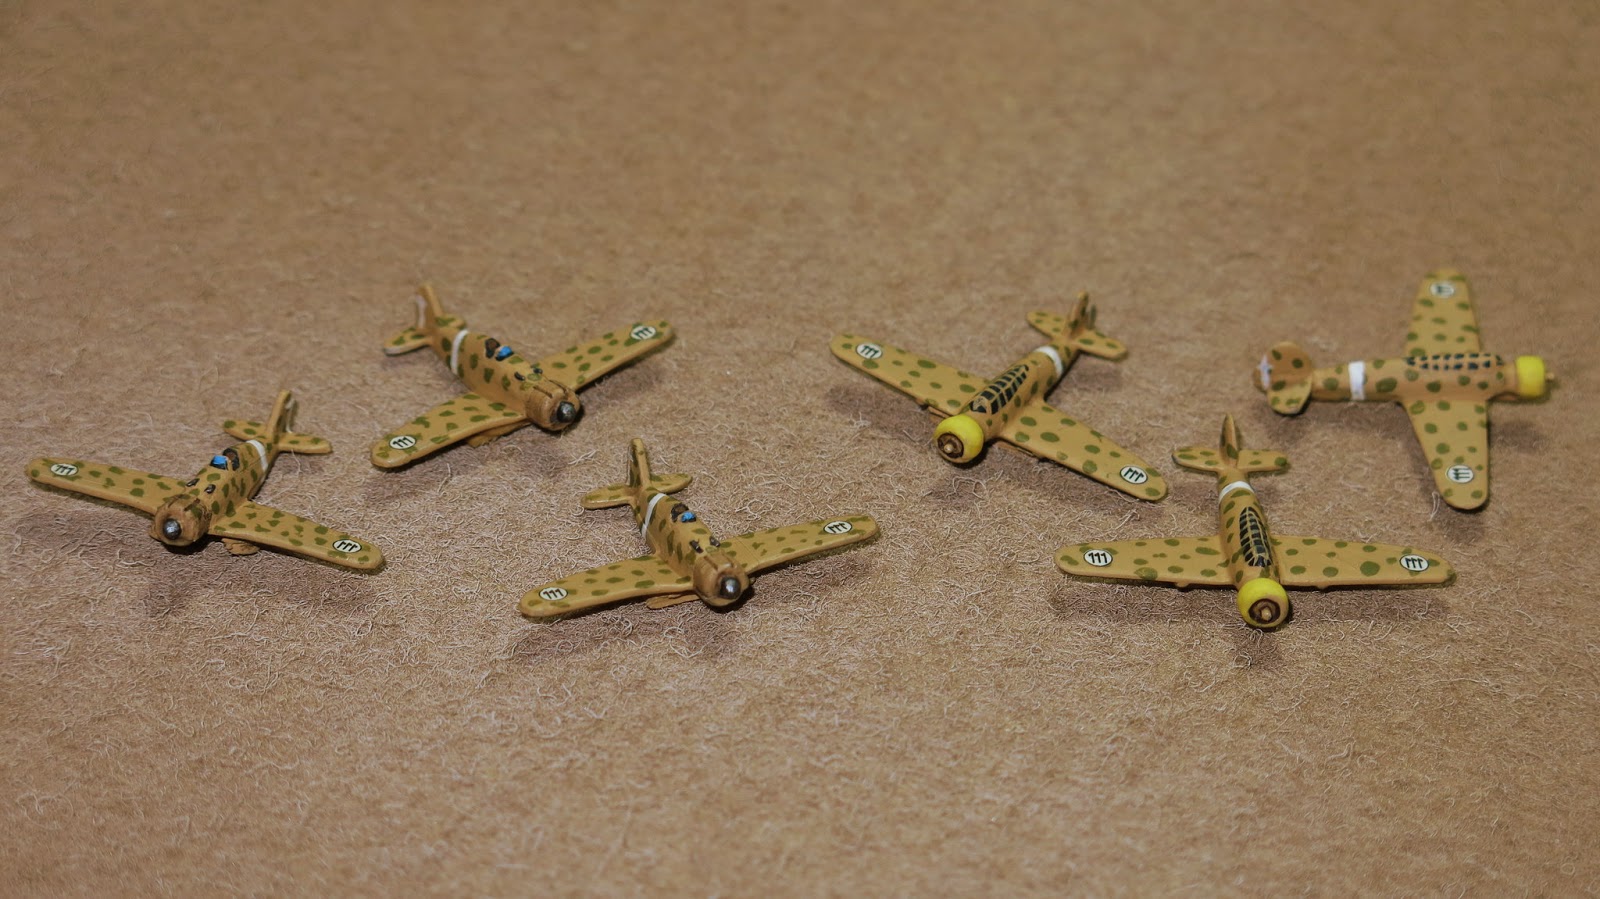
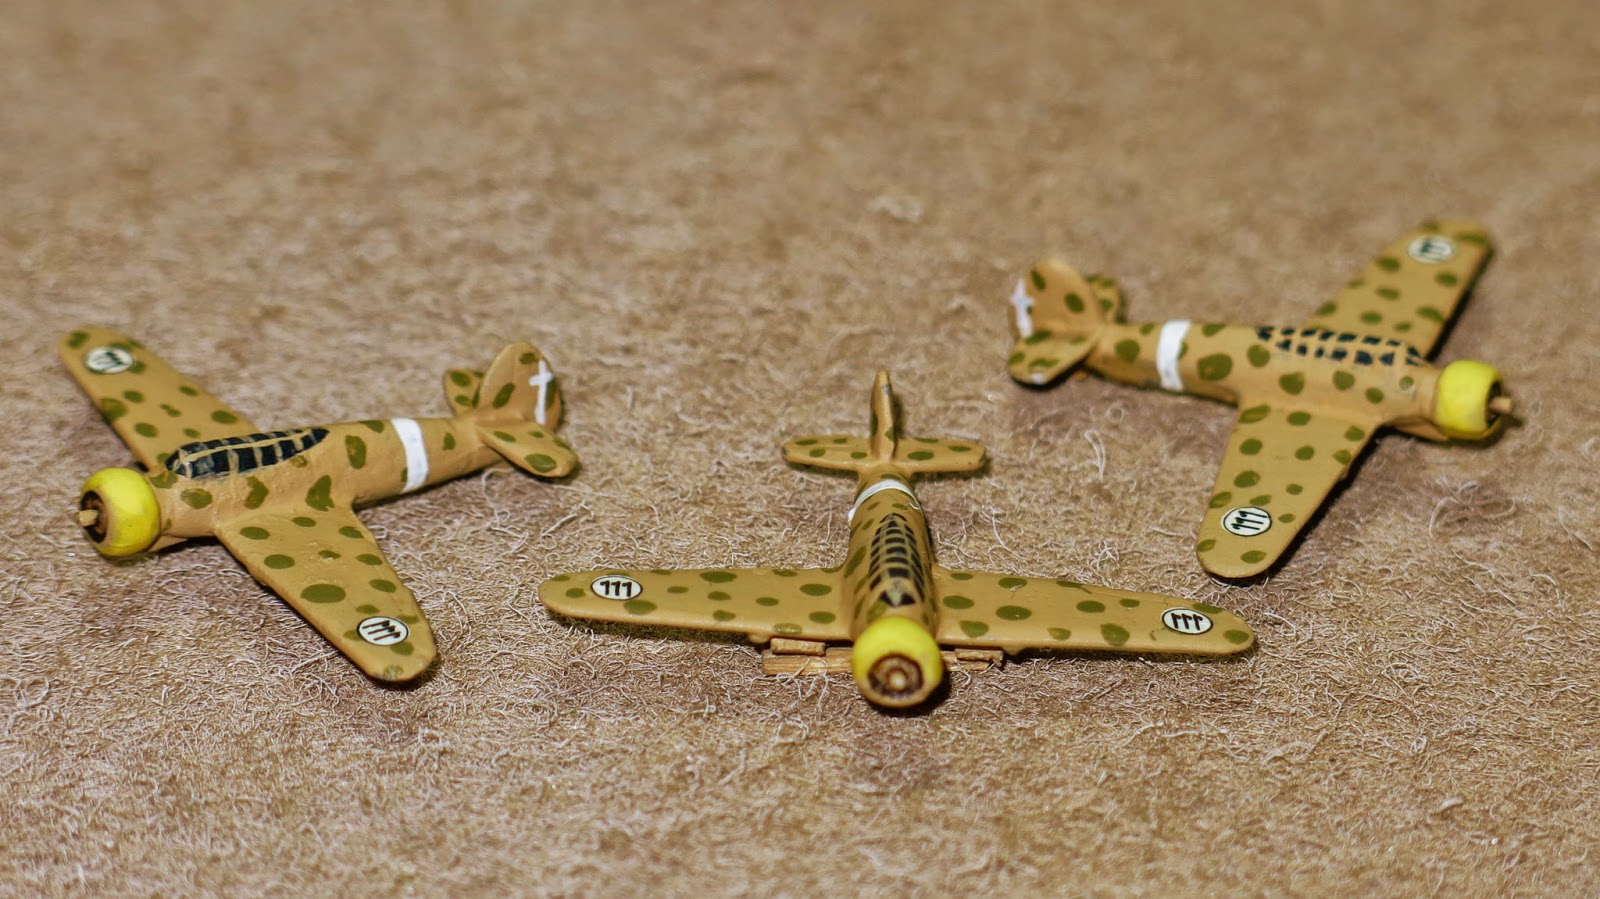
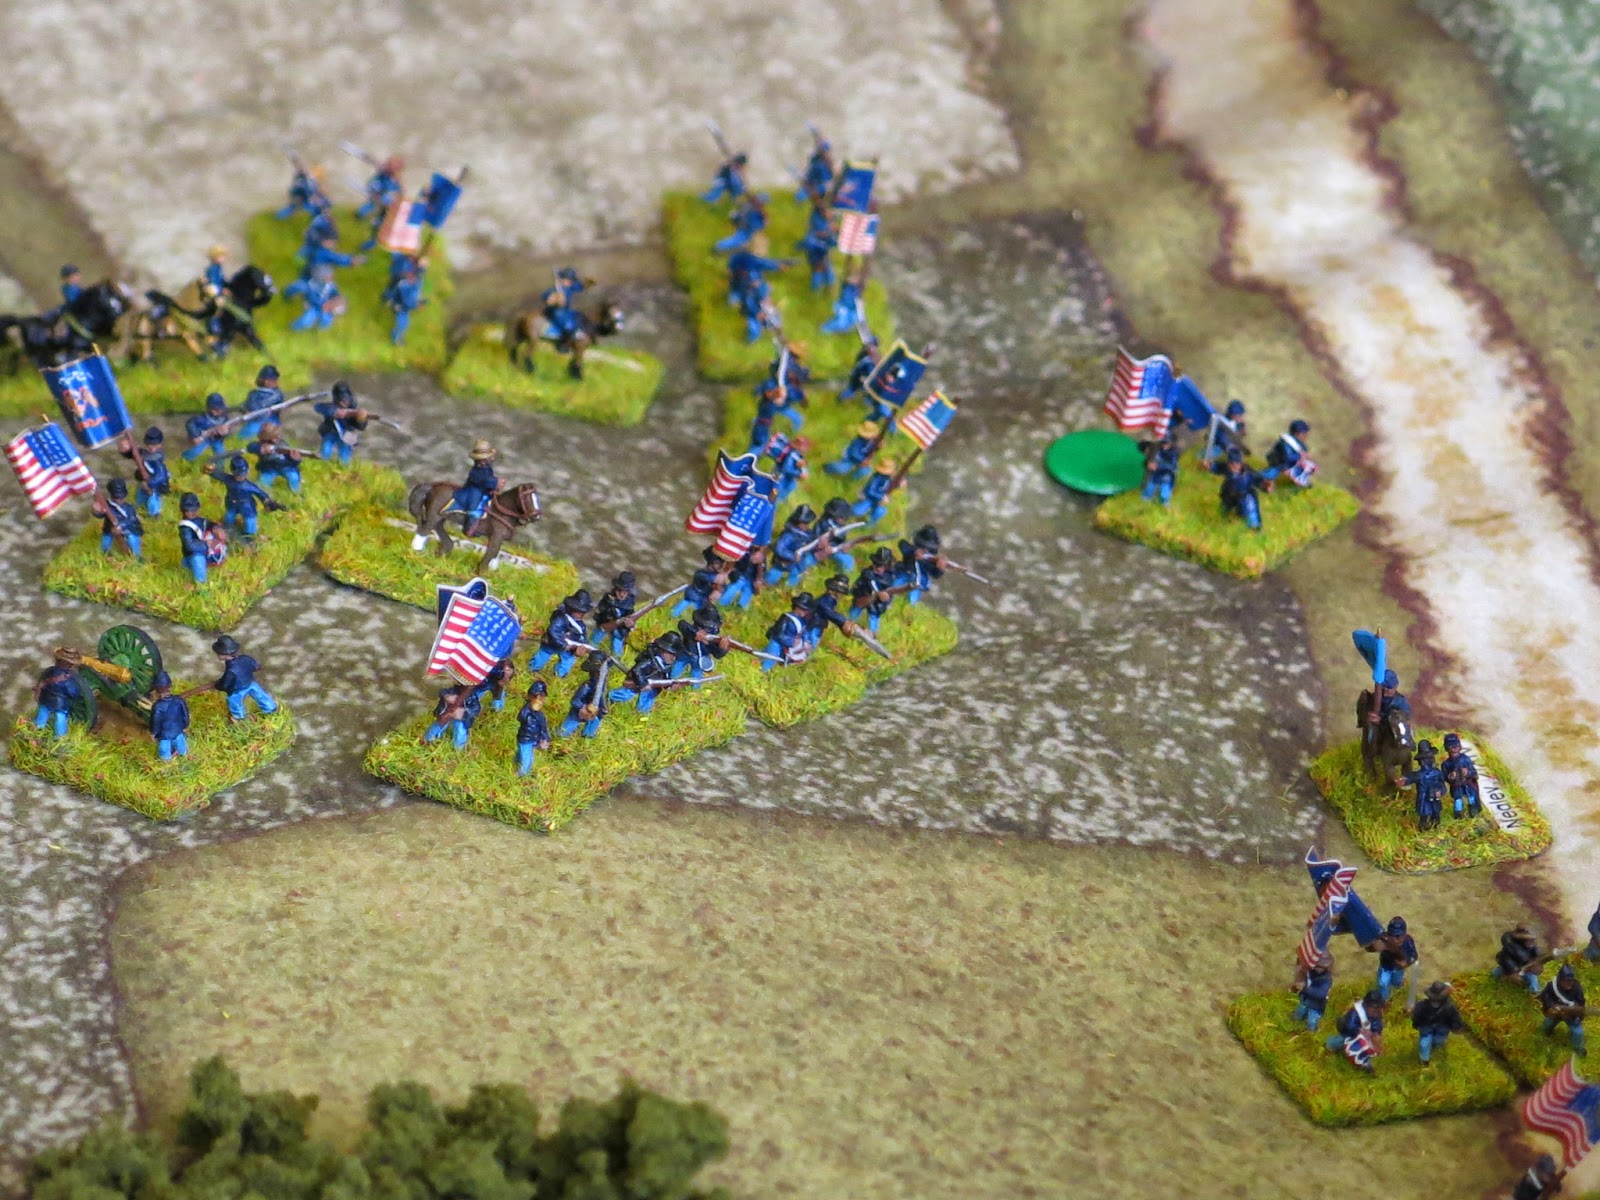
| The relief column is already on its way, headed by four companies of British Foot, and more in the rear. |
 |
| The Zulu commander Ntshungwayo Kamahole gives the order to advance. |
 |
| Zulu warrior's crest the hills overlooking Fort Tinta and the alarm is raised. |
 |
| The Zulu left flank (my troops) are still hidden at setup but will soon move forward. |
 |
| My Zulus hidden behind a hill prepare to advance |
 |
| They crest the hill and before them lays the White Umfolozi River and the open grassland running up to Fort Tinta |
 |
| Thousands of Zulus surge forward towards the British positions |
 |
| The defenders open up a witheringly effective fire (Surjit's dice rolling was uncanny) |
 |
| The Zulus close in on the fort. For the Right Horn and Head of the Zulu army their objective was obvious. For my troops in the Left horn I had to make an early decision on where to attack. Initially I assumed that the British relief column would head straight for the fort and so my plan was to hit them before they could do this. But after just one turn it became obvious that Mark had no intention of relieving the fort as he began to take up defencive positions on the hill (on the left in this picture). |
 |
| Another option was to move around the left flank of the relief column and draw some of the British away from the objective of Fort Tinta. But again it soon became clear that Mark had settled in on the hill and wasn't going to attempt to relive the fort at all. By shifting my attack to the right and supporting the main Zulu assault on the fort four companies of British infantry were effectively removed from the game because they would have so far to march just to move within range. |
 |
| Zulus, Thousands of them! |
 |
| One of my Veteran units. These poor fellow found themselves being shot to pieces for the whole game. However while they absorbed fire from the British my other units were able to advance forwards, so they fulfilled a vital role. |
 |
| Dave's Zulus reach the walls of the fort but falter under withering British volley fire. More Zulu units are moving into position from all sides and the forts defenders are looking dangerously exposed and unsupported. Now where is that blasted relief column?!? |
 |
| Surjit ponders his fate. With Zulu's converging on three sides Fort Tinta looks increasingly isolated. |
 |
| My troops open fire on the British providing support to Dave's renewed assault on the defences. Meanwhile British fire from Marks infantry on the hill have reduced my Veterans to one stand. |
 |
| The Zulu players Dave and John |
 |
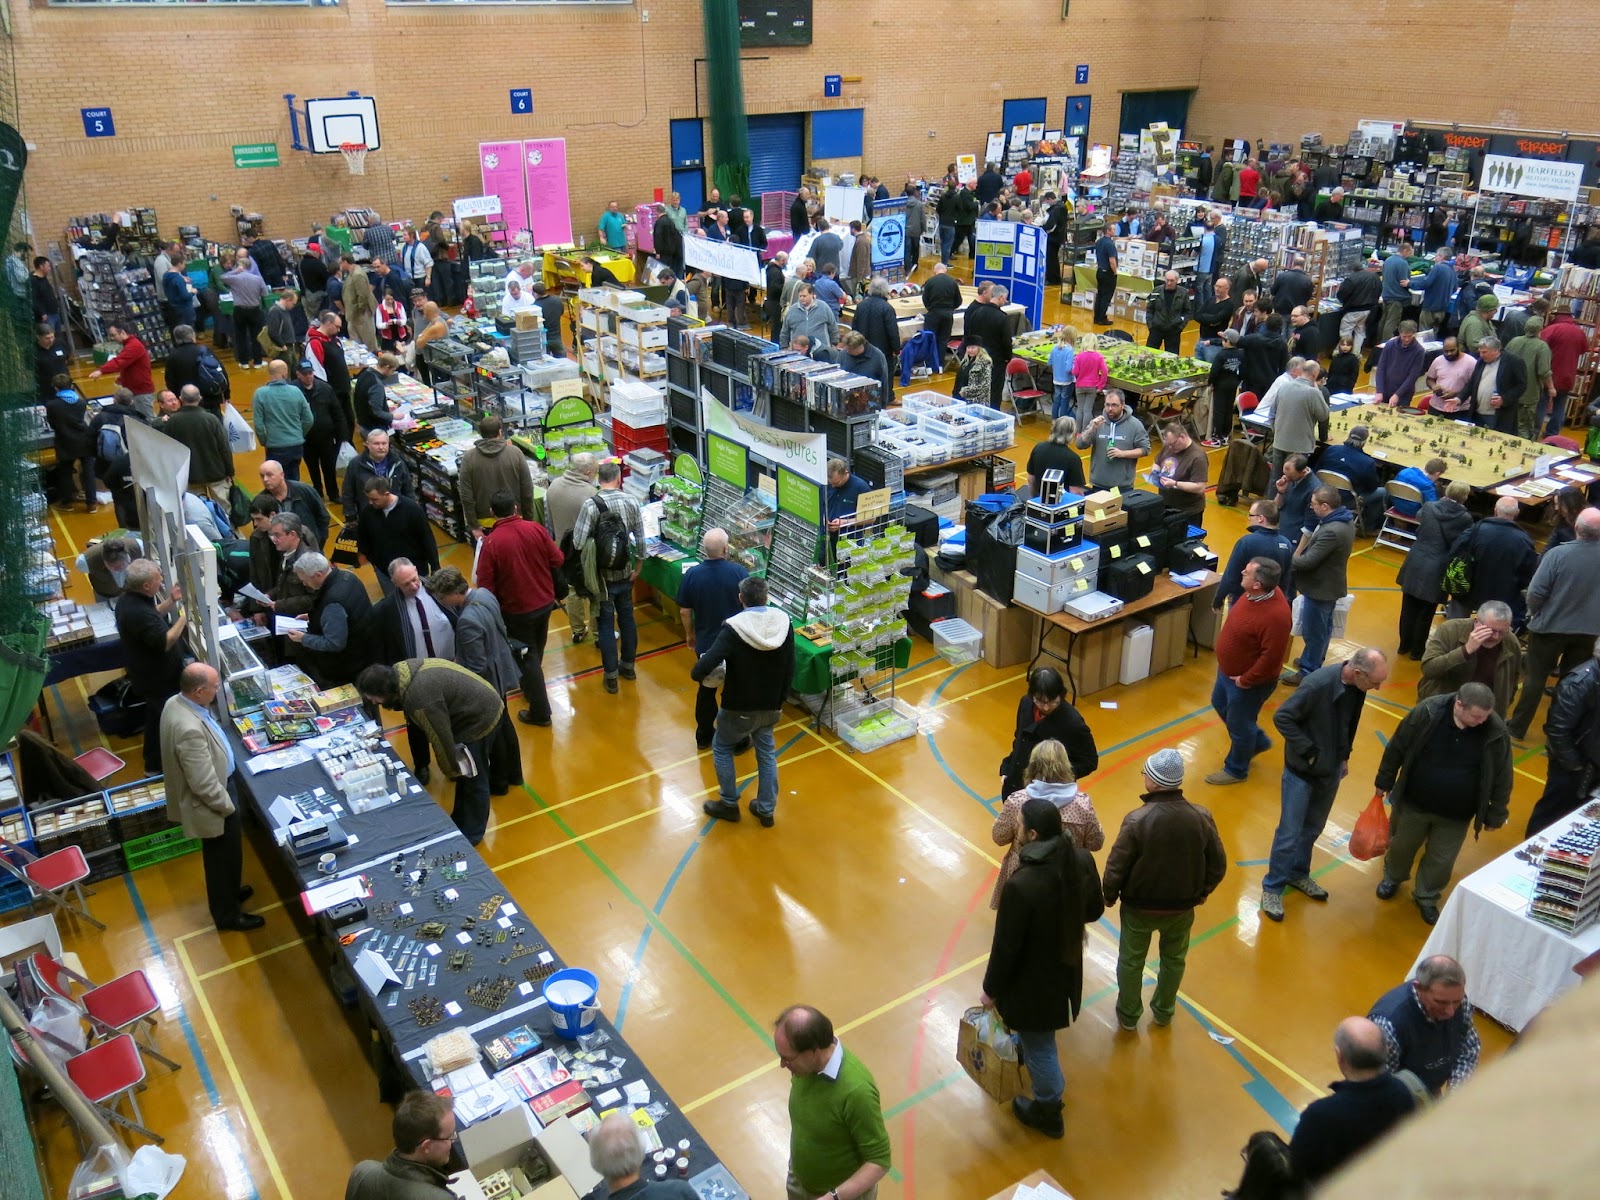
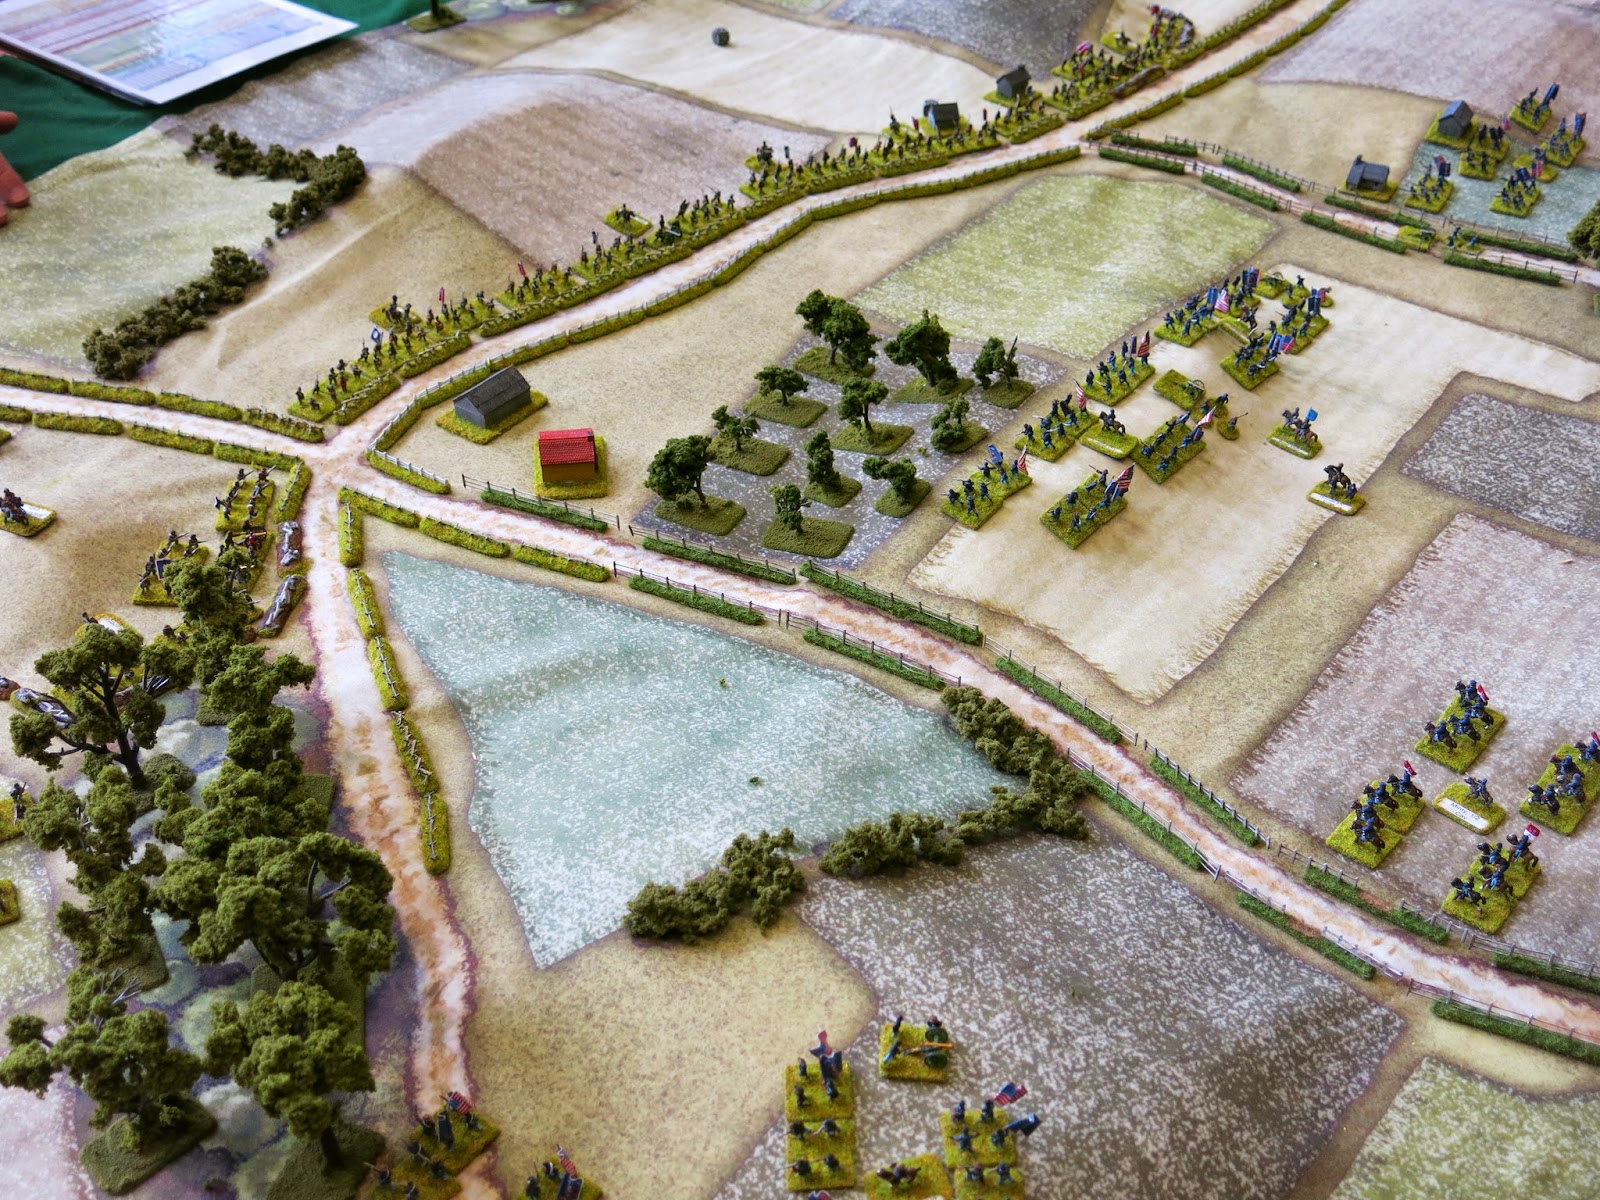
| An overview of the whole table. The so called 'relief column' has settled in to watch the massacre of the Forts defenders and the Zulus have closed in around their objective. |
 |
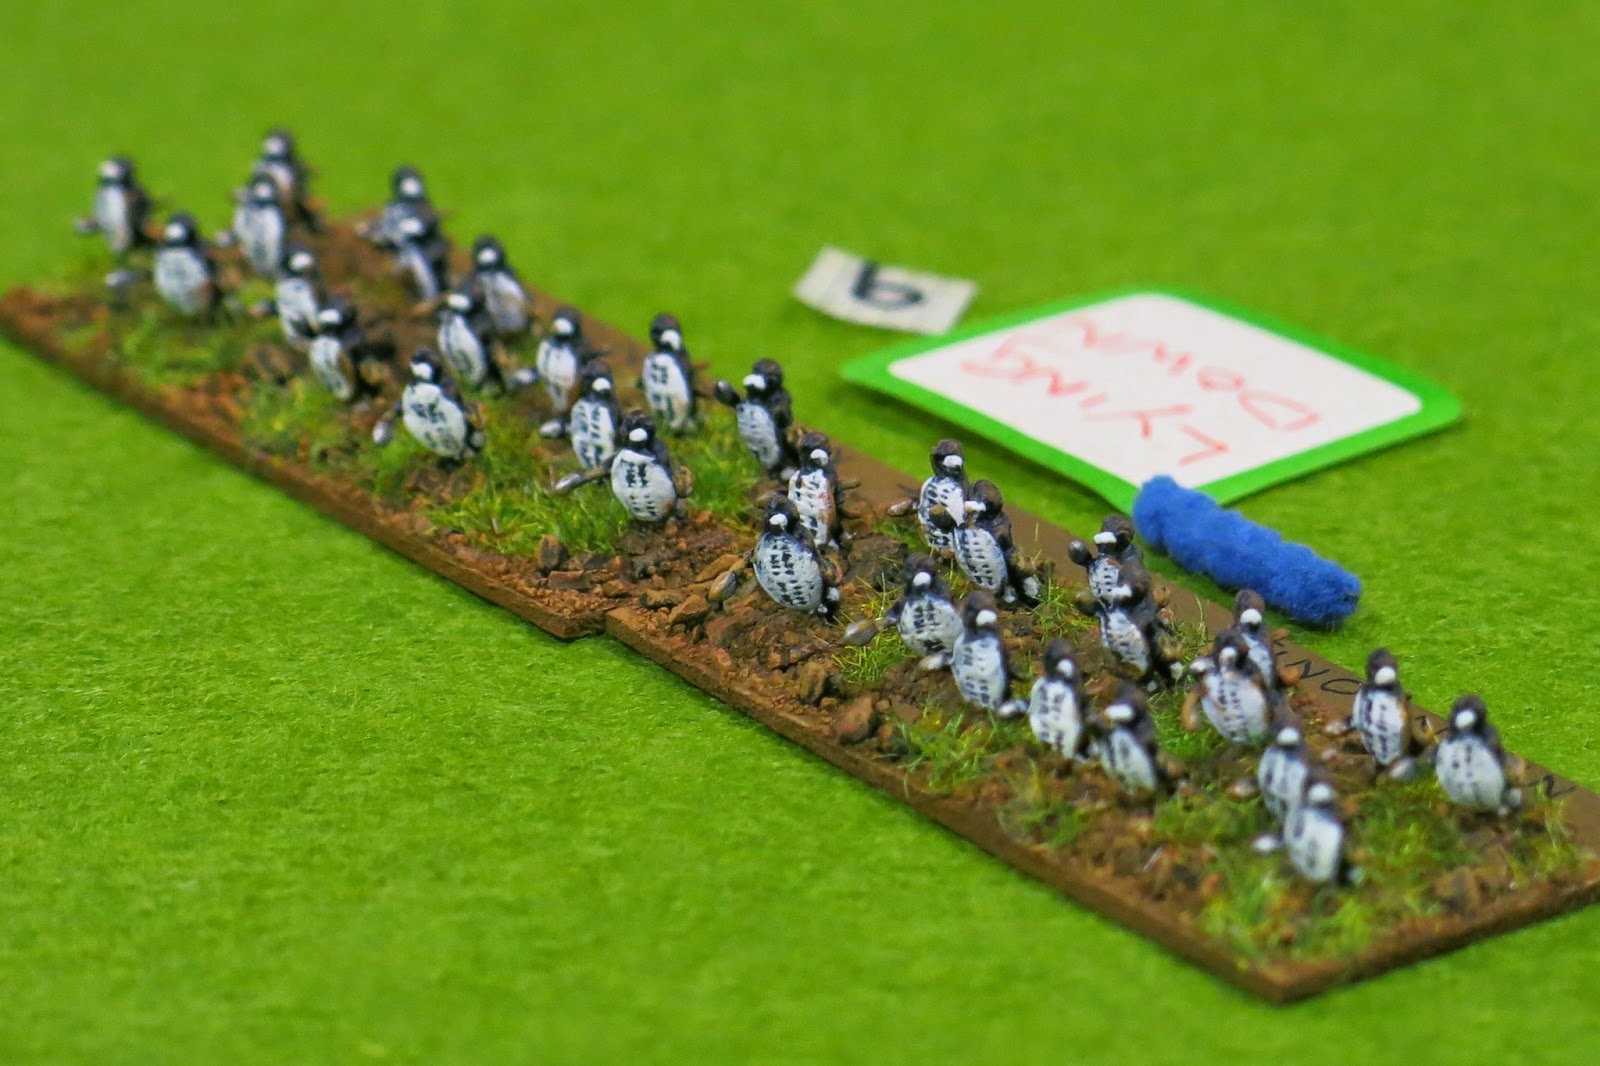
| The final assault by the Zulus. Casualties are high but with such overwhelming numbers the result was hardly in doubt. The numbered tags represent casualties from previous rounds of firing and melee. |
 |
| The British defenders are overwhelmed and begin to fall back. As Zulus pour over the walls of the fort more warriors sweep aside the last of the Swazi troops and begin to converge on the fleeing survivors. |
 |
| The Left Horn (my troops) now turn to face the British relief column and pause while the rest of the Zulu army sweeps aside the reaming defenders. |
 |
| With the last British infantry and artillery from the fort destroyed the Zulus line up again and consider their next move. |
 |
| The grim faced British defenders consider the carnage |
 |
| The last few British troops from the Garrison are swept away. |
 |
| Meanwhile the Zulu cattle, stolen by the British earlier in the day, have now been recovered by their handlers. |
 |
| Dusk is fast approaching (one turn away) and the Zulus decide to wait for darkness before sweeping away the remaining invaders. With their forward base gone the British cannot hold this territory and will be forced to retire. |
Analysis
At times this felt like a one sided battle, but Zulu casualties were still very high. Tactically the battle was a draw with both sides suffering significant losses, but this was undoubtedly a strategic victory for the Zulu's. With the loss of this forward base at Tinta Drift the British would be forced to withdraw or face assault throughout the dark of night without the benefit of their long range fire-power or prepared defences. There was quite a bit of 'discussion' about the scenario played and the definition of victory (I think the British players were feeling a bit hard done for!) but for me the answer is simple. Historically the Garrison at Tinta Drift withdrew without a battle to safer positions and denied the Zulu's battle. The whole point of this scenario was to ask what would have happened had they stood their ground. The answer appears to be that they would have been forced to withdraw anyway, so their decision to pull back was probably the correct one.
For me this makes the game we fought even more interesting because the way we approached the scenario was completely contrary to how a field commander would have viewed the situation. In the game the Commander of the relief column (Mark) decided not to even attempt to reinforce the Garrison, and the Fort Commander (Surjit) decided to stand his ground rather than retreat. Both players reacted like wargamers, seeking the best and most interesting game, rather than as military leaders husbanding their forces and avoiding a fight they couldn't possibly win. Of course that doesn't explain the decisions and outcome of the battle at Rourke's Drift, but I guess that's what dice are for...


.jpg)
.JPG)