Wednesday 26 November 2014

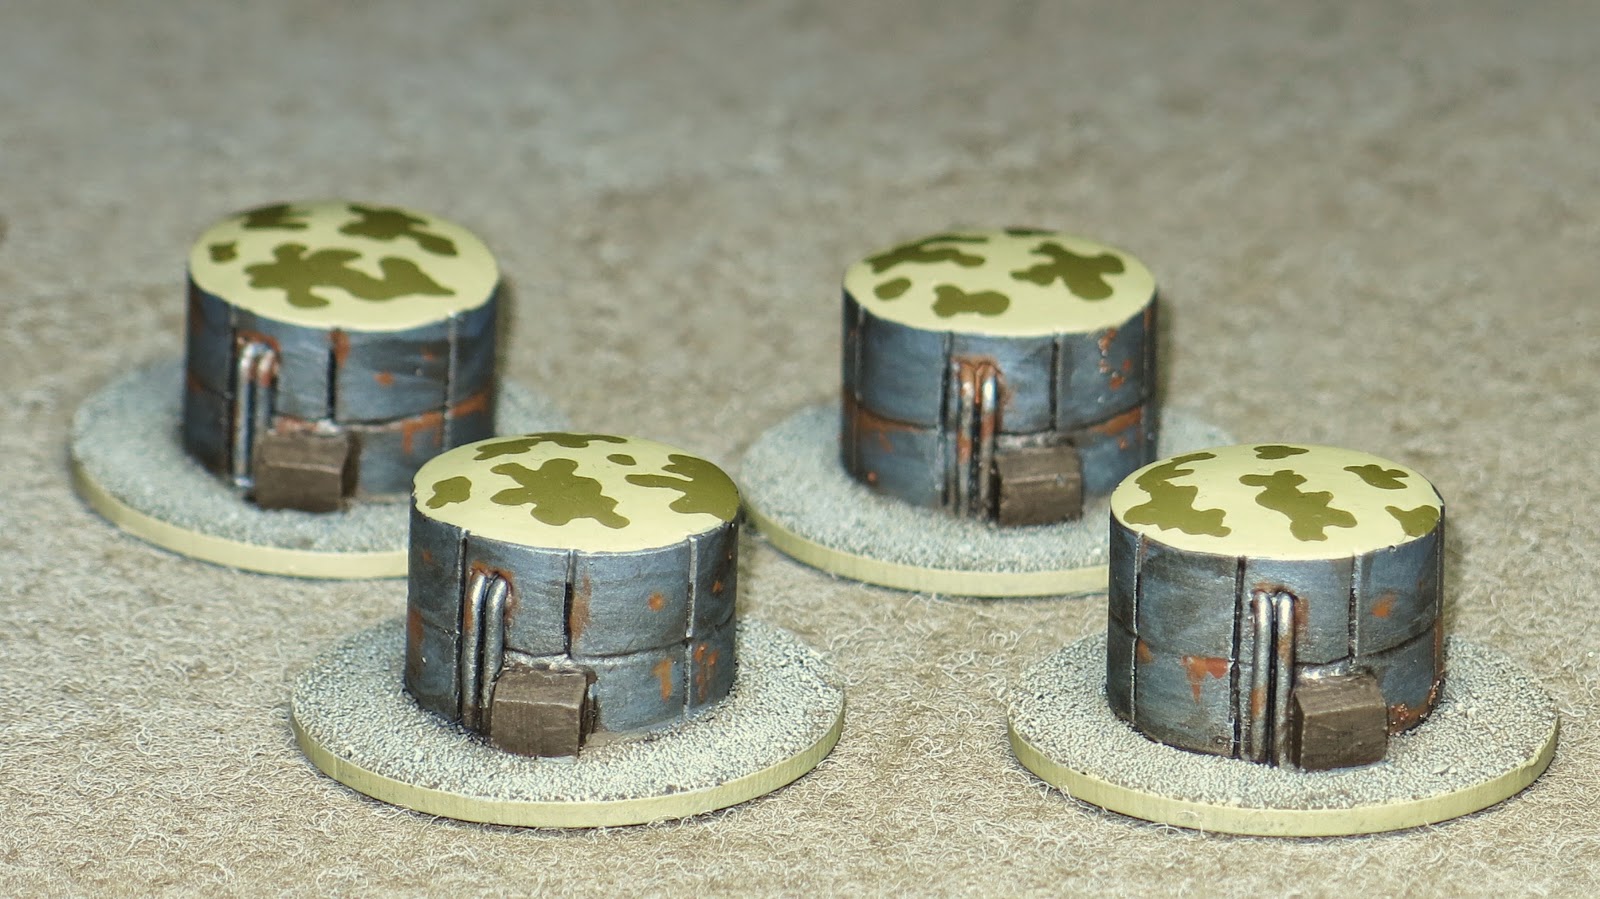
Oil Storage Tank Farm

One more small set of models completed for my Desert Raiders project. These Oil Storage Tanks are from Leven Miniatures and are perfect for my Desert Airfield or as part of a supply depot. Basically they have 'Target' written all over them! I expect to see these in flames pretty quickly once the LRDG/SAS get into action.

Having spent the last decade working on an oil terminal I have seen my fair share of old and rusty storage tanks, although to be fair most modern tanks are in much better condition than these examples. Many of the period pictures I have found seem to show storage tanks unpainted, rusting and showing clear signs of leakage (its enough to make a HSE inspector faint!).


As with all my models I have used Vallejo paints on these, with the usual varnish combo of Citadel Purity Seal and Testors Dullcote. 

Wednesday 19 November 2014

Battle of Yellow Field - AWI

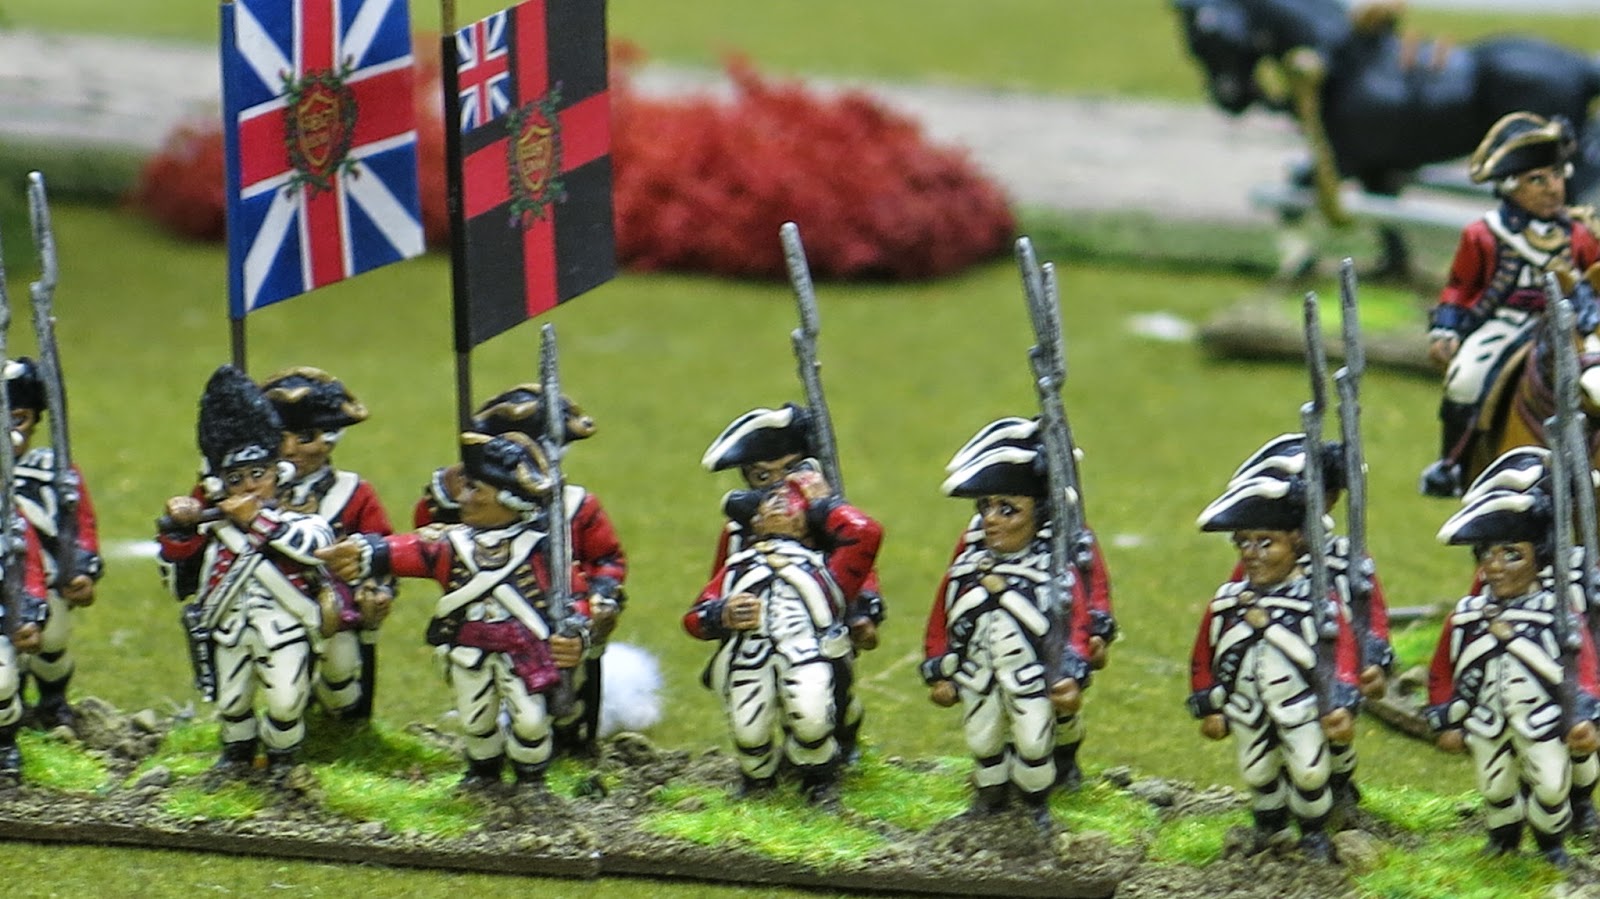
The Rejects gathered at the weekend for an American War of Independence game that proved to be an interesting challenge for both sides. My first week in my new job has been quite a learning curve (lots to learn and lots to do) and I needed this game to get my mind off the job for a few hours. The game was fought using 28mm figures from Posties excellent and staggeringly large collection.

Setup
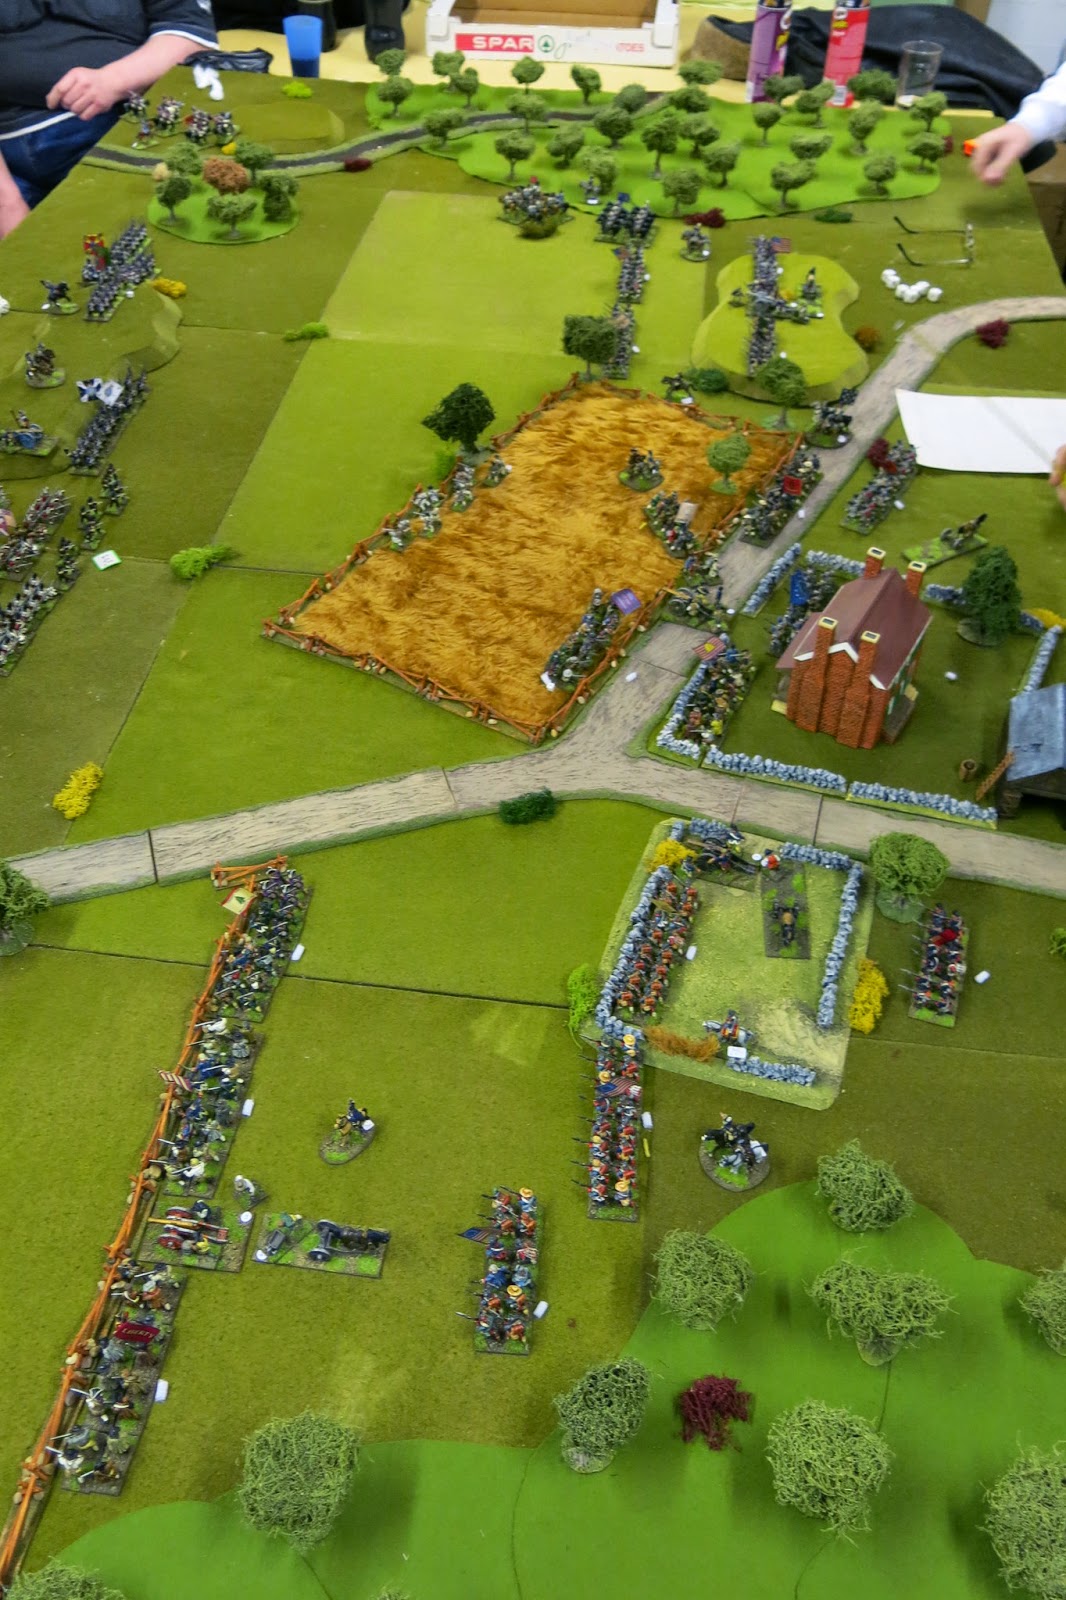
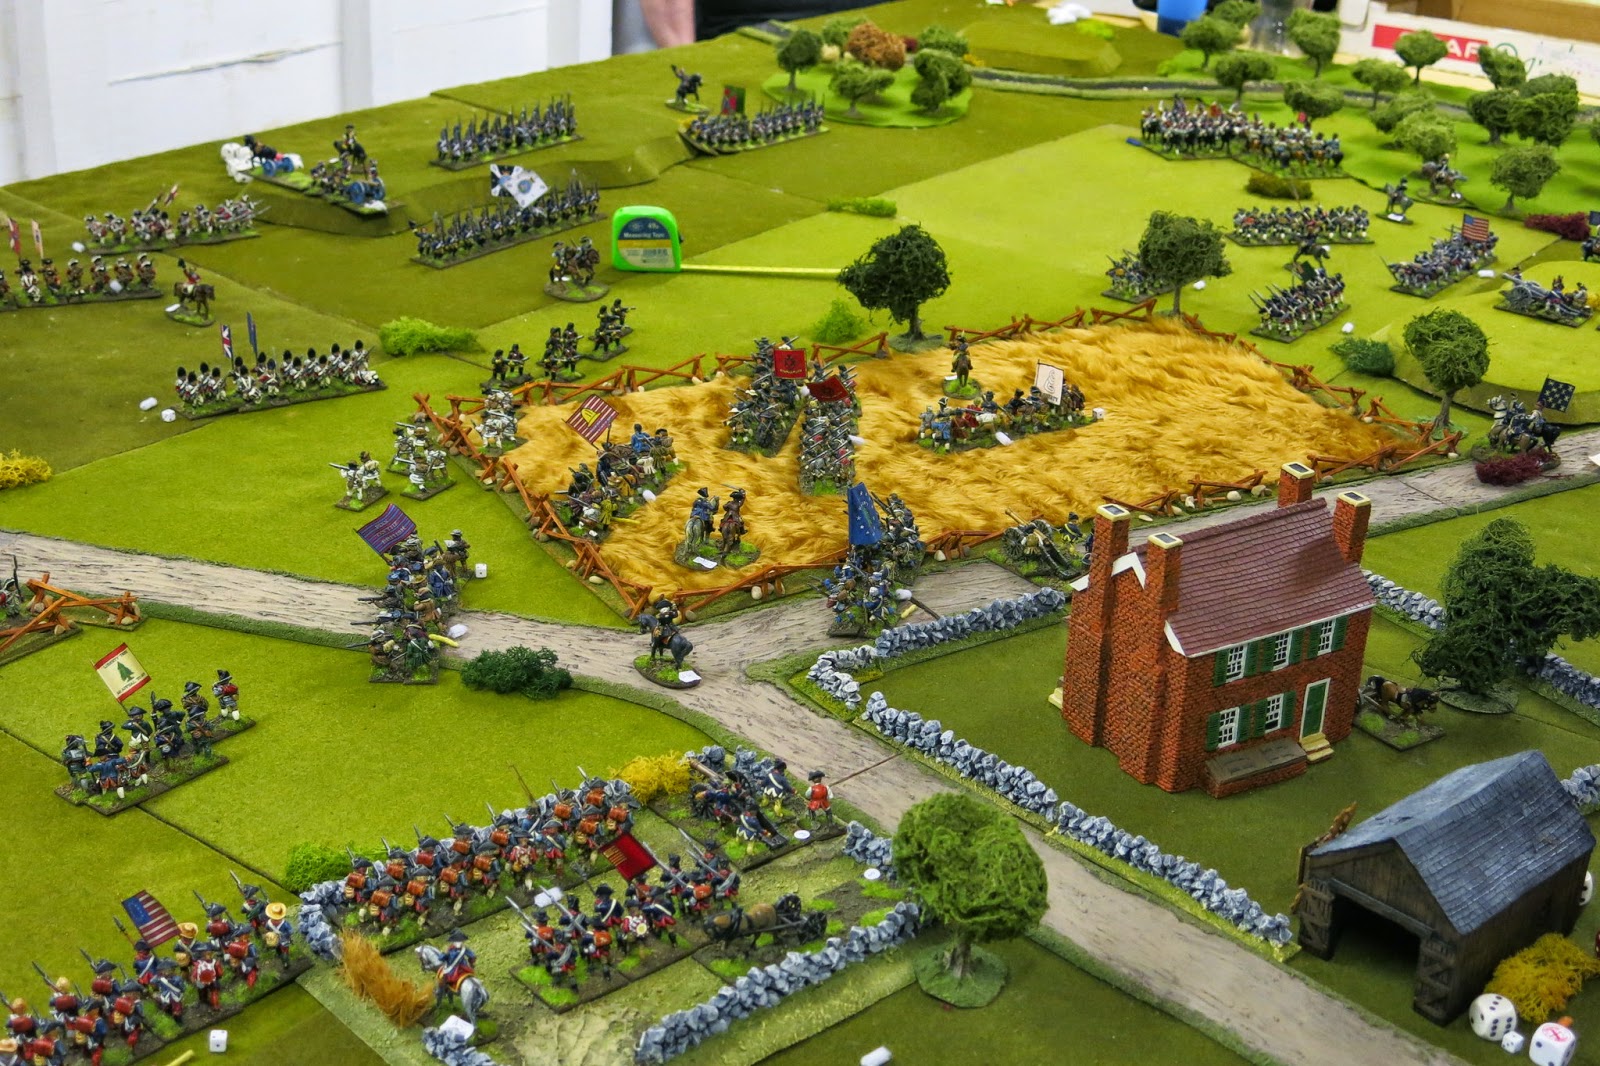
A British force is facing off against a larger American army but one that has a significant Militia element to it. The Americans start the game in good positions centred on a fenced wheat field and adjacent walled farm. The British have a lot of open ground to cover and are hemmed in on both flanks by woods which only add to the strength of the American position. Myself, Ian and John were the American commanders and we decided to adopt a defensive posture and let the British try to break our lines. 

The Action
Initial deployment was dictated by Postie as always, but it was clear (to some of us) that we had a very good position.

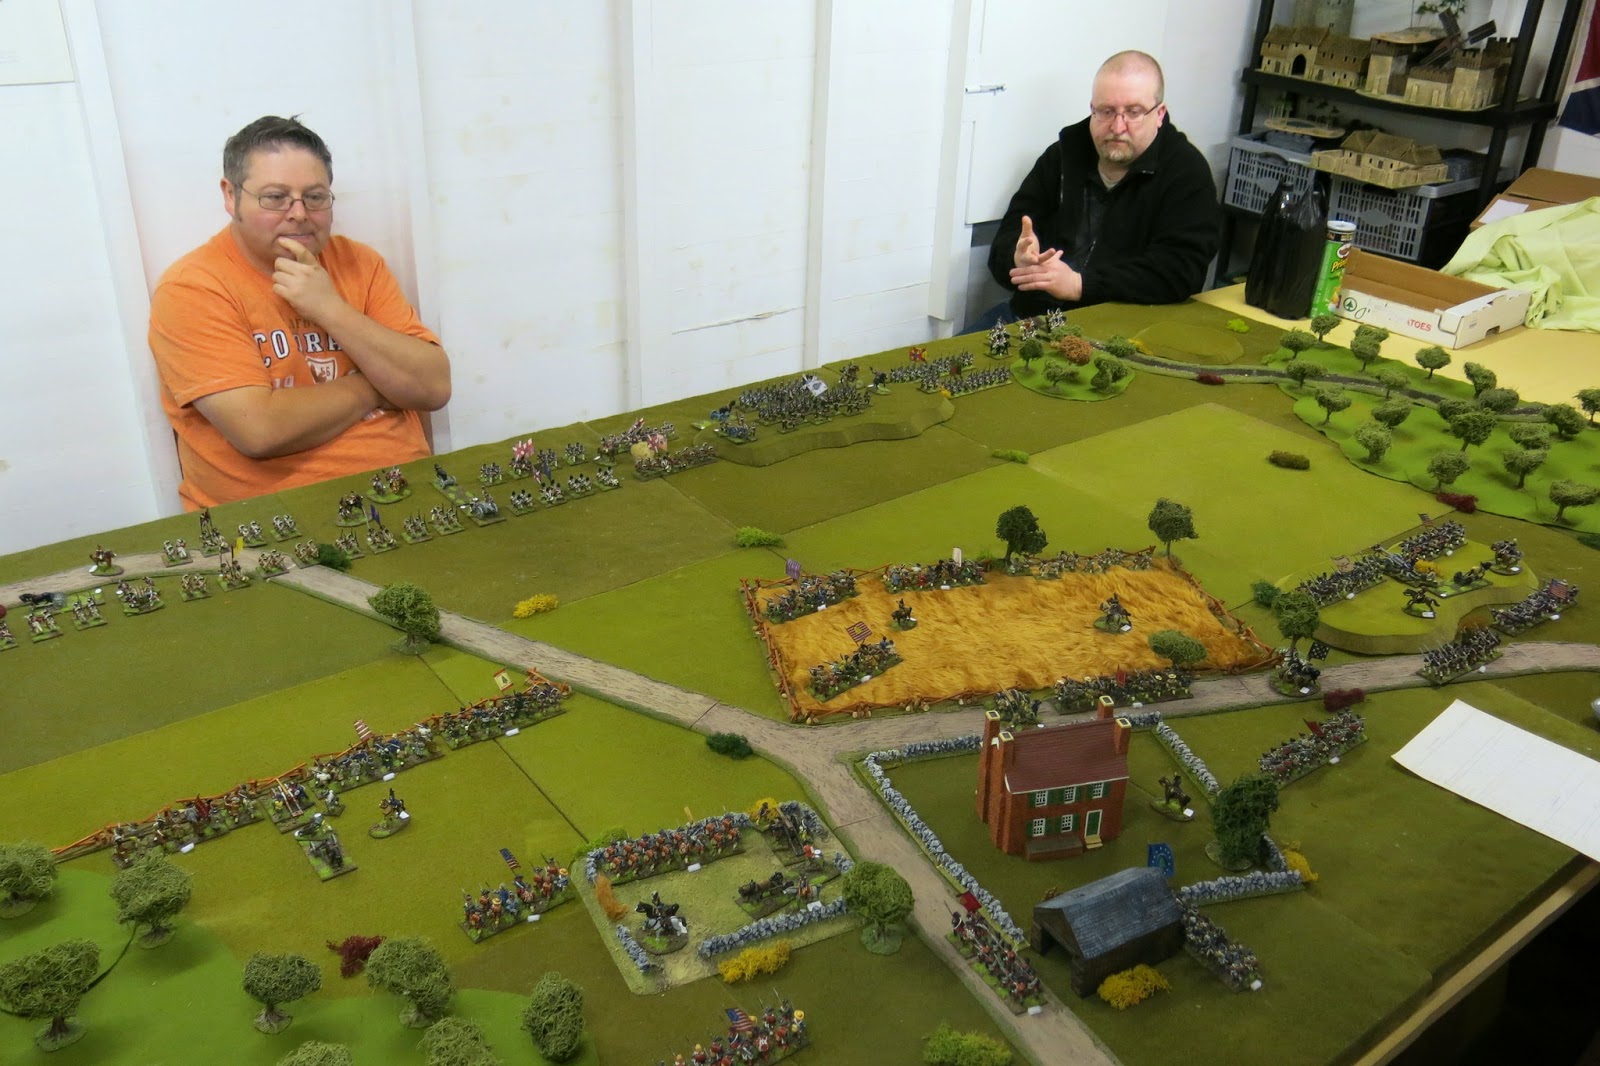
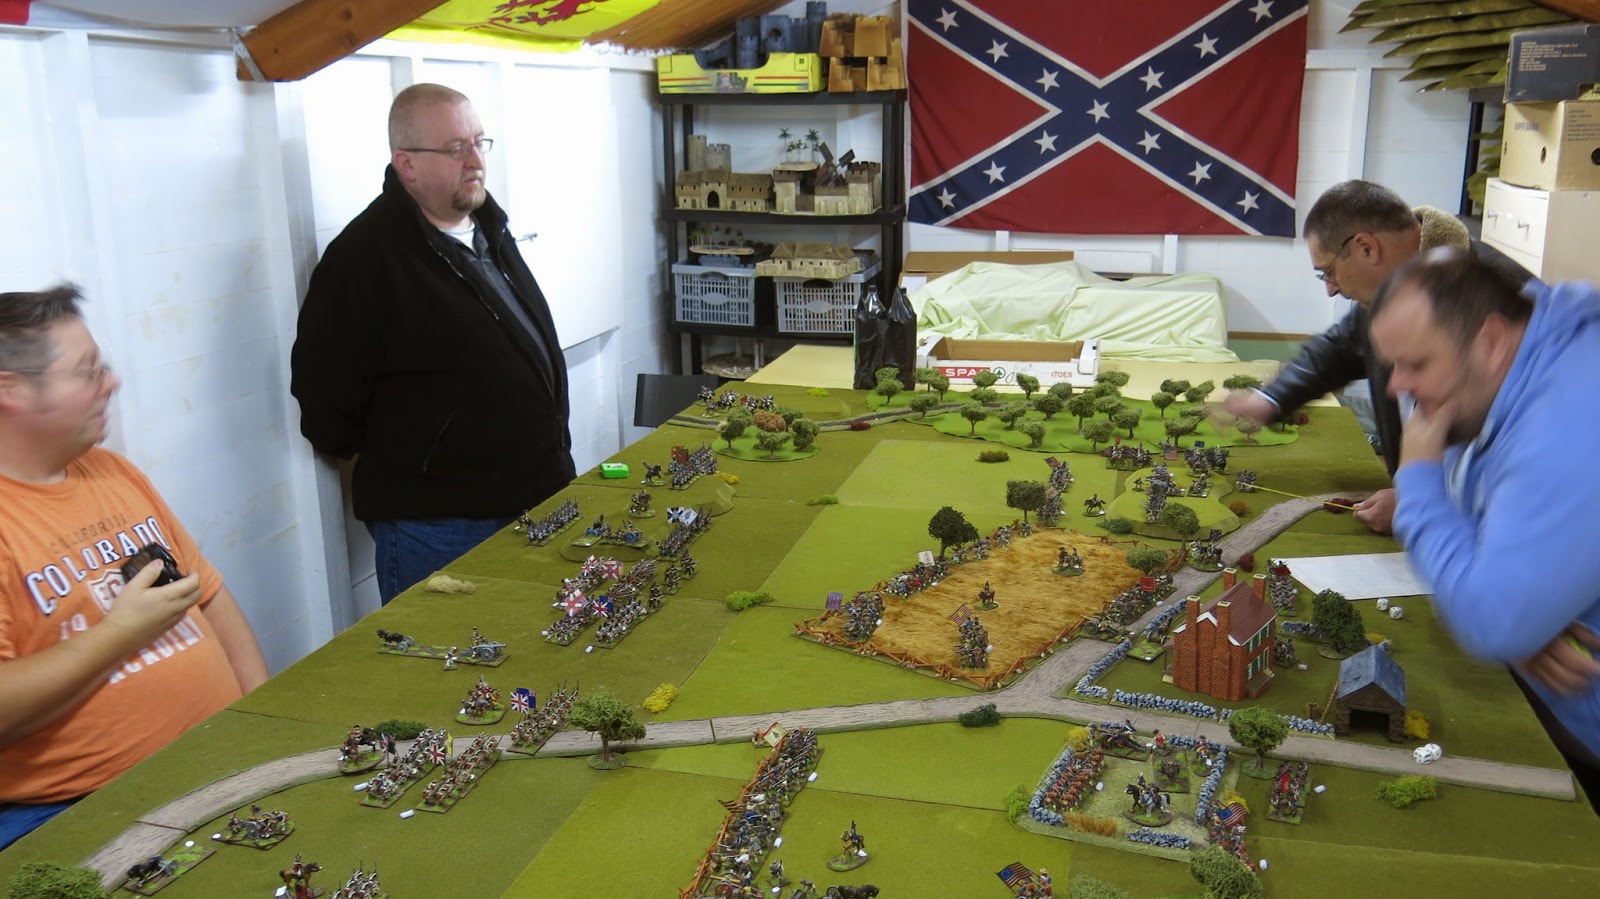
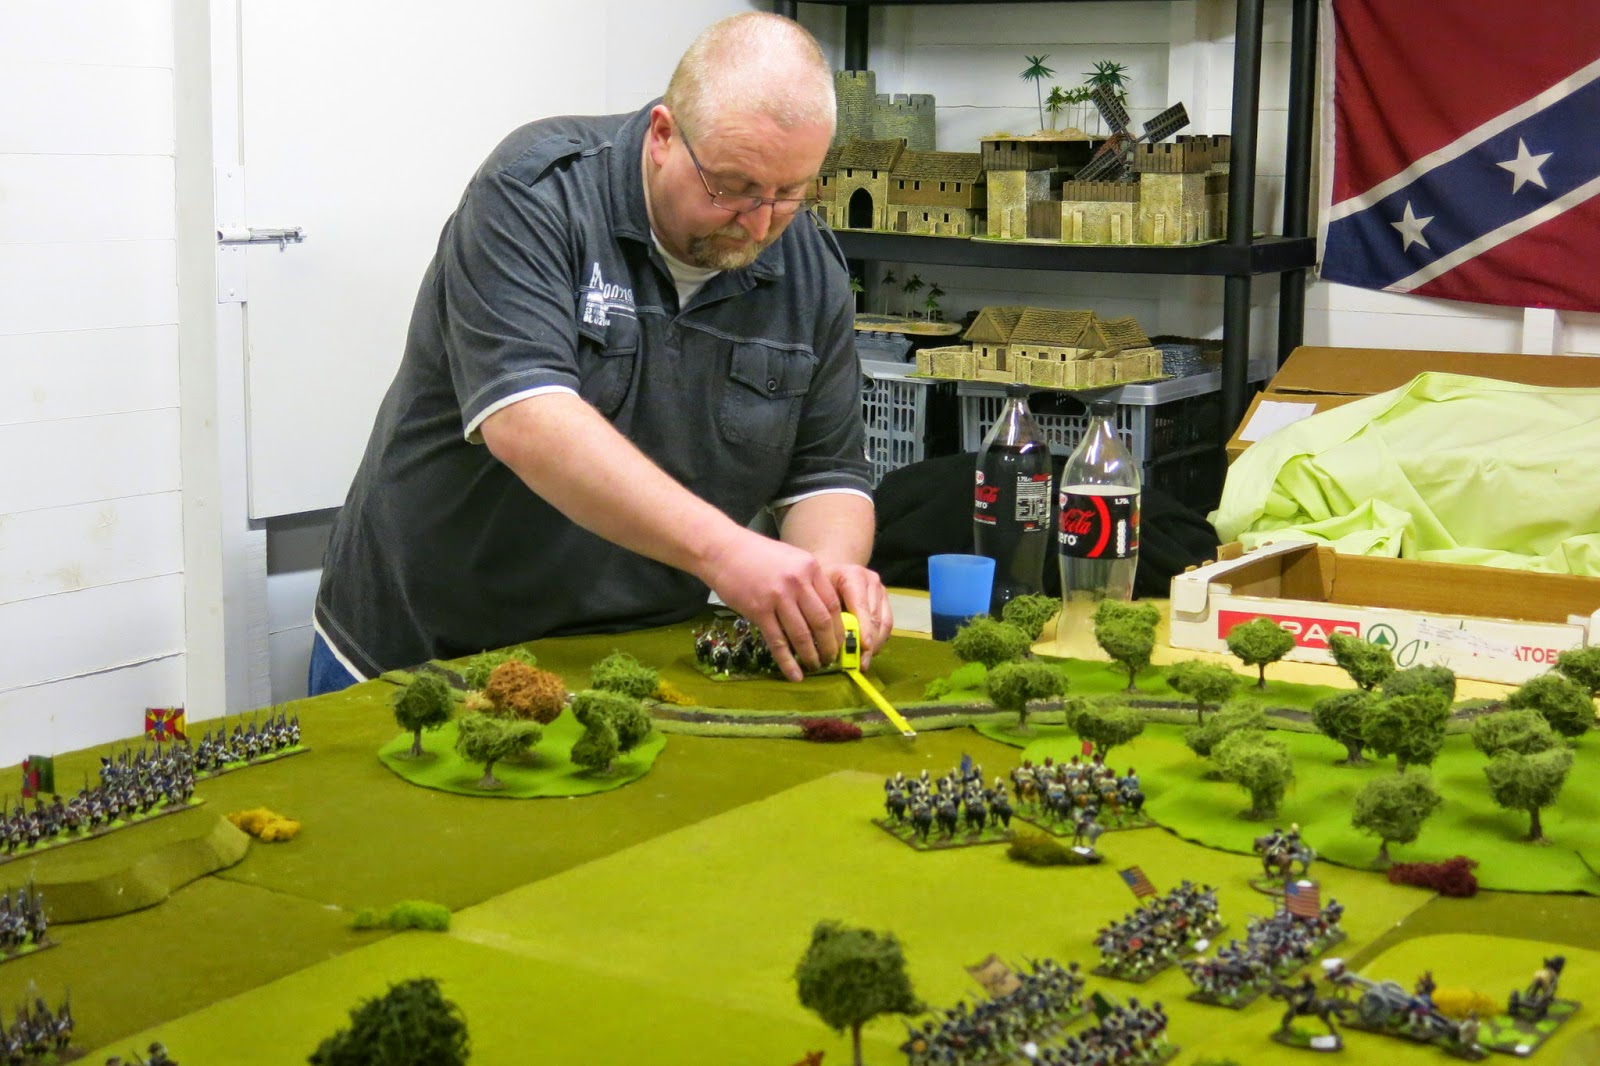
Fran and Ray ponder their challenge. Ray's optimism can be clearly seen in this picture.

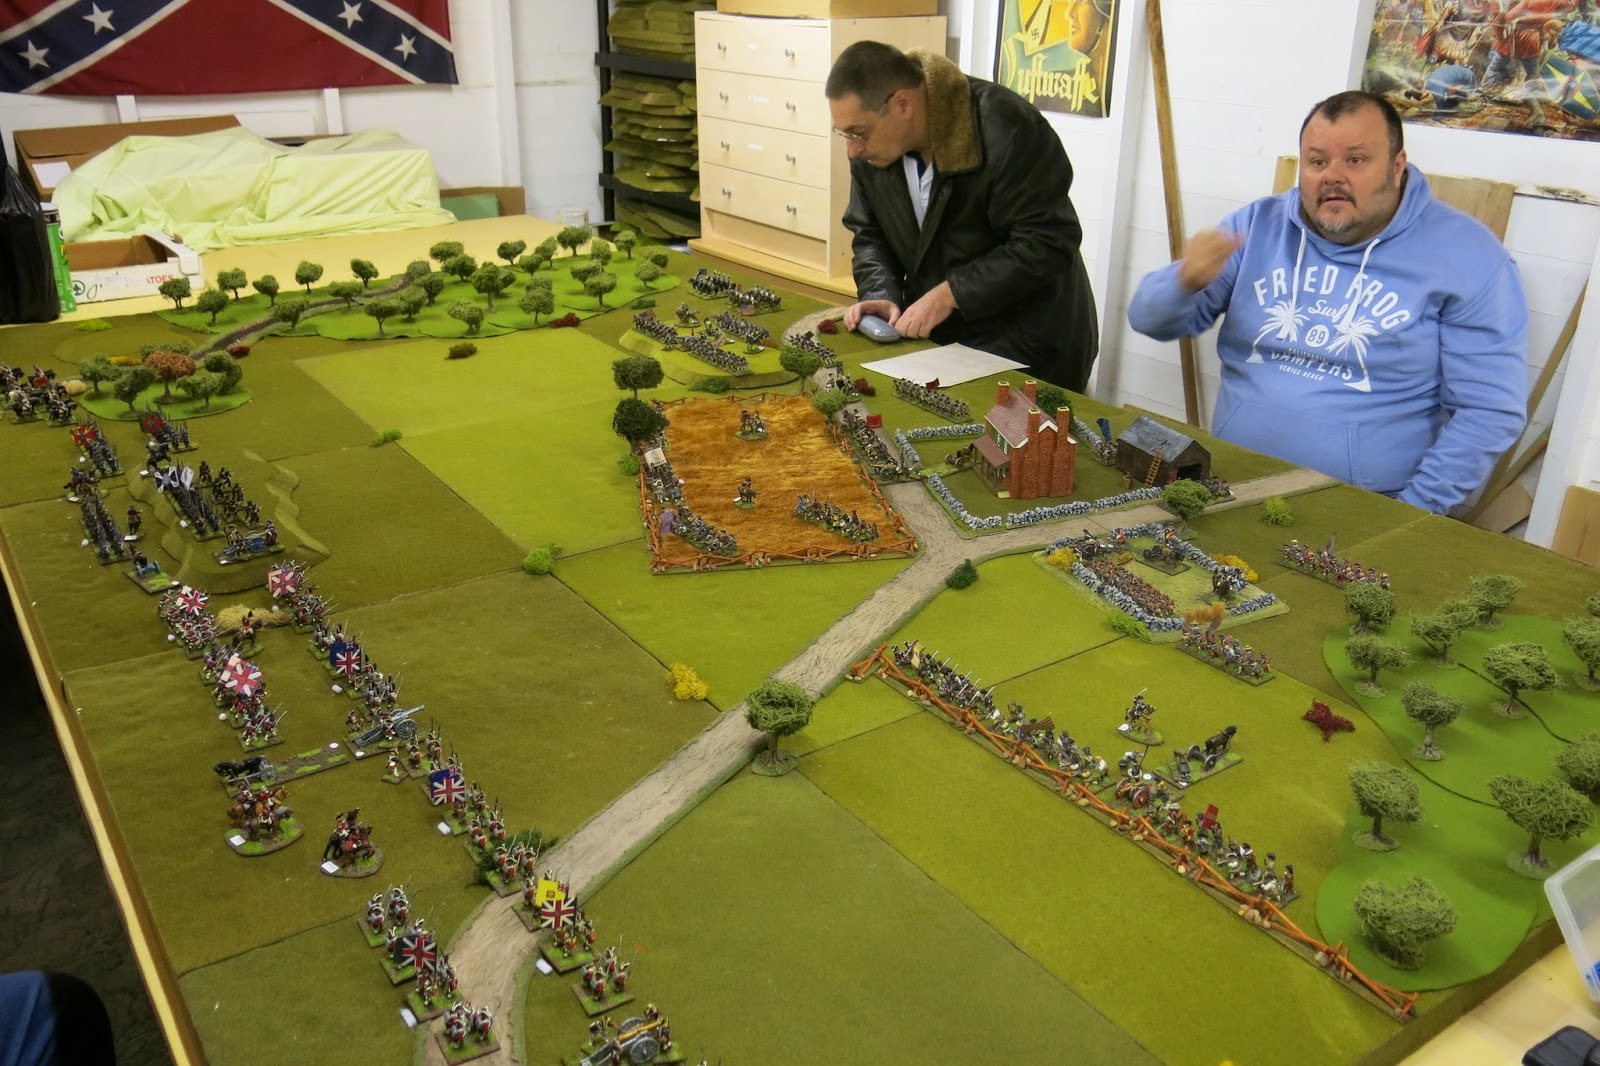
Facing the British are John, Ian and myself.

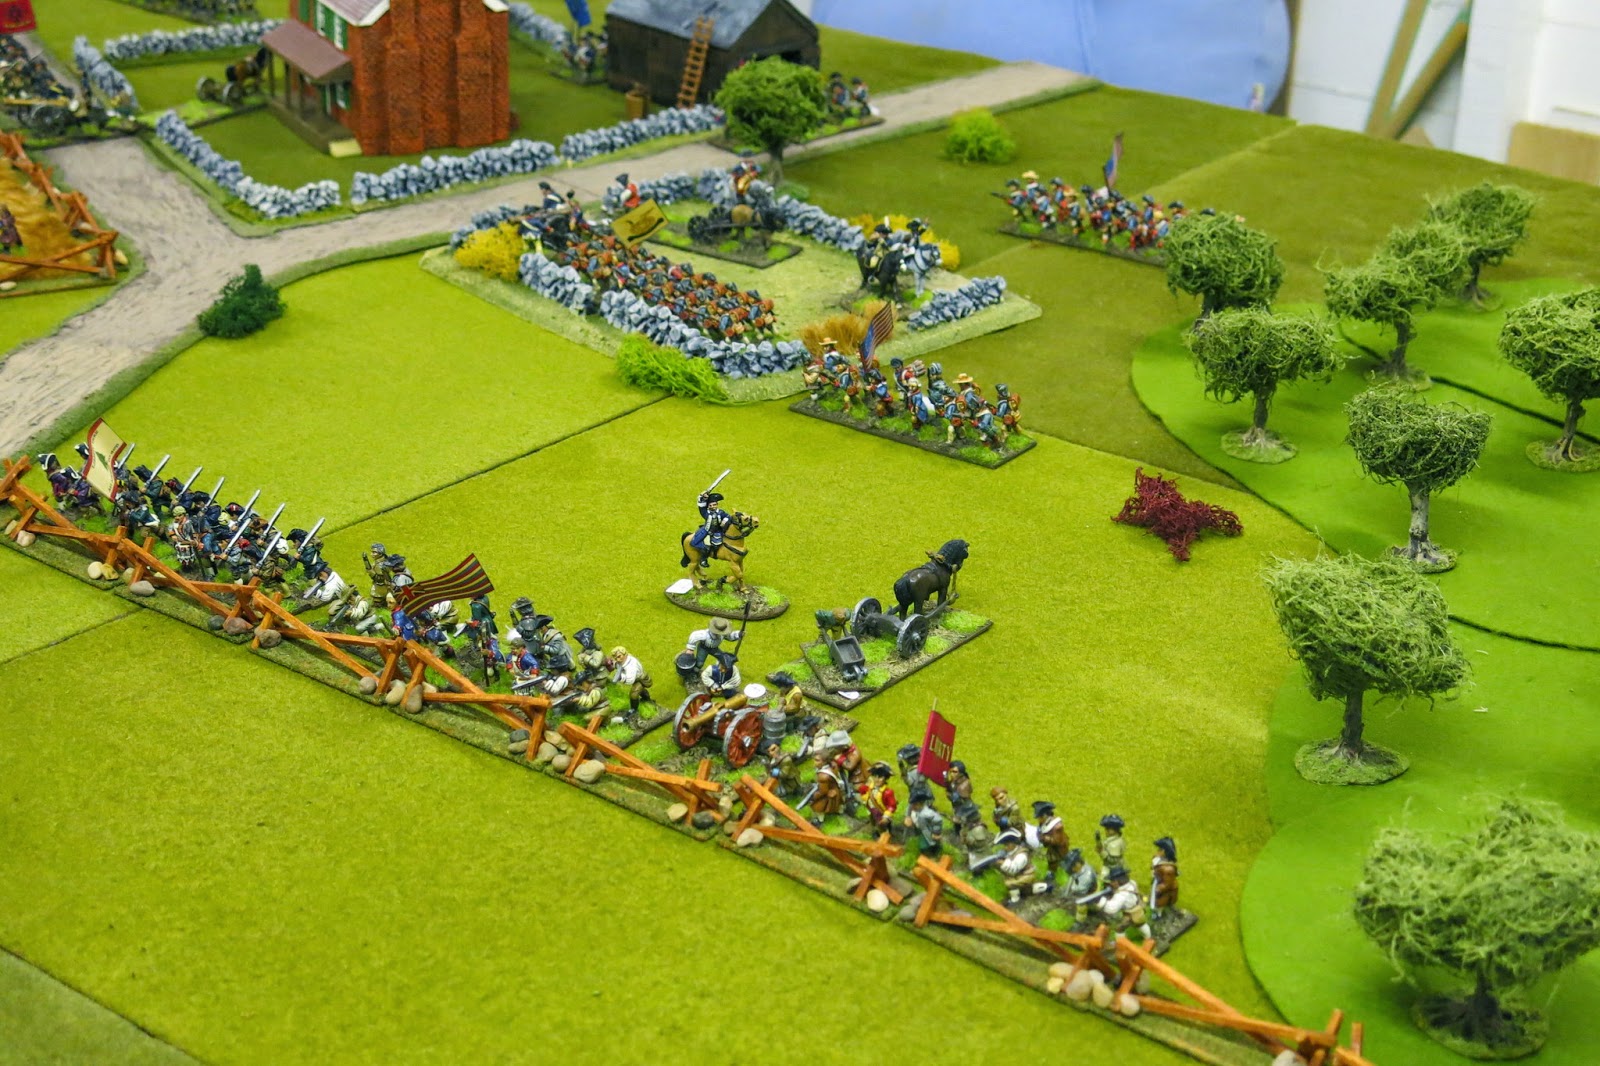
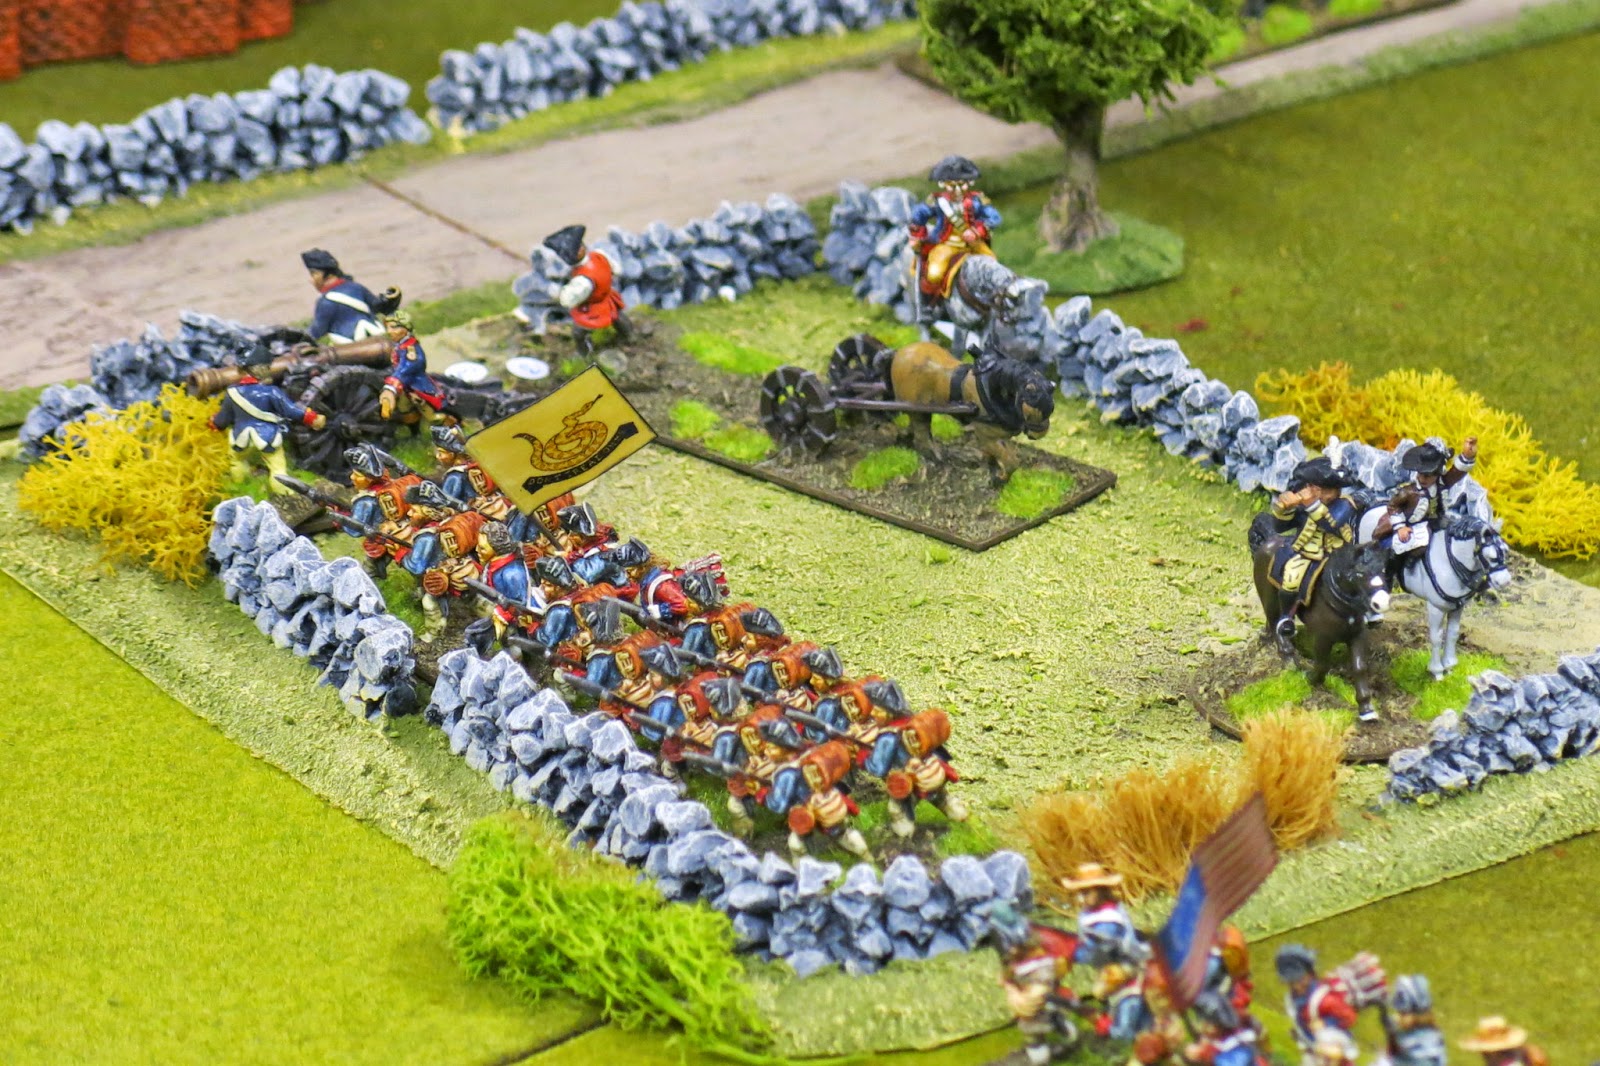
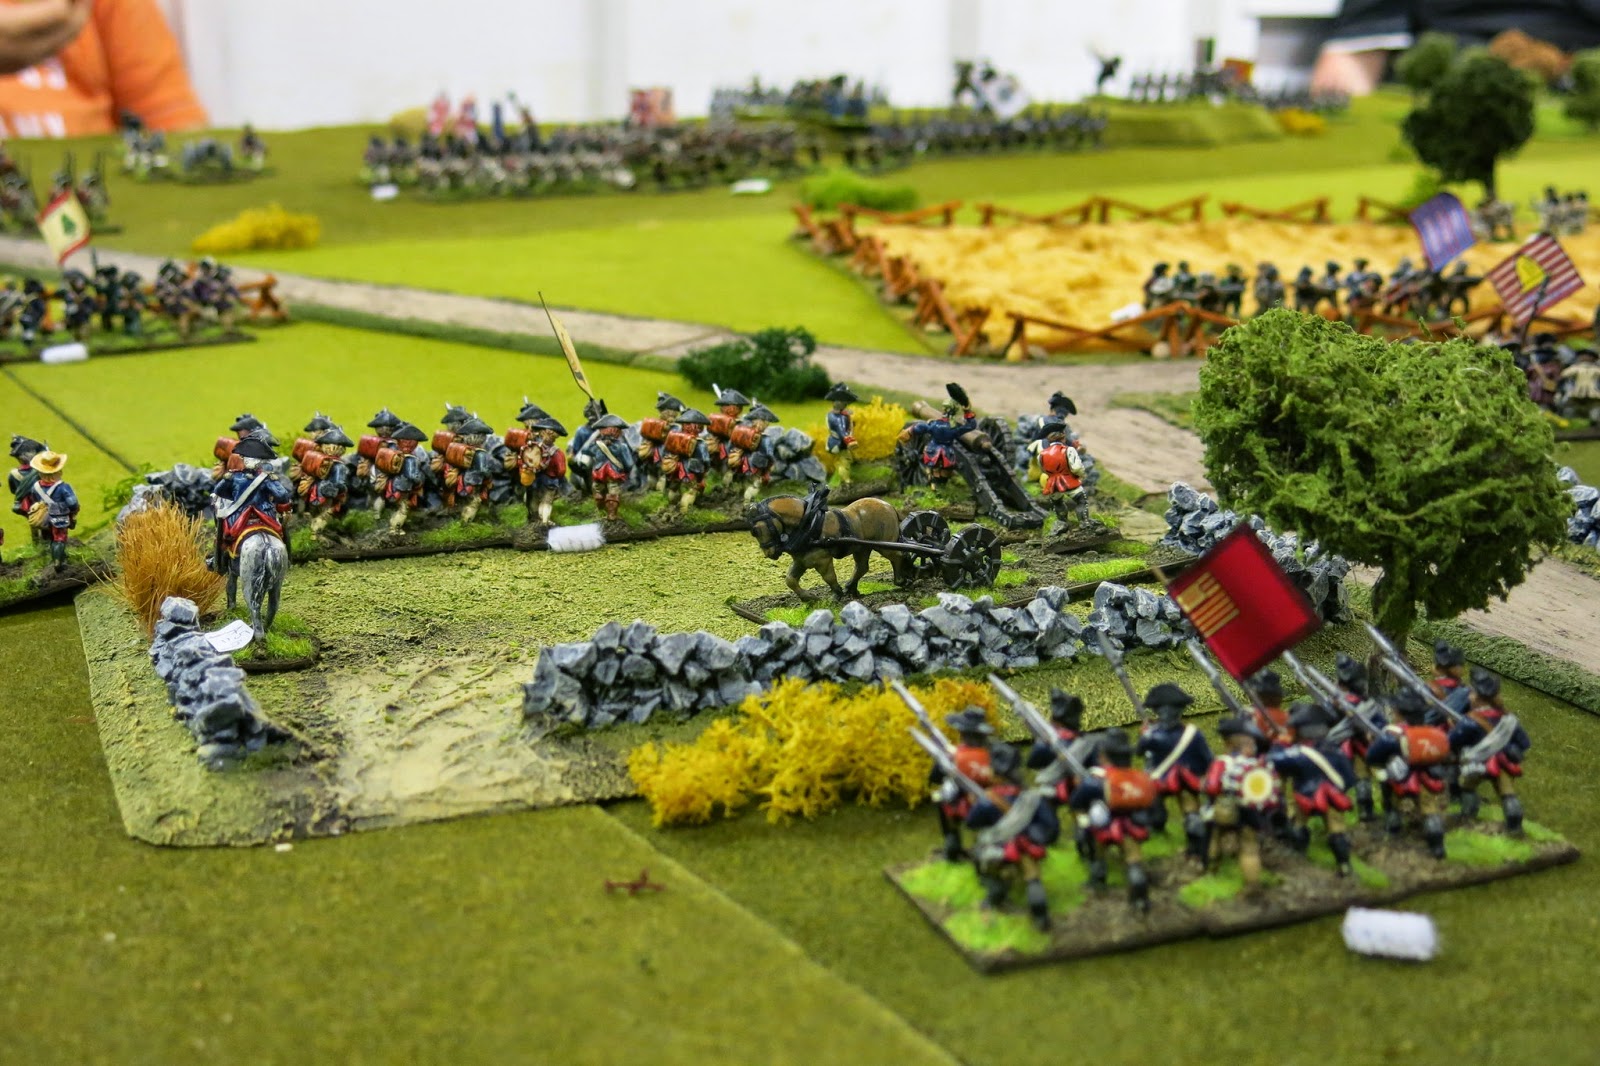
My position was pretty good. Militia out front in soft cover, with a second line of Trained troops in hard cover and another unit in reserve.

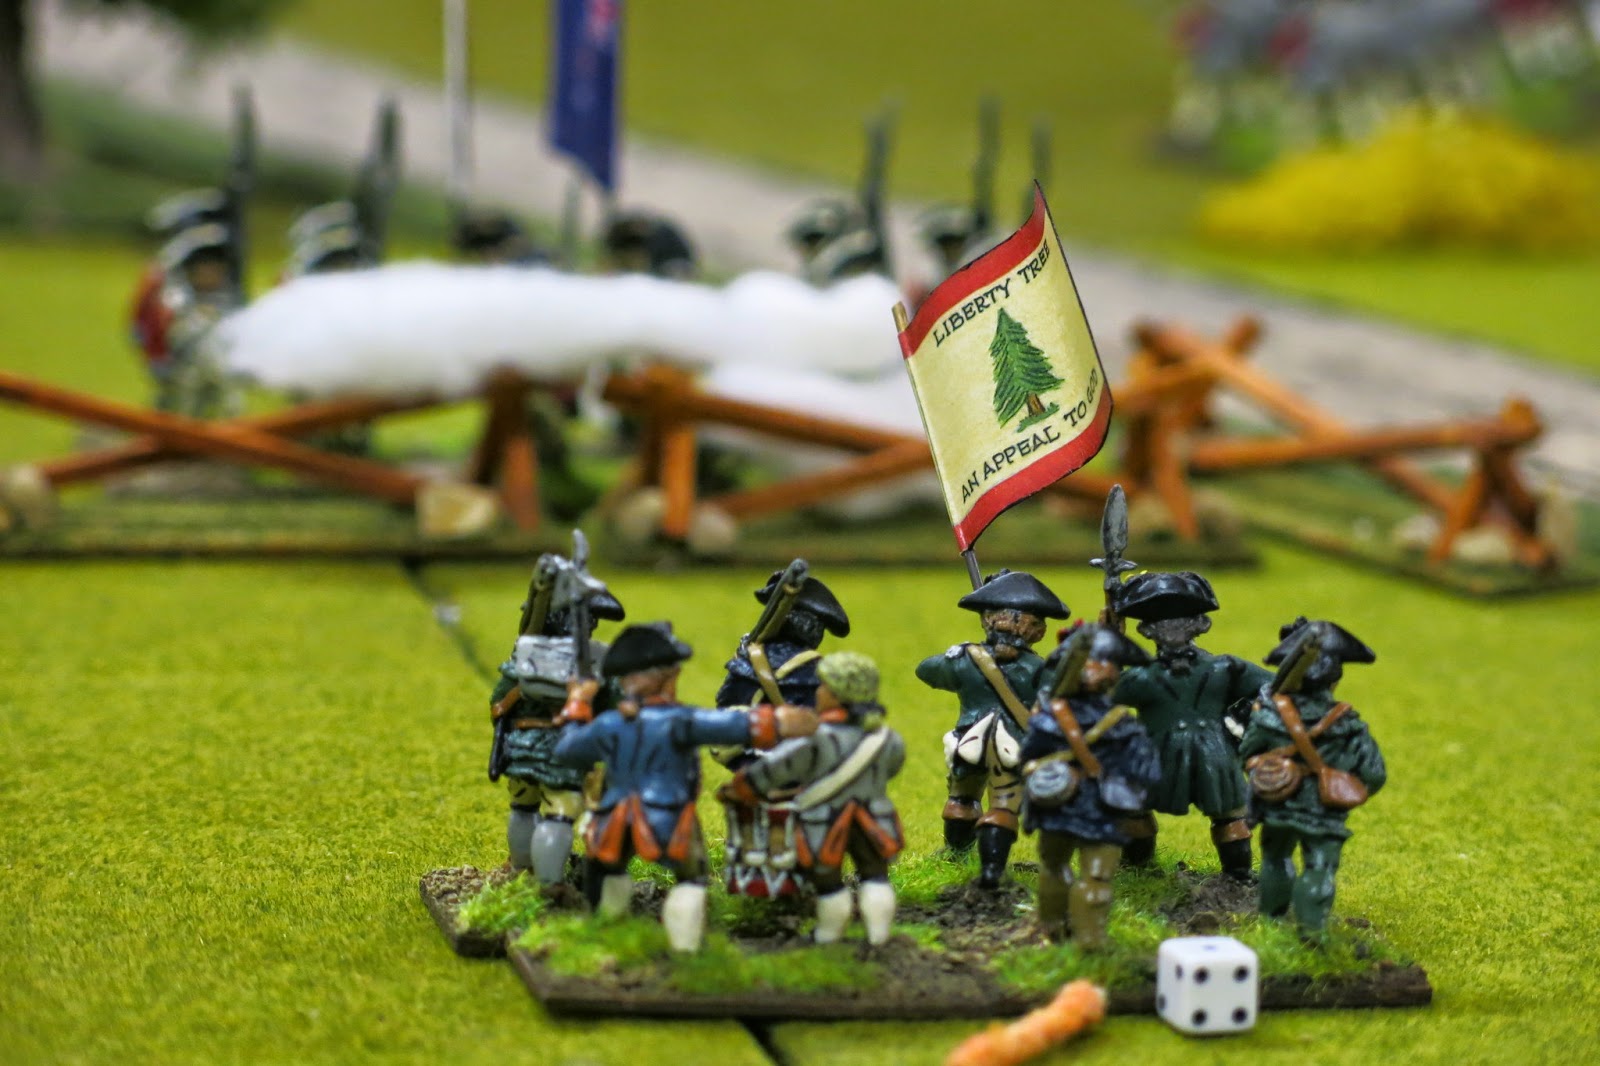
Trained troops in hard cover.

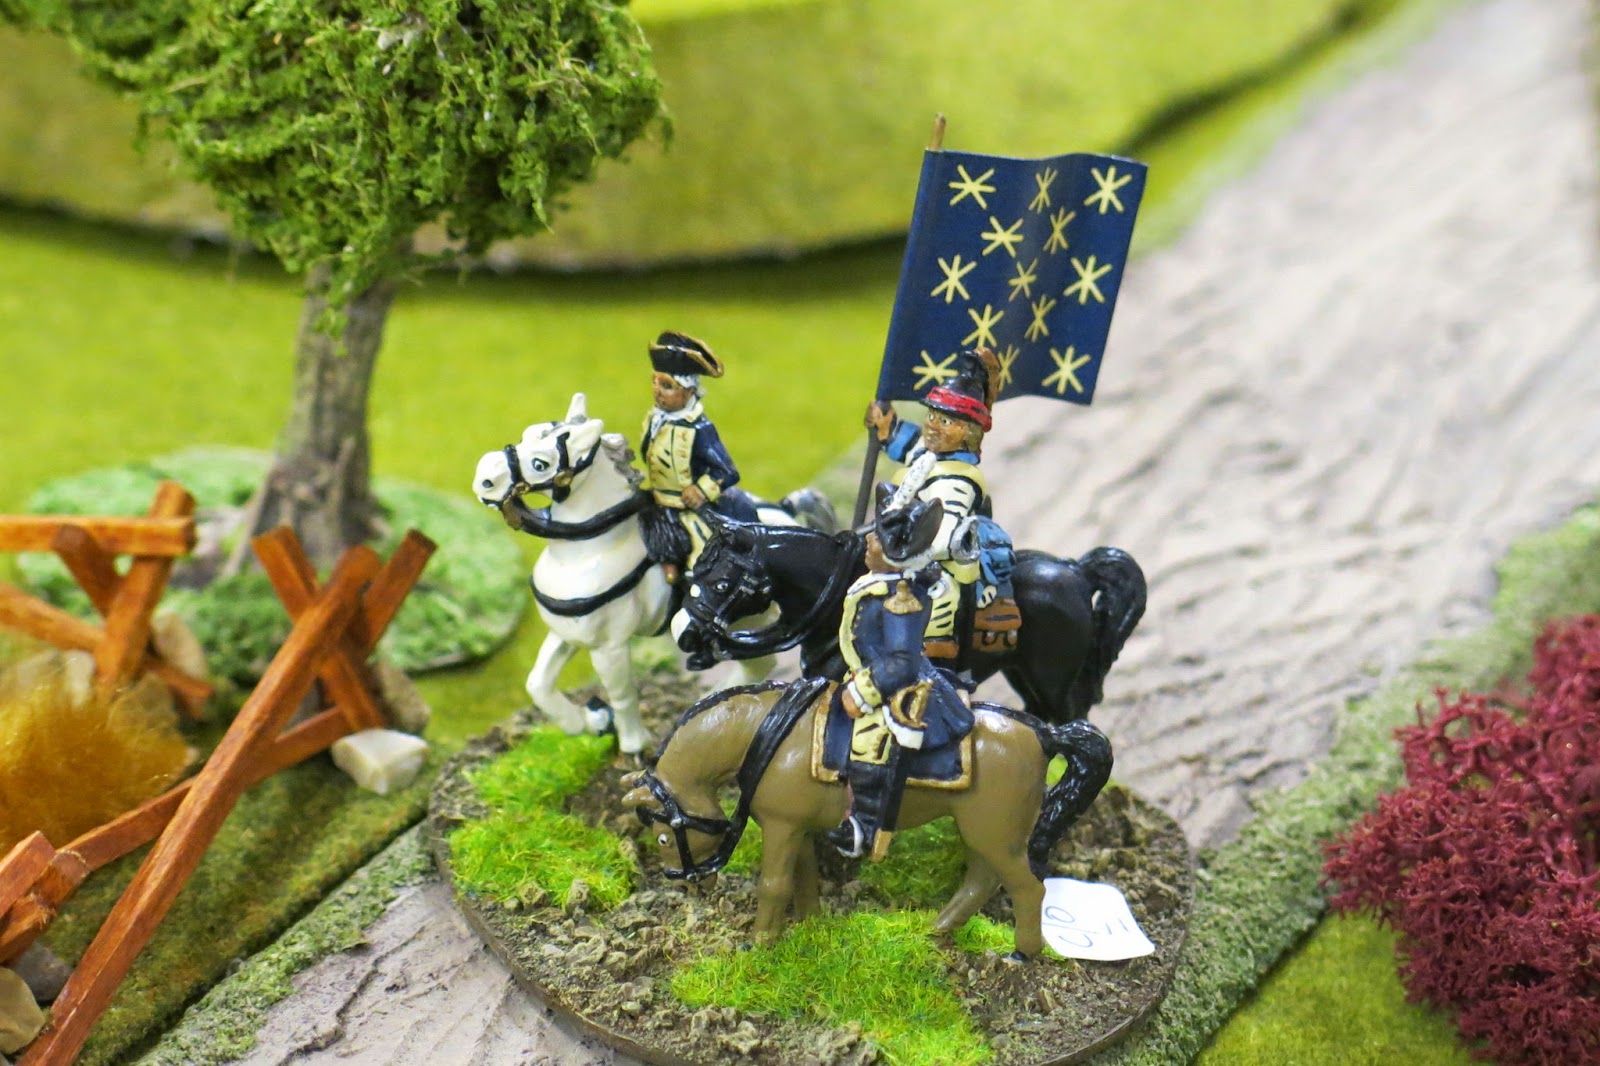
George Washington prepares to make his first move.

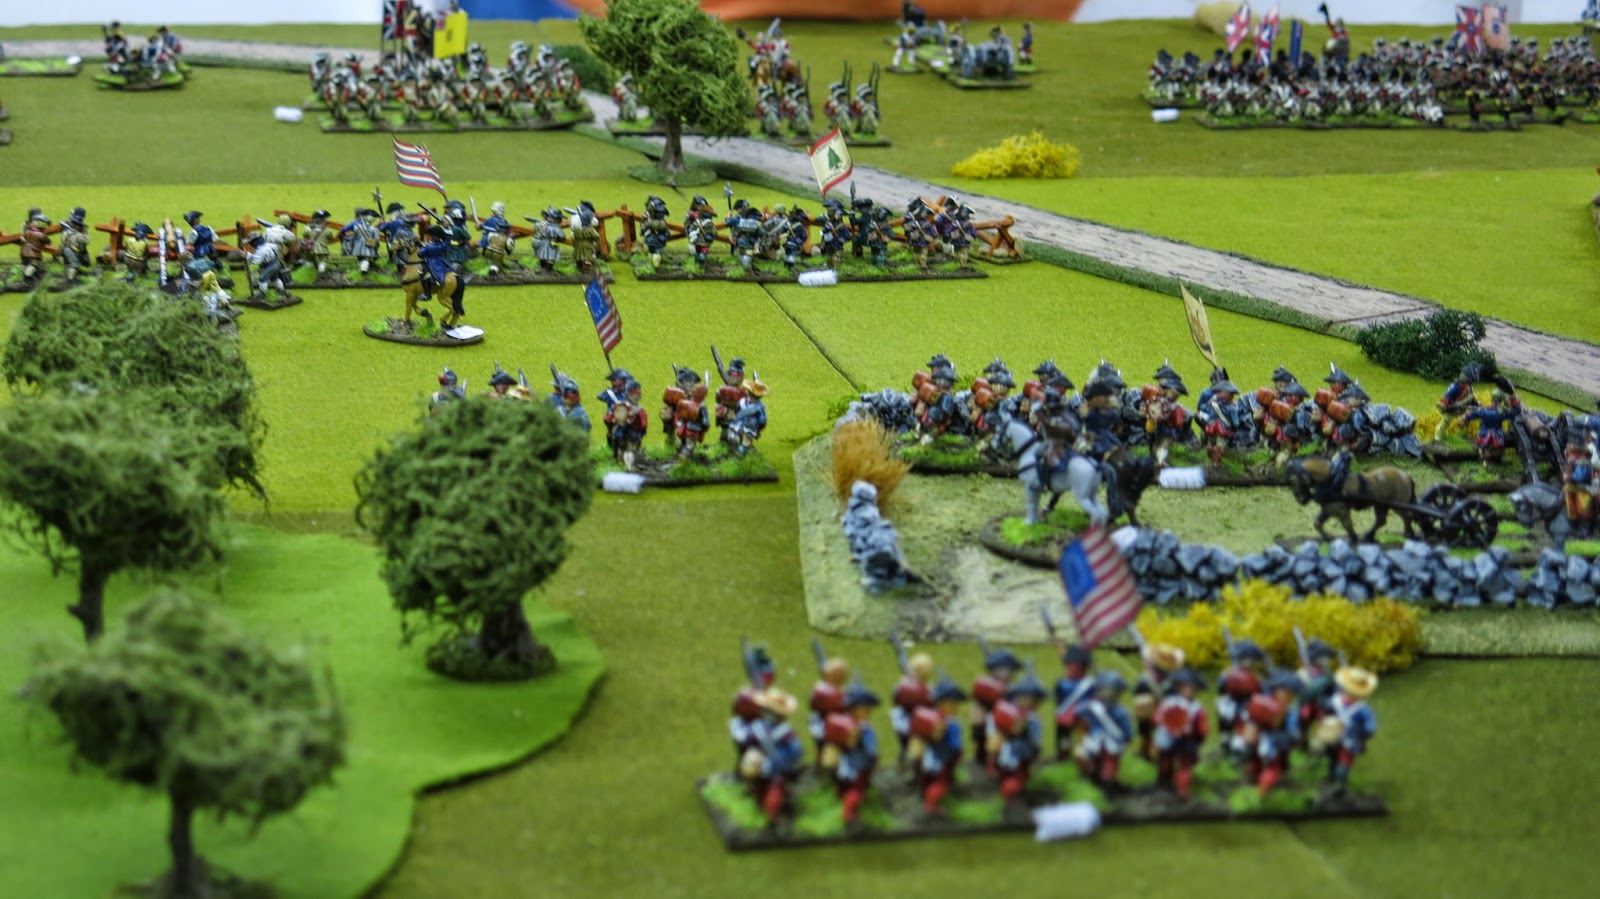
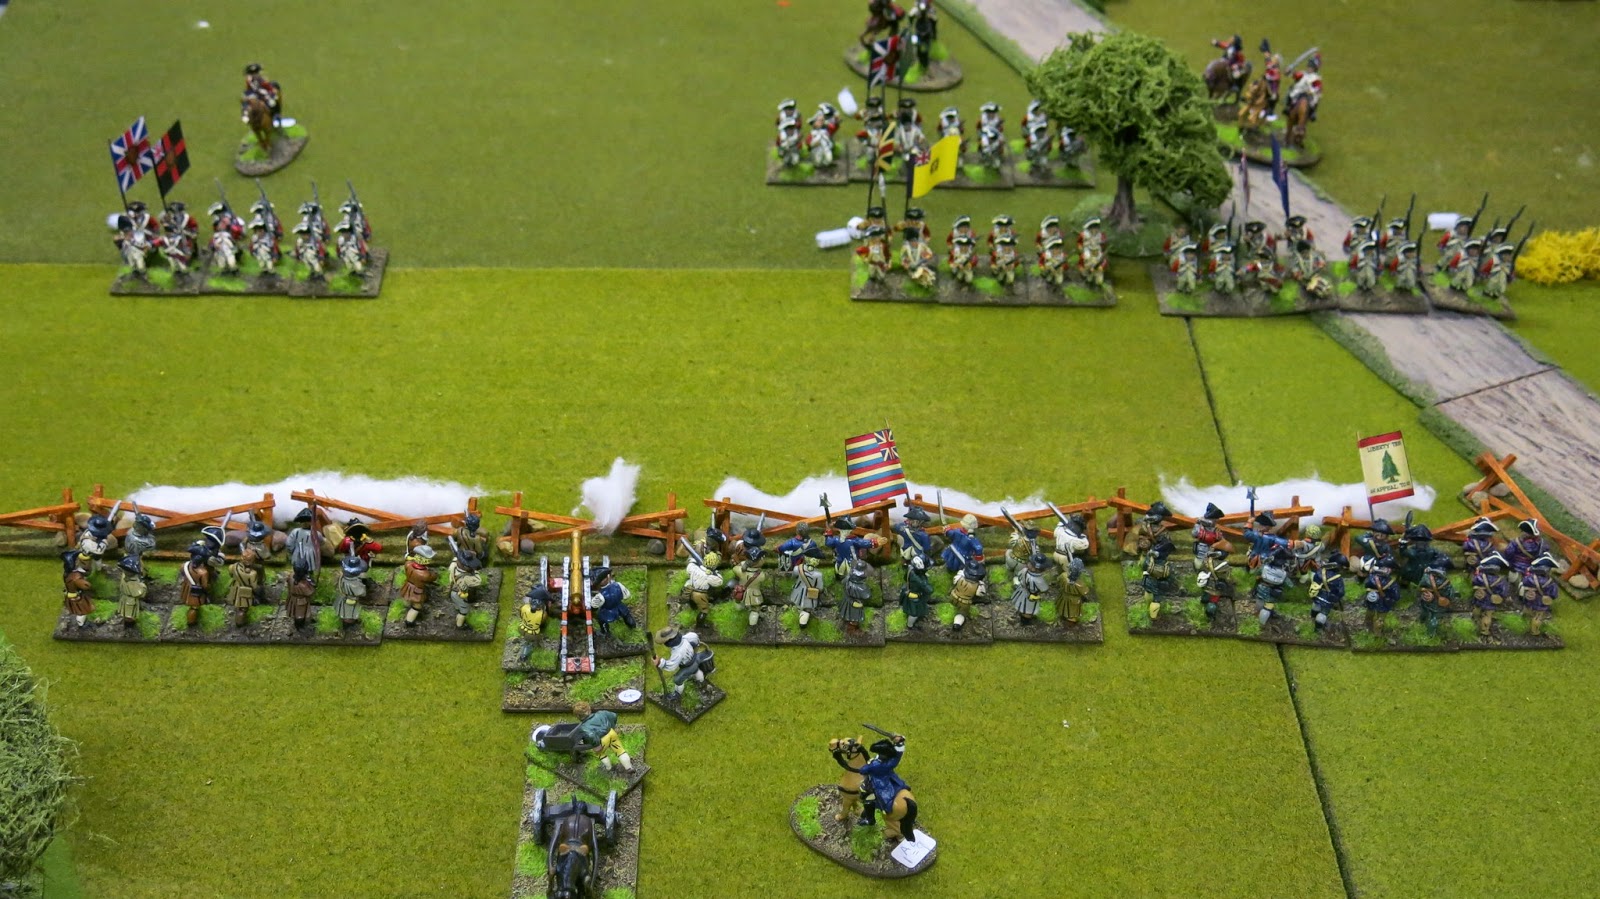
Looking across my three lines of defence at the British.

To my right (background in this picture) are Ian's troops similarly deployed in two lines with Militia out front in soft cover.

Ian ponders his first moves while the rest of the Americans prepare for a defensive battle.

The British begin to advance

I move my reserve units into position and begin to exchange gunfire with the British. 

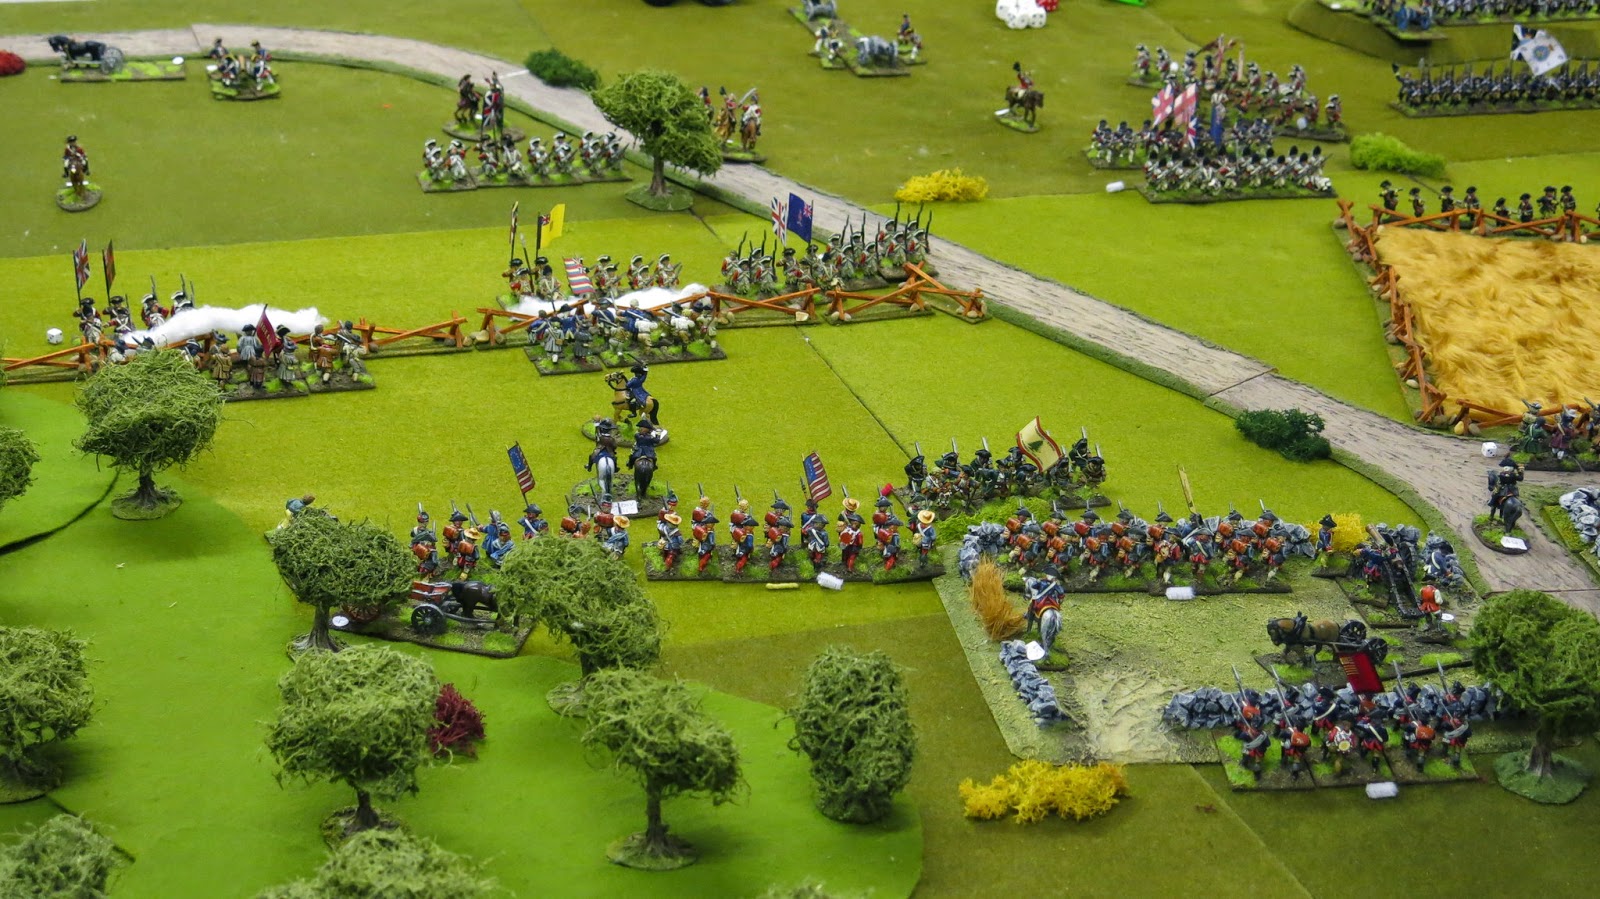
The British advance, the strongest units are facing me and it is soon clear that my militia will have a tough fight ahead of them.

Meanwhile Ian (on my right - Top in this picture) moves his militia back from their forward positions for some unexplained reason. Our opponents cried foul of his 'eccentric' and creative manoeuvring but I couldn't possibly comment!

My three lines of defence stand firm while Ian's troops vacate the yellow field without a shot being fired.

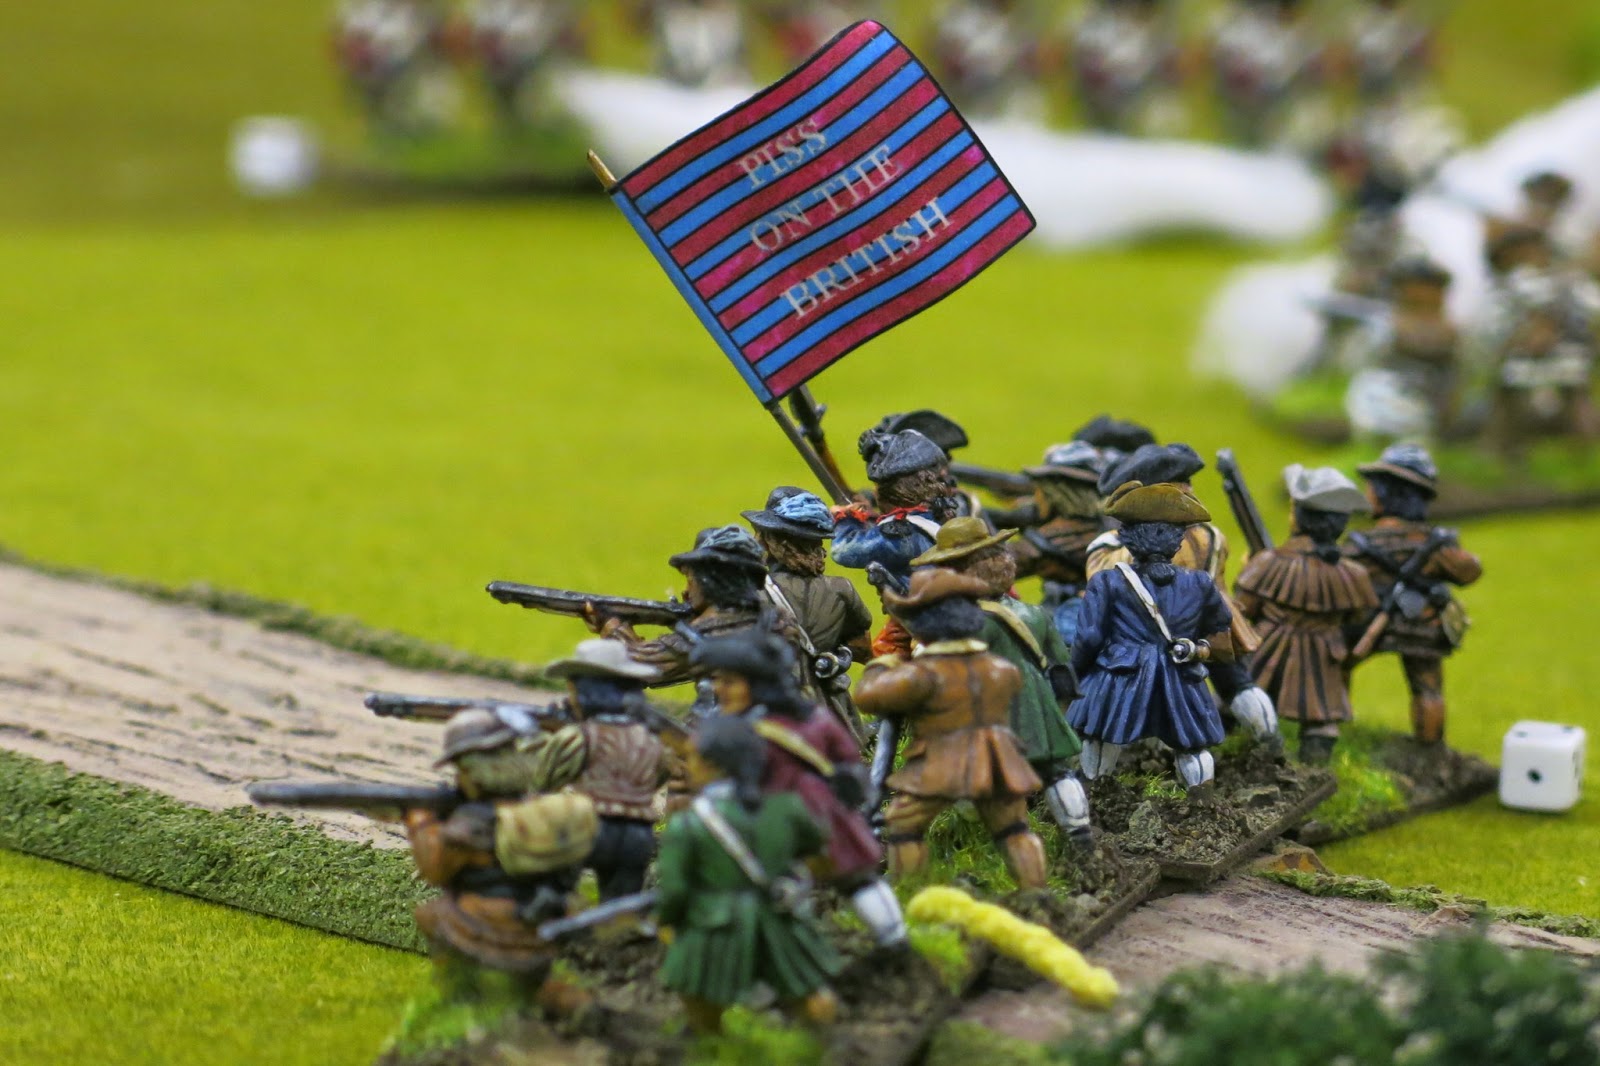
As the British advance within range my Militia unleash a devastating volley. I'm also able to fire canister into their ranks from my light gun and now the British advance looks a little less assured.

The British advance against my Militia is stalling under terrible casualties and Ray is already talking about throwing in the towel.

The British facing me press forward into melee. This initiates moral checks on each unit charged and I fully expect my Militia to fall back. Only one unit does and the remaining two inflict yet more casualties on the battered British.

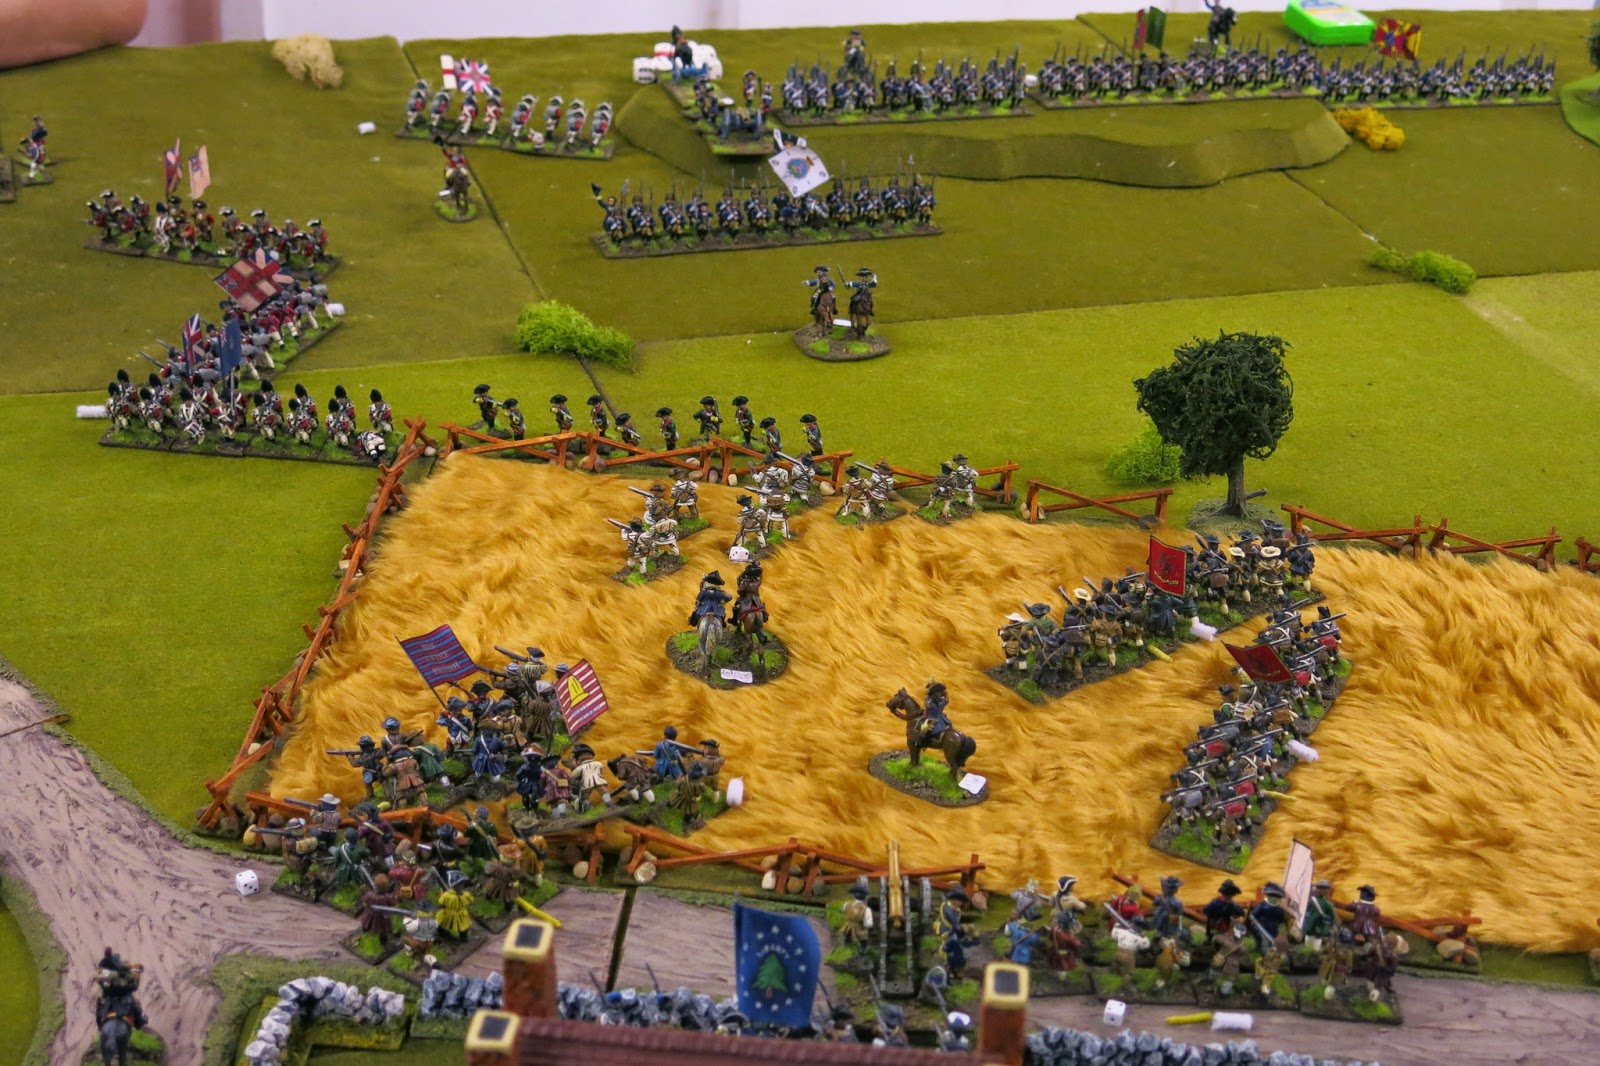
Meanwhile in the centre Ray's troops advance towards the Yellow Field and exchange musketry with Ian's militia. The guns on both sides exchange fire but the dice are American today and much of the damage inflicted is one sided.

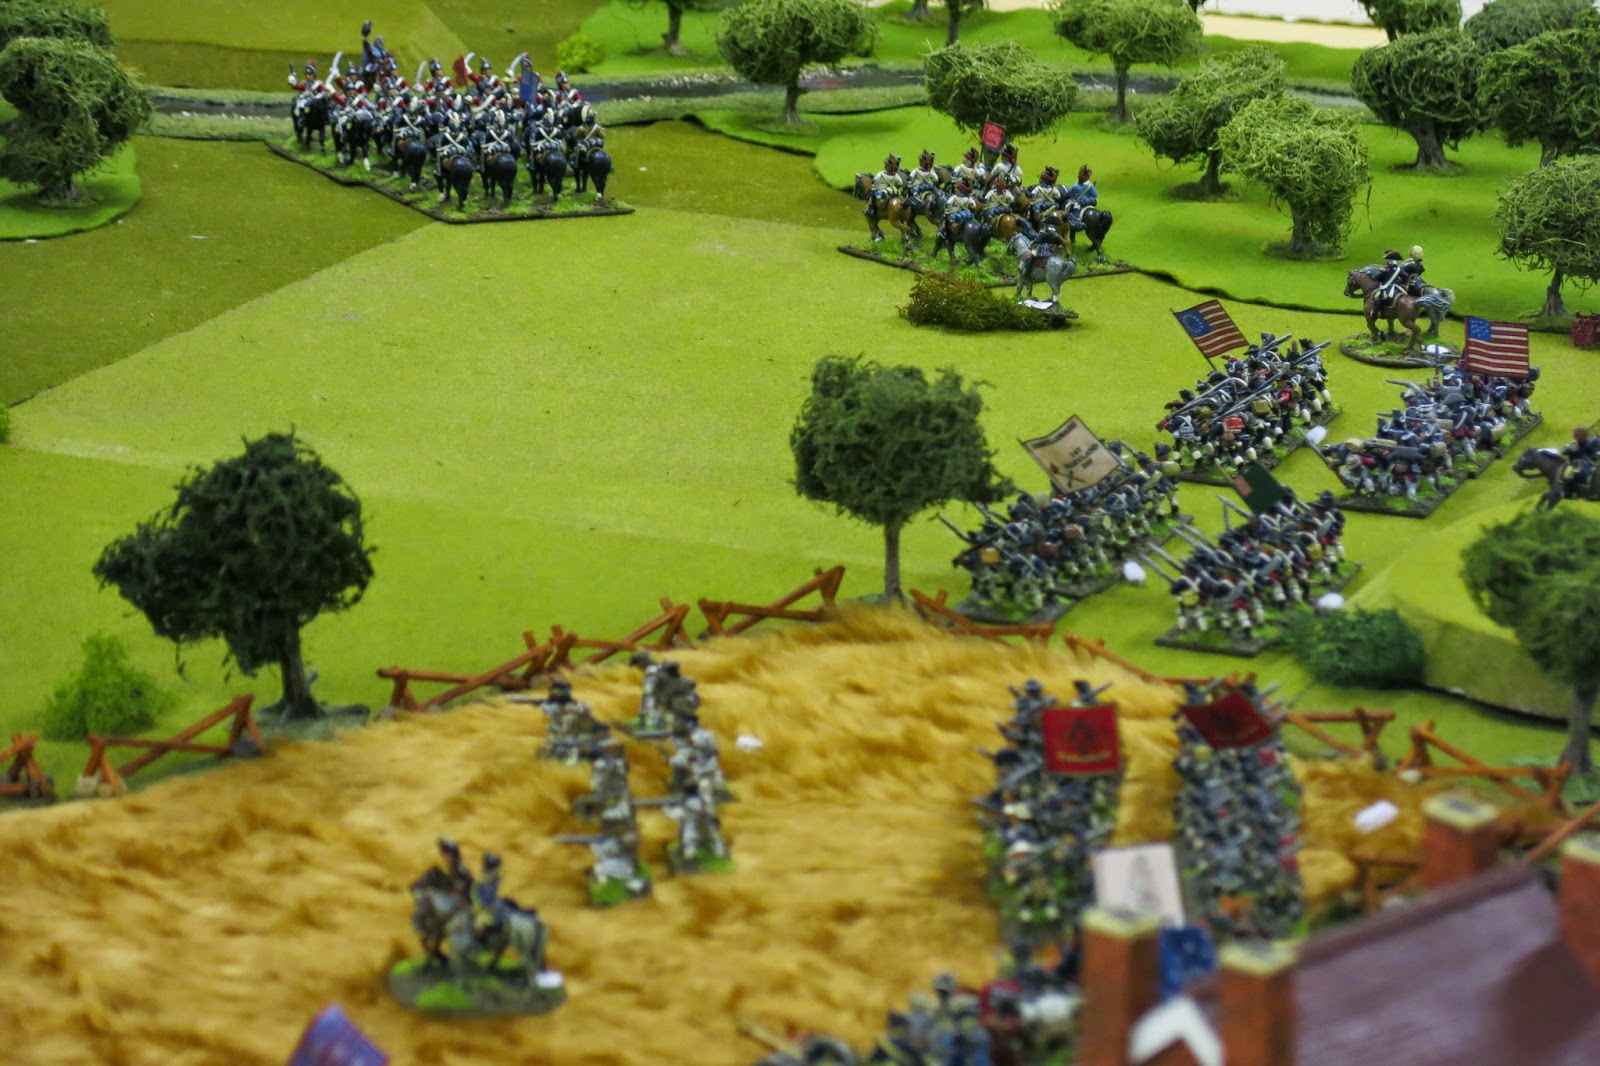
Meanwhile on the opposite flank Fran has manoeuvred his cavalry into position for a charge against two smaller units of American cavalry. 

Unfortunately the British win initiative which means they get to fight and defeat each American regiment in turn. John's Infantry advance, but with their flank exposed there is little they can do in the short term.

Back on my flank (where the bulk of the fighting has taken place) the Militia have finally fallen back from the fence. The British however have been so badly mauled that they decide not to advance further, instead concentrating on consolidating their lines.

In the Centre Ian is now marching back across the Yellow Field to his original positions but he has missed his opportunity to inflict significant casualties on the British.

The British loose a Hessian regiment (it took one casualty, failed moral and retreated off the table edge!) and spend a couple of turns thinning their line and reorganising in a defencive posture, daring the Americans to attack....

...Such a cowardly tactic deserves only one response!

My militia prepare to go in again. These units have far outperformed my expectations and I should have withdrawn them at this stage. I would live to regret throwing them back into the fight.

Meanwhile the British cavalry makes short work of John's second American cavalry regiment.

The battle for the Yellow Field is heating up but a lot of time has been wasted. The British have been able to reorganise and their fresher units are beginning to take a toll on the American lines.

Johns Cavalry units continue to retreat from their encounter with the British. 

John and Ian press their regiments forward but it may be too little too late.

With my Militia finally routed from the field the second line of fresh trained troops moves forward and exchanges gunfire with the British. Unfortunately with the loss of the Militia Brigade my Division must make a Divisional Moral check and I fail. My entire force retreats and that is effectively game over.


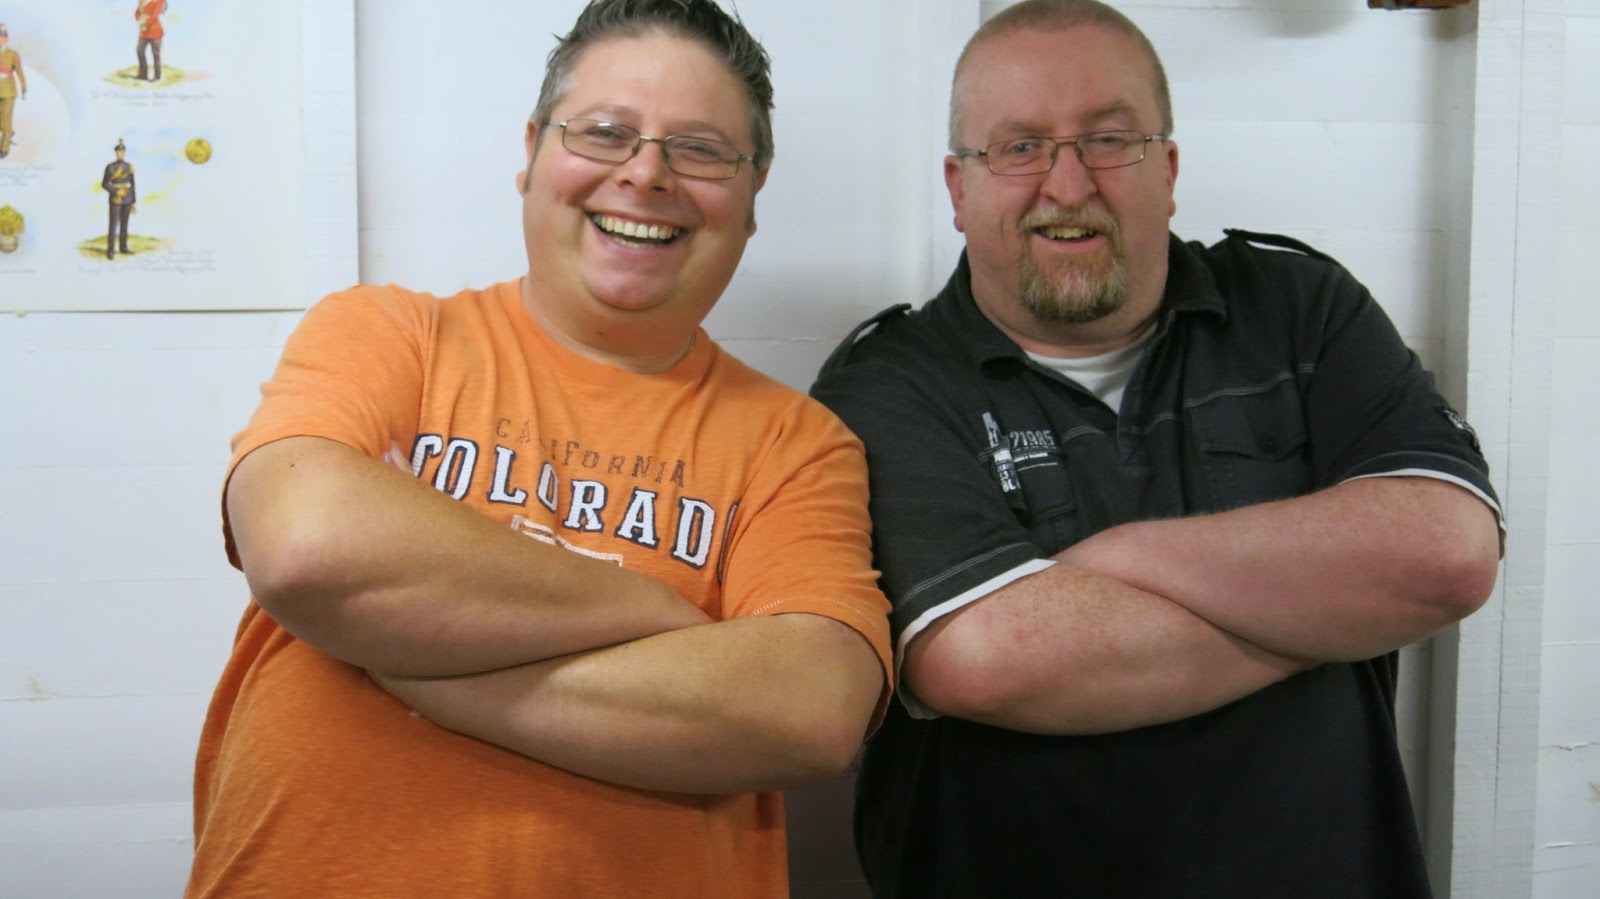
Two very smug wargamers! Ray was convinced they were going to loose after just two turns but their forces persevered and they eventually won a convincing victory.
Analysis
The Americans almost had it. My Militia performed spectacularly and my dice rolling was frighteningly good early in the game. Ian (in the American centre) was not on form this day. He faffed, hedged and shuffled his units around, loosing an early opportunity to hold the Yellow Field. He underestimated the Militia units under his command and handled them poorly in the opening turns of the game. John (our CO on the far right flank) was hemmed in by forests and those annoying British Cavalry. By the time he was able to advance the battle had already been won and lost at my end of the table.

A great game but a disapointing result for the American commanders, especially as we thought we had victory in the bag by lunchtime.

Wednesday 12 November 2014

Luftwaffe Airfield Control Tower

This Luftwaffe Control Tower is a new release by Leven Miniatures and will make a nice addition to my 6mm Airfield collection for my Desert Raiders Project. I'm not sure of this type of tower would have been built on North African airfields but in lieu of a suitable alternative (or photographic evidence!) this will have to suffice.


I have seen lots of different ways of painting glass windows on various sites and I can't say I have any particular preference. I have opted for a dark grey as I think this accurately represents what can be seen from the outside looking in on unilluminated rooms. As a small concession to the fact that this is supposed to represent glass panes I have added a little highlight in the top right corner.

For the upper windows I have painted the glass blue as these large windows surround a single open-plan room with excellent natural illumination with 360° observation. Again I had added some shading in the form of shadows in the bottom corner and highlights in the upper corner. My colour choices are probably not everyone's cup-of-tea but I'm quite happy with the way this model turned out. 

Thursday 6 November 2014

Firepower Museum

Over the Half Term school holidays my family and I went out for the day to the Firepower Museum in Woolwich. The in-laws came with us too and we decided to cross the river via the Woolwich Ferry, something I haven't done in many years and which brought back lots of good memories. Woolwich itself has changed a lot and everywhere we looked there seemed to be building work going on. Despite a few changes to the road layout I was able to work my way round to the rather small car-park serving the museum, literally just a couple of minutes walk from the site. 

Our visit was prompted by the possible closure of the Firepower Museum announced earlier this year and scheduled for December 2016. This would see the existing building vacated and the bulk of the exhibits moved elsewhere. A much smaller permanent exhibition about the Royal Artillery and the Woolwich Arsenal would be housed in the adjacent Heritage Centre. While the Chairman of the Museum diplomatically describes this as "a significant opportunity" I would describe it as nothing short of a public outrage and an insult to the hundreds of thousands who once worked in the Arsenal and to all those who served in the Royal Artillery. Unfortunately money speaks louder than heritage and it looks likely that 200 years of tradition will soon be coming to and end. 

Inside the Firepower Museum - The main hall has ample space for some very large exhibits

Firepower - The Museum of the Royal Artillery

Target Practice! 13 inch Iron plate shows the scars of artillery testing from 1873

Half Term events for the kids included an Assault course to wear them out. 

Copies of the sculptures designed by Charles Sergent Jagger from the base of the Royal Artillery Monument at Hyde Park Corner

British 6 pdr Mk II AT Gun - 1943

British 17 Pdr AT Gun - 1944

British 18 Pdr QF Mk II - 1936

Nan & Grandad 'help' my daughter make a Halloween Lantern

The Gunnery Hall contains some large and very impressive exhibits

A Soviet era 2S3 M-1973 Akatsiya 152mm SP Gun Howitzer in front of the Heritage Centre opposite the Firepower Museum

British 25 Pdr QF Gun - 1941

British 3.7 Inch AA Gun on static mounting 2C - 1941

First World War German helmet - The two large lugs on either side were employed to support a heavy armoured plate, called a Stirnpanzer which offered greater protection.

ECW Falconet on its original carriage - 17th Century

American 75mm M1A1 pack Howitzer used as a light airborne weapon by the British - 1942

The Gunnery Hall

This is a great little museum with some surprising exhibits all displayed well with good supporting information. The museum is well kept and every gun gleams and looks as it is ready to fire at a moments notice. We got chatting to one of the volunteers - a veteran of the Royal Artillery - who said he cleans and oils the guns every day. 

I often end these reviews by saying "well worth a visit" and this museum is no exception. Given that the site is due for closure next year I would advise anyone interested to get down to Woolwich as soon as possible to see the wonderful collection before it is scattered forever. When it finally leaves the heritage of the area will be immeasurably diminished.