Thursday 30 January 2014

January Book Roundup

In my quest to be a little more succinct with my posts this year I have decided to stick to a single monthly roundup of all the books I have read and enjoyed that month, rather than writing separate posts for each. Each review will be brief but will be accompanied by a 5 Star rating to give a clear indication of how I feel about each book (details of what the ratings mean is given in the Bibliography page). So here is the first of these 'Monthly Roundups' for January. 

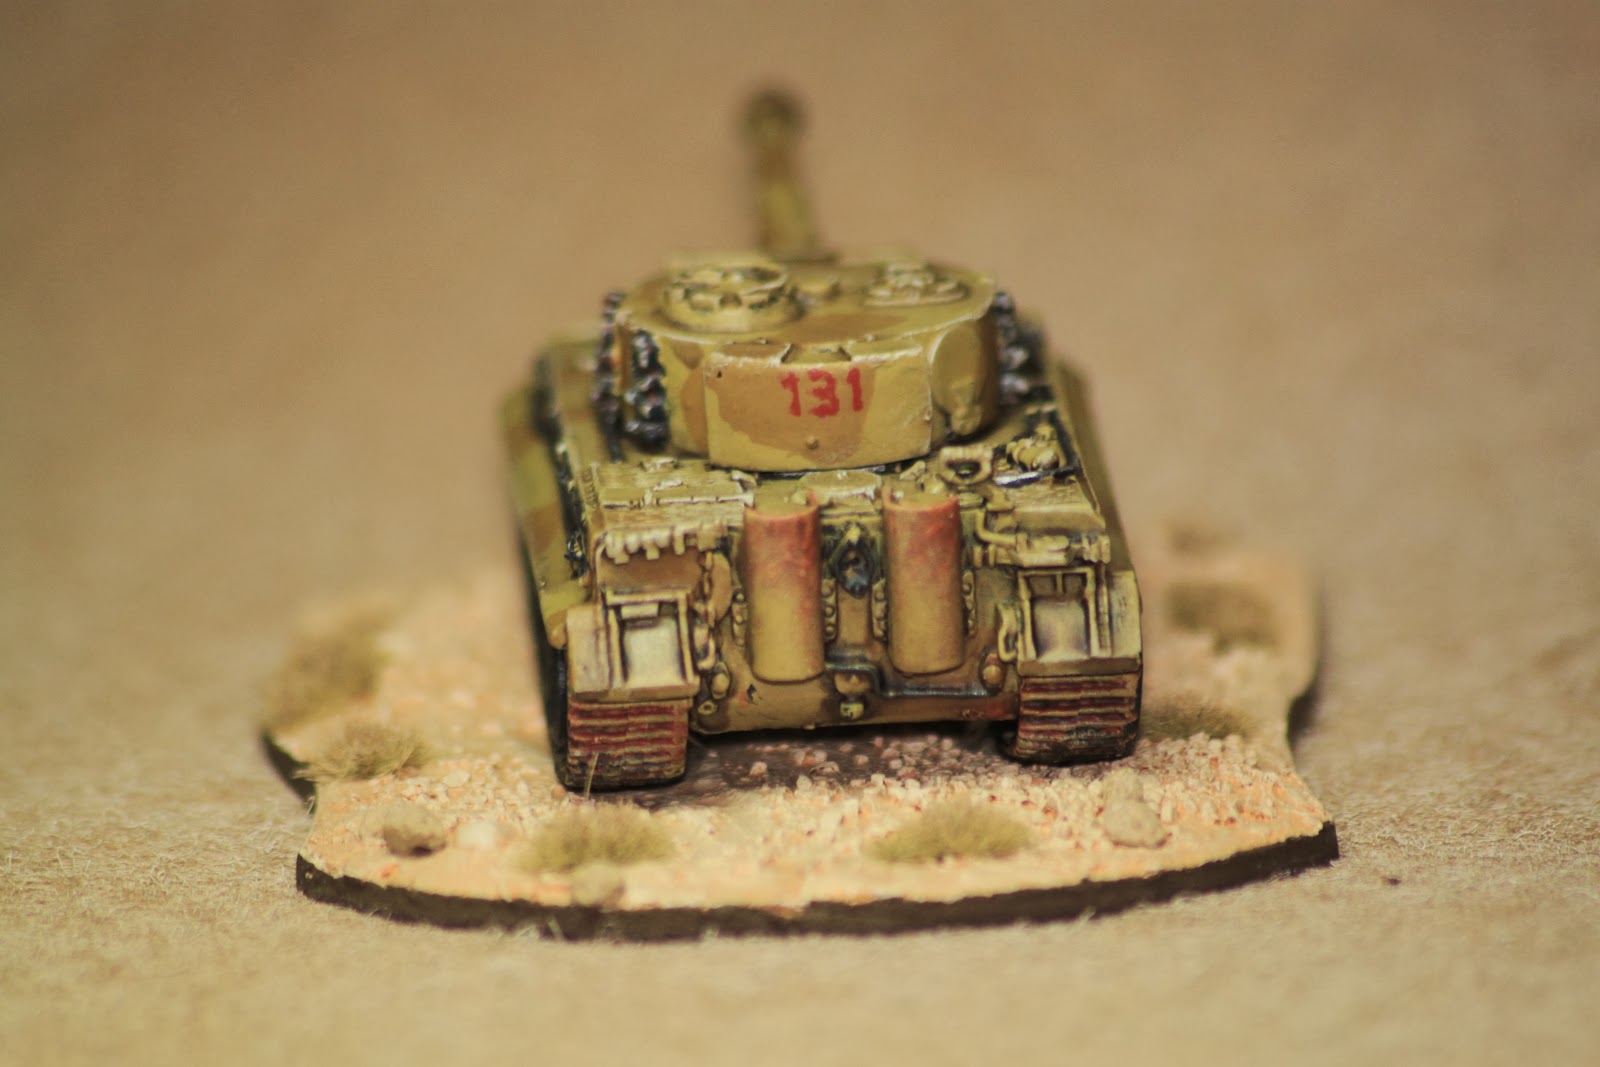
Panther: Germany's Quest for Combat Dominance 
Author/s:   Michael and Gladys Green
Publisher: Osprey [2012]
Format:    Hardback, 256 Pages
Rating:      

Filled with excellent colour and period Black and White photo's the book provides a really good single volumed review of the design, development and deployment of the Panther Tank. In many ways this was a very modern medium tank and filled the roll that post war armies would define as a Main Battle Tank with all round capabilities and versatility. Despite this the Panther never fully achieved its promise, partly because it was too complicated and costly to build in wartime and partly because there were never enough of them to adequately outweigh the vast number of opposing allied tanks like the Sherman and T34. 

The book is divided into several sections which follow the usual pattern of looking at the background and development Panzerkampfwagen V Panther, its Firepower, Protection and Mobility and the many variants that also saw service. All the chapters are clearly written seem to be very well researched bringing together a wide selection of facts and statistics without ever becoming dry and boring. The book is also very well illustrated with a particularly good selection of interior photo's of a restored Panther that show the sort of details that other books often leave out. 

The RRP for this book is £25 but a quick look online shows that it is possible to find new copies at a significant discount (the normal culprits like Amazon are a good place to look) and of course you can save even more if you purchase a Kindle version. I received my copy as a gift from my Brother-in-Law who saw it and just knew I'd love it. He was right, and I thoroughly recommend this book regardless of whether you are a model maker, wargamer or vehicle enthusiast.


Rommels Desert Warriors 1941-42 (Images of War)
Author/s:   Michael Olive and Robert Edwards
Publisher: Pen and Sword Military [2012]
Format:    Hardback, 208 pages 
Rating:     

This was another present, this time from my in-laws for Christmas. This book has a brief introduction and is then divided into various sections with titles such as 'Arrival in the Desert,' 'Communications,' 'Armored Vehicles,' 'Supply Battalion,' 'The Luftwaffe and Regia Aeronautica,' 'Rommel,' 'Artillery,' ' Life in the Desert' and 'Transport Vehicles.'  Each section is crammed with Black and White and Colour photos (over 300 in the book), some from official sources but most are from the private collections of ordinary soldiers. These personal photo's recorded everything from simple day to day activities and the mundanity of army life through to pictures of comrades, special occasions, cities and towns passed through and of course the desolate landscape across which they fought and died.  


Because most of the pictures come from private sources some of the captions can be a bit sparse in detail. However the authors have clearly tried to bridge the information gap with solid research and identification of vehicles, equipment and units. For the most part I think they did an excellent job and the vast majority of the pictures have good captions that help to tell the story in each of the sections in the book. There is also an eight-page 'Color of War' section which has modern colour photographs of German and Italian uniforms, helmets, weapons etc. This isn't an exhaustive reference work but it is an interesting and useful section that I think most wargamers/model painters for the period would find useful and it compliments the b&w period pictures very well. 


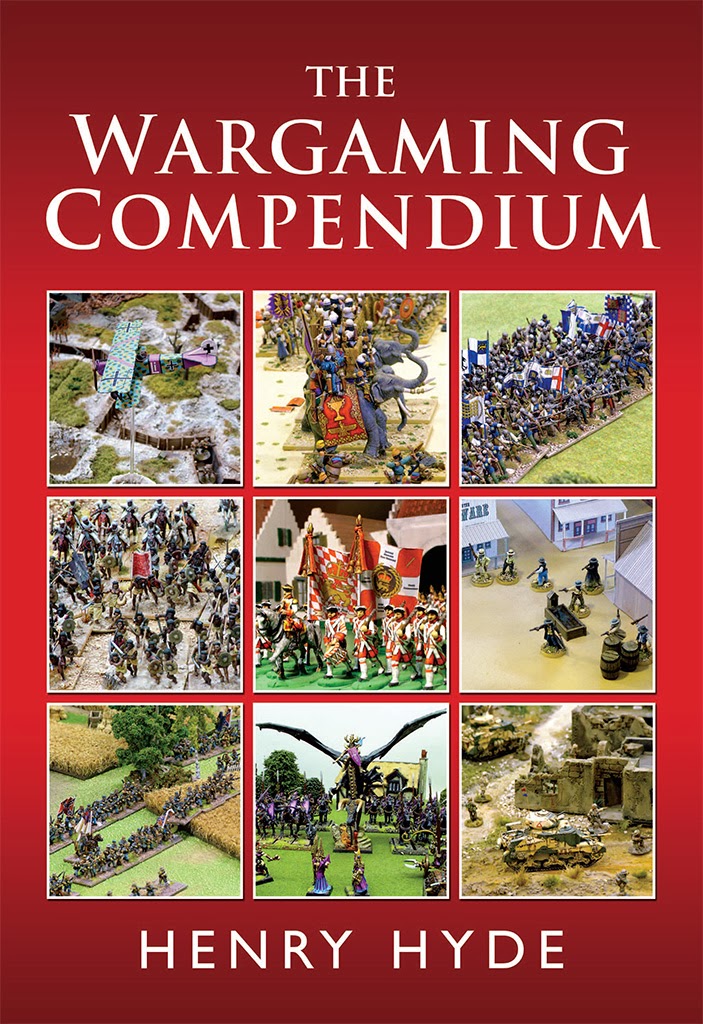
The Wargaming Compendium
Author/s:   Henry Hyde
Publisher: Pen and Sword Military [2013]
Format:    Hardback,  520 Pages
Rating:     


Unlike most of the books I own - which once read go into my bookshelves and rarely see the light of day again - this is the sort of book that deserves to be left out and read over and over again. I hate to describe it as a 'coffee table book' because that would trivialise the quality of the work, and this is anything but trivial. The authors long experience in the hobby both as a player and as the editor of a hugely popular wargaming magazine shines through on every page.


As well as containing a vast wealth of information on every aspect of our wonderful hobby its pages are crammed full of high quality colour photographic illustrations that make this a visual as well as an intellectual feast for the reader. For those wargamers based in the UK that regularly attend wargames shows there are plenty of photo's of popular demo games that will have you nostalgically saying "I remember seeing that!". Its for this reason (amongst others) that I think this is a great record of hobby as it is today as well as how it was in years gone by. 

Although there are sections of this compendium that are clearly aimed at new players there is also plenty within its covers that will be of interest to the old grognards amongst us. I particularly enjoyed the chapter on the history of wargaming which to my mind illustrated that our hobby is as serious and worthy a pursuit as any other, with a proud and venerated heritage. Wargaming is more than just 'playing with toy soldiers' encompassing as it does a wide range of creative endeavour and scholarly interest, proof of which can be clearly seen within the pages of this weighty volume. 

I haven't read the book cover to cover yet (it is 520 pages after all!), but I have found myself picking it up and dipping into it continually since I received it at Christmas. For me the genius of this book is that it is so readable that it doesn't matter what order you devour its many chapters, each stands out on its own merit. Henry's style of writing is very contemporary, clear and bursting with enthusiasm for his subject (something that comes across when you meet him in person as well). Young or old; newbie or old hand I think this book has something in it for every wargamer. 

Monday 27 January 2014

Dorneypalooza Board Game Weekender

Over the weekend some friends of mine ran what can only be described as a mini-convention in their house. As the title suggests it was board game oriented weekend (although there were also some card based games) and for those with the stamina there were a lot of options on offer. I was there on Sunday with three members of the Dagenham Delvers and we managed to fit in seven games over an epic 12 hours. 

Shadows over Camelot is a cooperative board game that uses cards and miniatures to add some extra dynamics to the game play. The players are different Knights of the Round Table and must work together to complete various quests to win the game. One of the players however is a traitor and their job is to remain undetected while working to undermine the efforts of the other players. The board and cards are high quality with some very nice plastic figures included as playing pieces. I was the secret traitor and managed to win the game by looking like I didn't understand the rules thereby masking my treachery behind a veil of stupidity. It was only partly bluff... 
Next up was the brain hurting Back to the Future Card Game. Players compete to reset history as they want it by changing certain linchpin events, which in turn changes one or more other events. Once you have history as you want it you need to prevent Doc Brown from inventing time travel in the first place, thus setting your version of history forever. The game mechanics are very simple, but maintaining and implementing any sort of strategy to win seems almost impossible which make this frustrating and great fun to play. John was the winner of this game in the end. 
We then went on to play Munchkin. This is one of those games where working against your fellow players actively increases the fun. For most of the game I was trailing in last place but made a late surge and we ended the game with all four players struggling for that last vital level to win. Derek was the ultimate winner and it was well deserved.
Next up was the very aptly named Castle Panic! This is a cooperative game with the players combining forces to defeat the advances of a hoard of monsters converging on the castle in the centre of the board. After just the first turn it looked like we were about to loose but somehow we snatched victory from the jaws of defeat. 
After lunch we started on probably the hardest game of the day, A Game of Thrones: The Board Game. It took nearly an hour to set up and the game play initially seemed very complicated, but it is definitely a game that deserves a second sitting to really understand it. In many ways we thought it was like a much more involved version of Risk, utilising plastic figures, battle cards, tokens, and card overlays to enhance the game. 
After the brain ache that was the TGoT board game we played a much simpler card based game called Cards Against Humanity. This is definitely not a game for the light hearted, easily offended or politically correct but it is damn good fun! Players must answer questions or fill in the blanks on the black cards from the statements on the white cards in their hand. The combinations are often hilarious, sometimes bemusing and nearly always offencive! Only the most despicable and low people can win this game, so well done to Derek for beating his fellow players hands down. 
The last game of the day (after a very nice curry at the local Indian restaurant) was Pandemic. This is another cooperative game where the players work together to save the world from four deadly infections that risk getting out of control. The players must travel the globe to fight infection hot spots while also trying to research cures before the diseases get out of control. Good fun and enjoyed all the more because we were able to gain a team win to finish the day off. 
By the end of the evening we were all feeling a little exhausted but we had also had a fantastic day playing some excellent games. A big thank you must go out to John and Rea for giving up their home for the weekend to run this event. I think everyone considered it a massive success and we are all looking forward to Dorneypalooza 2

Saturday 25 January 2014

Grants and Deacons

My latest entry to the Winter Painting Challenge is a rather small but a necessary one. These Grants tanks and Deacon SPG's are needed for a game I'm running in a weeks time. They replace some Sherman's I already have painted for an 8th Army Heavy Tank Squadron. The Sherman tank wasn't available to the British at the time of the battle I am running so although they are allowed as part of the army list I decided to replace them with vehicles that were actually available at the time. Besides, I like the rather quirky looking Grant. 


Painting 6mm tanks is pretty simple compared to 15mm (such as the Tiger I did here) so these took just a couple of short sessions to finish off. Most of the time 'working' on these is actually spent waiting for earlier stages to dry before moving to the next bit! 


The Grant Tanks for this company come in a platoon of three but I have painted a fourth Grant to represent General 'Pip' Roberts in his HQ tank. Roberts is a Warrior and Higher Command Team and crucially allows failed Company Moral Tests to be re-rolled... so he's a bit useful in a tight spot old chap! What what! 


As usual I have labelled these accordingly but have varied the colour bar (which helps differentiate between different Platoons of similar types) so they can fit into the existing company. The Black HQ colour bar  is used to represent all 2iC, Company or Higher Command teams. These are counted as Warrior Teams and are therefore Independent meaning they can move wherever they like and if neccessary can join any platoon within command distance. Amongst other things this means that platoon can re-roll motivation tests. 

I'm still waiting for delivery of some Italian infantry (I'm assured they are on order) so the Battaglione Bersaglieri (Light Infantry Battalion) I planned to paint during the challenge is on hold for the time being. There is still over half the Challenge to go so I'm still holdig out hope that I can get these done.  

Tuesday 21 January 2014

Tiger 131 in Tunisia

This is a Panzerkampfwagen VI Tiger Ausf.E of the 504th German heavy tank battalion in April 1943 just before it's capture and transfer to England. Today Tiger 131 is probably the most famous exhibit in the Tank Museum at Bovington Dorset and remains (after extensive restoration work) the worlds only running example of this iconic weapon of war. When I learnt there would be a Vehicle Bonus Round in the Painting Challenge there was little doubt in my mind what I wanted to paint as my entry. 


I have had a long relationship with the real Tiger 131, from my earliest visit to the Museum aged about 7, through dozens of subseqent trips over the years until its final restoration and unveiling in March 2012 when I spent a day with other enthusiasts getting up close and personal with this incredible machine. It is a fearsome beast and when you stand next to it (and compare it to Allied tanks like the Sherman) its easy to understand why it instilled such fear in the men that had to face it. 


Despite its thick armour and huge 88mm gun the real Tiger 131 was disabled in the end by a very lucky shot fired from a 6pdr in a British Churchill tank from the 48th Royal Tank Regiment. The Solid shot ricocheted off the underside of the gun barrel and wedged itself in the turret ring, meaning the crew could not traverse their gun. Whether this is what caused the crew to abandon their vehicle is unknown but luckily for historians and military vehicle enthusiasts alike, the crew of the tank failed to set off the self destruct charges, and thus the tank fell into British hands almost entirely intact. 


Shortly after capture the tank was whisked away for evaluation and was repainted and shown off to Churchill and King George before being transferred back to England. It eventually found its way into the collection at the Tank Museum at Bovington where it has been a star attraction ever since. The tank has been repainted again several times but it wasn't until the recent restoration that the original colour scheme was rediscovered -  RAL800 (Gelbbraun) with a one third camo pattern in RAL7008 (Graugrrun) - and these are the colours I have used here.


Thursday 16 January 2014

Lehr Gepanzerte Panzergrenedier Platoon

My latest entry to the Winter Painting Challenge is a little more substantial than the single figures I have submitted so far (and about time too I hear you cry!). I started putting together a Lehr Panzegrenadier Company at the beginning of 2012 but by the end of the year had only completed two Combat Platoons and the HQ Platoon. The Third and final Platoon remained based and primed but unpainted on my desk for several months. I'll be honest, my motivation had taken a down turn and I was looking for something new. And that was when I 'discovered' 6mm and decided to start work on my North Africa 1942 project. The poor old Panzergrenadiers never stood a chance and subsequently got boxed up and put in storage never to be seen again.


Never to be seen again... until I decided to take part in the Challenge that is. This was the motivation I needed to get this final platoon out of storage and complete the Company I had started so long ago. And now that I have finished them I can safely consider my Normandy 1944 project complete, at least for now. The only downside to this long completion time is that each platoon has been painted slightly different to each other, despite having detailed colour notes and a 'formula' to work to. Next time I paint a company in 15mm I'll do all the platoons together (maybe something for next years challenge!).  


I've modelled and painted these as Lehr Gepanzerte Panzergrenediers which means each of the three squads has two MG teams of four Grenadiers plus one tank hunter (Panzerfaust) team each. Three of the SdKfz 251/1 D's half-tracks are equipped with the standard MG42's and the fourth has been upgraded to an SdKfz 251/10 D armed with a 3.7cm PaK 36 gun.


I'm rather chuffed with the way the camo pattern has worked on these. I don't own an airbrush but I wanted to try and replicate the soft edged camo designs I'd seen elsewhere. I achieved the look I wanted by 'dry-stippling' the colour onto the model (the technique may have an official name, but this is what I call it). Basically I loaded an old brush with the paint I required, wiped most off like I would for regular drybrushing but instead of running the bristles across the model I repeatedly tapped the brush tip first onto the surface. Very little paint is deposited on the model but repeated stippling creates a solid area of colour with a 'soft' edge around the outside. Its a slow process but the results look very similar to airbrushing and is certainly good enough for the tabletop. 

Monday 13 January 2014

The Battle of Matigulu

Posties Rejects gathered over the weekend for our first game of the year, and once again Postie pulled out something new from his collection for us to play with. This game used The 1879 Zulu War and Boer Zulu Conflict rules written by Richard Tory for 15mm wargaming, ably adapted by Postie for the 6mm scale figures in his collection. I think this scale suits these sorts of battles really well with massive Zulu regiments that completely dwarf the Imperial forces arrayed on the games table

"The sentries report Zulus to the southwest. Thousands of them."

Setting the Scene
Part of Number 1 Column under the command of Colonel Pearson is heading into Zululand and the Zulu's have sent an Impi to stop the invading army. Historically the Zulu army was much smaller in this area and the British force should be twice the size represented, but in order to facilitate a challenging battle - and to test posties adaption of the rules for this scale - the number of warriors facing each other have been changed. The game starts with the Imperial column flanked by various mounted volunteer units slowly making its way into Zululand. Meanwhile the Zulu Army has been watching the column and has picked a suitable ambush location. The Imperial forces are strung out in a long column and the Zulu Impi appears suddenly on the surrounding hills, almost as if they sprung from the ground like a swarm of ants. 

Order of Battle
Zulu Army - C/O Mnyamana Kangqengelele) 
   Centre (Head) - Zibshebheu Kamapitha (Cetshwayo's Cousin) - Mark
     Ibutho 6 Udududu 
     Ibutho 7 Imbube
     Ibutho 8 Isangqu (Veterans)
     Ibutho 9 Umkhlulutshane (Veterans)
     Ibutho 10 Umsikaba
   Loins (Left Flank) - 2ic Mavumengivana Kandlela - John
     Ibutho 12 Amakwenke
     Ibutho 16 Uve
     Ibutho 18 Umbonambi
  Loins (Right Flank) - 3ic Somopho Kazikhala - Dave
     Ibutho 21 Unokhenke
     Ibutho 23 Uruhlonga
     Ibutho 25 Umkapo

Imperial Army - Number 1 Column - C/O Colonel Pearson
   99th Foot - C/O Commander Campbell
     A Company - Royal Marines
     A Company 99th Foot
     B Company 99th Foot
     C Company 99th Foot
     D Company 99th Foot
     Naval Gatling Gun
     Naval Rocket Tube
   3rd Foot - C/O Colonel Pearson
     A Company 3rd Foot
     B Company 3rd Foot
     C Company 3rd Foot
     D Company 3rd Foot
     7pdr Royal Artillery Gun
     7pdr Royal Artillery Gun
   Colonial Mounted Volunteers
     Natal Hussars
     Durban Volunteers
     Stanger Volunteers
     Victoria Mounted Rifles
   2nd Regiment Natal Native Contingent - Commandant AW Cooper
     10 Companies of NNC
   2 Waggons of Food and Supplies
   2 Waggons of Ammunition

The Action
The Zulu Impi arranged on a crescent of hills prepare to launch their ambush of the Imperial Column. Mark (r) is overall commander for the Zulu's with John (c) in charge of the Zulu Right flank and Dave (out of shot) in command of the Zulu Left flank. Here Postie is explaining the disposition of the forces and giving some background to the battle. 
Commander Campbell leads the 99th Foot supported by a Naval Rocket Battery. The rockets were mixed bag in this game because I kept on rolling 10's resulting in low ammo markers being placed on them which reduced their effectiveness. 

One of the 'smaller' Zulu Ibutho (regiments). Each base had 16 figures on it meaning they could absorb large numbers of casualties. The white marker represents a units that has yet to be fired upon and therefore hasn't had its bravery 'tested' (a one off penalty to moral tests).

Surjit commanded the 3rd Regiment of Foot and the Natal Native Contingent as well as two Artillery pieces and some Natal Mounted Volunteers.  The NNC's effectiveness was always in doubt but they far out performed what any of us expected. Postie may tweak his house rules in future to make then a little more unreliable than they were in this battle. 

Mark, overall Commander for the Zulu Army in this game begins to move his Ibutho forward. 

John likewise begins the advance of his troops down the right flank of the Imperial troops.

On the Imperial Left Flank Dave begins the advance of his troops. His Ibutho had a particularly hard time advancing through disciplined and sustained fire from the 99th Foot. His largest units (the one being moved here) was forced to go to ground for most of the game and lost over half the warriors in its ranks. 

The naval Rocket Battery and Gatling guns did a lot of damage during the game and would have done more if they hadn't fallen low in ammo (resulting from a roll of a 10 on a ten sided dice when rolling to hit). Both pieces had to be resupplied twice during the battle. 

First blood to the Imperial troops. The Gatling Gun & Rockets inflict 15 casualties in the first turn on this Zulu formation forcing a moral check (denoted by the green dice which is being used as a token). The unit failed its test and was forced to go to ground for several turns, as were most of the other Ibutho on this flank in subsequent turns.

The 3rd Foot under Surjit have formed a strong line and have deployed one of the artillery pieces. However he has moved his Natal Native Contingent to occupy the hill on the far right (on the edge of this picture) putting them on a suicidal collision course with a massive Zulu regiment heading directly for them. Worse still (IMHO) he supported this action with a valuable artillery piece. meanwhile at the top of the picture two Natal Mounted Volunteer units are about to be wiped out having failed to be withdrawn as the Zulus surged forward. 

A wider shot of the same moment showing both flanks of the Imperial column. The plan (or so I thought) was to fall back in good order - ie walking and firing continuously - towards the area slightly to the left of where the dice are in this picture. Here we would 'redoubt' with good fire arcs in all directions and pour firepower into the Zulu's until either they broke or we were overwhelms. 

The demise of one of the Natal Mounted Volunteer Companies. I felt these units would have been more profitably employed as living troops bolstering the fire line formed by the regulars (which is how I used then on the left flank), but clearly Surjit had a 'better' idea. 

The Unokhenke Ibutho was huge but by the end of the game it had suffered over 50% casualties from Imperial firepower. 

In these rules firing takes place before movement, but that movement is limited if the units has fired. For the British that meant that the fallback move would be 2" instead of 4" but they would be able to plough volley after volley into the Zulu ranks. Sufficient fire was lain down by the 99th Foot (on the imperial left flank) to halt the entire Zulu right wing. Similarly the Zulu left wing lost one routed unit and another was forced to ground, but the 'head' of the Impi continued to press forward. 

The 99th Foot (left) are giving ground in good order - albeit slower than I had calculated - and causing significant casualties with volley fire. Meanwhile the 3rd Foot have advanced (wtf !?!) and appear to be reinforcing the Natal Native Contingents (out of shot) on the hill to the far right in this picture.

One Zulu Ibutho has reached the hill and is about to be charged (!) by some of the NNC companies. The rules specified that NNC units had to make a moral check within 8" of the Zulus but all units succeeded and went on to far outperform all our expectations of them. Postie may have to reevaluate the rules regarding these units in future because even the Imperial players had to admit this was unrealistic. 

The 99th Foot are continuing to fall back in good order but not nearly as fast as I had hoped. By now the gap in our centre was becoming obvious and Surjits 3rd Foot appeared to have abandoned our plan to form a 'redoubt' further back entirely. 

The 99th Foot falling back slowly but in very good order were able to check the advance of the entire right flank of the Zulu Impi with sustained volley fire. 

Heading for the centre of the British lines is this impressive looking regiment of Veterans. They only took casualties towards the end of the battle but the British were fortunate these guys never made it into melee. 

Meanwhile Dave makes use of one of the few topographical features of note on the battlefield, this shallow dried riverbed. His attempt to outflank the 99th Foot was only held in check by the gallant efforts of the two Natal Mounted Volunteers...the two units I had saved from destruction at the beginning of the battle by pulling them back quickly into my firing line. 
The Uve Ibutho on the Zulu left flank are charge into two unfortunately placed companies of Natal Native Contingent. Needless to say the result was predictable although worse was to come with the Zulu's gaining a breakthrough charge onto much more valuable units behind these. 


The Zulu's breakthrough charge runs into one of the 7pdr guns which is also destroyed. Luckily the Zulu's (ie John) had a bad dice roll and they took six casualties in this melee. Unfortunately this seemed to give Surjit a false feeling of security and he appeared to be convinced that our Line infantry would be able to repulse a similar charge by the Zulu's. This theory would be tested in the next turn.  

Meanwhile the 99th Foot have continued to fall back to a pre-planned 'Redoubt' location that has long since become a forgotten plan (at least by one half of the army!). 

Meanwhile the Natal Volunteers give their lives to hold back an outflanking Zulu Ibutho which is trying to use the dried riverbed to avoid taking fire. 

The Imperial troops begin to realise that they have a vast gap in their line and try to reform a viable fire line but over on the right flank the Zulu's are about to make their final play.

The 'Head' of the Zulu Impi continues to moved forward under heavy fire. Some regiments are halted by concentrated firepower but fresh units continue to push forward. Meanwhile the Imperial right flank is crumbling and Zulu's are massing for a final charge...

In fact the Zulu's are so confident they have brought their cattle along with them!

The final move. The Zulu Uve Ibutho on the right moved off the hill and quickly sweeps aside more companies of the Natal Native Contingent and then follows up by slamming into the two remaining companies of the 3rd Foot. One British infantry company is destroyed and the other is routed. Fortunately the Zulu regiment also has to retire but now there is no longer anything standing between the centre Zulu regiments of the Impi and the exposed flank of the 99th Foot.  

This is the point at which we called it a day and conceded defeat. Well I did, Surjit was still under the impression (some would say delusion) that we could drag victory from the jaws of defeat. He was ready to fight to the last man and, given a enough time, I'm sure he would have had a chance to do just that.

Analysis
This was always going to be a tough and bloody engagement pitting British Discipline and firepower against the incredible bravery and vast numbers of the Zulu's. In essence this should have been a simple strategic situation for both sides; The Zulus closing with the invaders as quickly as possible and the Imperial forces using their massed volley fire to destroy the massed ranks of the enemy. But as is the way with wargamers I think we all over analysed the situation and made the battle more complex than it really was.

I can't really speak for the Zulu commanders but on the Imperial side there was some brief discussion of strategy, with Surjit initially wanting to engage the Zulu left flank. In the end I was able to persuade him that any engagement of the Zulu's would be suicidal. Instead we agreed to to form up in two disciplined lines and then fall back into a single defencive perimeter to maximise the length of time we could pour firepower into the enemies ranks. When play commenced this simple plan was adhered to for approximately 30 seconds, a new record for my comrade in arms! I immediately pulled back my Natal Mounted Volunteers and reformed them as dismounted units in the line with my regular foot units. They survived most of the game and were able to add their firepower to the battle until the very end. The two Mounted Volunteer units under Sujits command (on the right hand side of the table) were not withdrawn and were consequently wiped out in melee in the first turn for little gain.

Initially Sujits foot companies were lined up as I thought we had agreed but over subsequent turns rather than falling back and keeping a good distance from the enemy he moved his units forward and to the right (ie away from my half of the command). He did this to support the valiant efforts of the Natal Native Contingent which was doing incredibly well on our right flank but in so doing this opened a huge gap in our centre that we would later find very hard to plug. I don't think either of us realised how serious this would be but I also think Surjit was unrealistic in his assessment of how effective our troops would be in a melee. No matter how good our infantry were with their bayonets, nothing could change the fact that they were outnumbered fifty to one and with such odds a close quarters fight could only ever go one way. Even if the unimaginable had happened and we had won a melee with incredible dice rolls, our losses would have been unsustainable. And this was the simple calculation I had made when I said "do not get into melee with the Zulus" back at the beginning when we had discussed strategy.

This was a very hard fought battle and although the Zulu's could claim a victory it was a minor one and certainly not a sustainable way to wage war. By the end of the game they had lost over 30% of their army, somewhere between 3500-4500 warriors. King Cetshwayo would most certainly not have been happy to have lost so many brave warriors. 

Thursday 9 January 2014

Challenge Week Four - Kharis

As many of you will no doubt have already seen by now, my contribution to the 'Villan' Bonus Round in the Winter Painting Challenge was a last minute inspiration, driven by a great Hammer Horror classic. The Christmas break was a whirlwind of activity and I didn't put brush to metal for over a week and a half. However I was determined to get my bonus entry painted even I managed nothing else (hey, I need the points!). The only problem was I didn't have a suitable Villain lined up to paint, which was when serendipity took a hand in guiding me. 


My wife had recorded a load of classic hammer films for me because she knows I'm a fan of Peter Cushing (a Wargamer as well as a renowned actor). One of these was the 1959 Hammer version of The Mummy, staring Cushing as the archaeologist John Banning and Christopher Lee as the mummified priest Kharis brought back to life to avenge the desecration of the Princess Ananka's Tomb. Its a great version of this often remade and revitalised classic and I thoroughly enjoyed it. By the end of the film I knew exactly the Villain I wanted to paint for my Challenge entry. 


So here he is. Kharis, heretic priest, buried alive for 5000 years and reanimated by the Scroll of Life to wreak havoc and mayhem on the big screen! The model is a 25mm Ral Partha figure from the 1983 Things That Go Bump in the Night line. I can't remember where I got this model but it had clearly been painted and then stripped (badly) because it needed a lot of cleaning before I started painting it. Its not a hugely dynamic pose but its a classic model and worthy of a second life. 


In my submission email to Curt I promised to enter something a little more substantial in my next batch and I have now started work on some of my bigger Challenge entries. I need to get some serious points under my belt if I am going to reach my target and now is the time to settle down to get some hard core painting done... I say hard core but compared to the output of some of the other members of the 'Wild Bunch' (with their 12-16 hours painting per day!!) my efforts are pedestrian at best! 

So right now I am about half way through a 15mm Panzergrenadier Platoon and have started work on a couple of options for the Vehicle Bonus round. I'm still waiting for several batches of 6mm models to arrive so the Italian Infantry Company I want to work on remains on the drawing board for the time being. Pateinece, it seems, is a commodity that is needed far beyond the painting desk! 

I also have some foundry wild-west figures to work on, including my Challenge entry model. Mind you I may hold back on starting that figure, because as things stand at the moment any parcel sent to Canada is likely to get lost in a blizzard!